Push Notifications
What are Push Notifications?
Push notifications are short alerts the mobile app sends to a user's device that show up on the lock screen, in the notification shade, or as a banner even when the app is closed. They are the highest-engagement channel a mobile app has, far higher than email open rates or in-app banners, and Swiftspeed includes a full native push system on iOS, Android, and web (PWA) without any third-party SDKs to wire up.
Push notifications are configured from the editor's Promote page (sidebar nav), not as a feature added to the home tab. Every app you build has push enabled by default; you do not need to add anything to start sending.
Opening the Push Notifications Page
Click the edit pencil on the mobile app you want to send push notifications to.
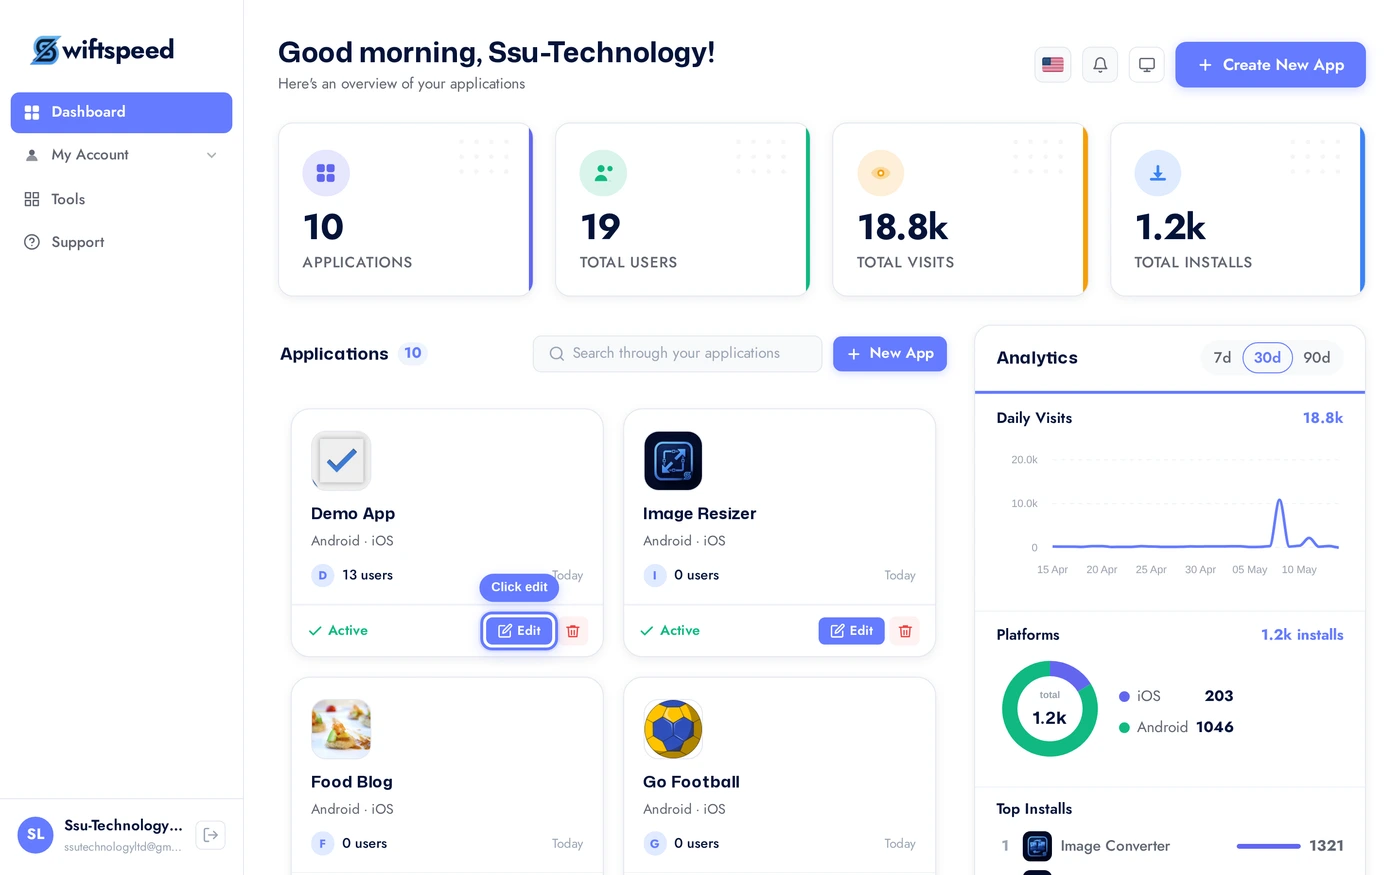
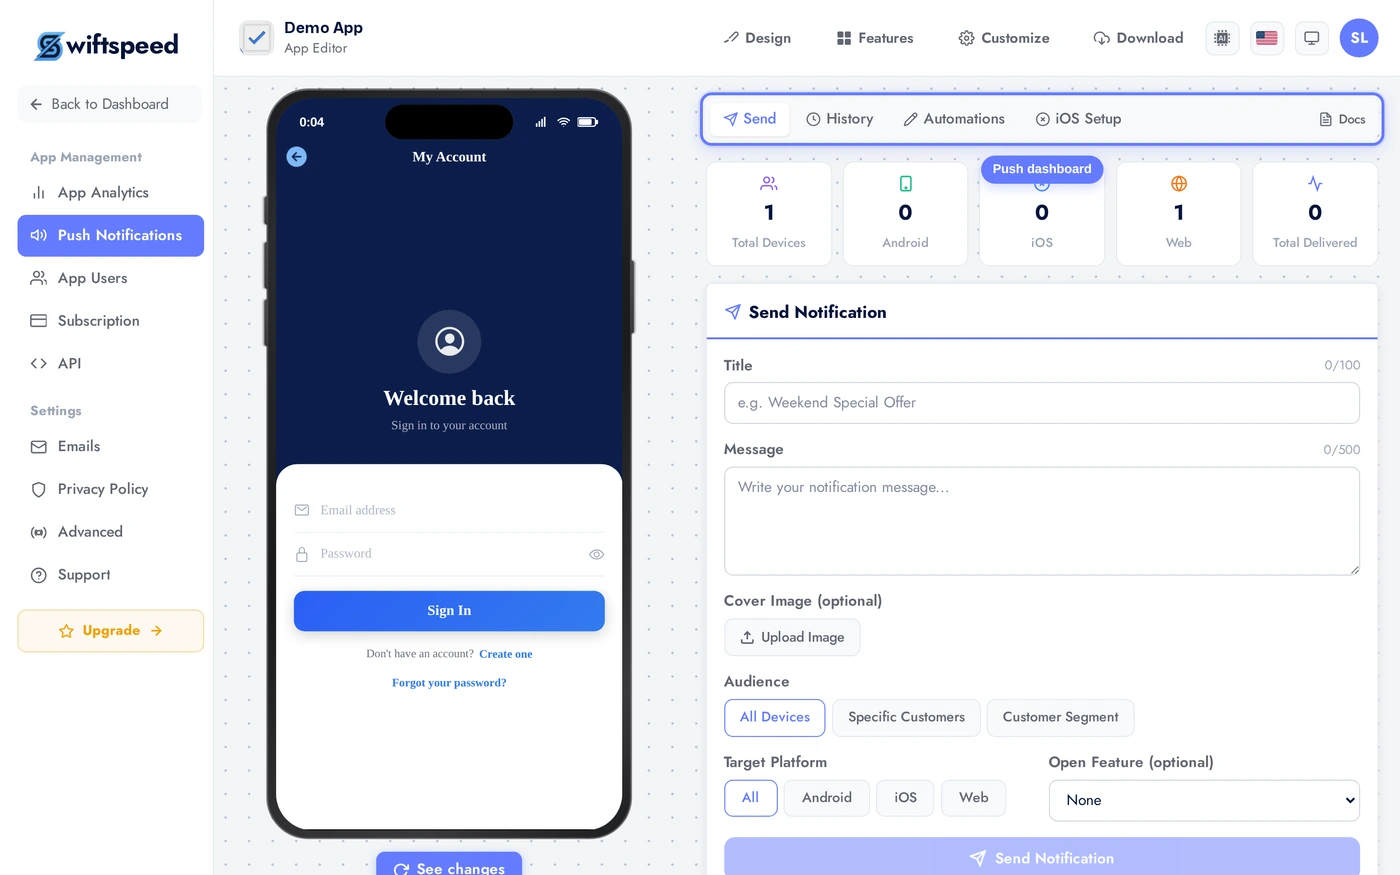
Click Promote in the sidebar (or the Push Notifications icon) to open the push dashboard. The page shows total registered devices across iOS, Android, and web at the top, then the send form, then the notification history.
Sending a Push Notification
The Send Notification card is where every push originates. Three required fields and a few optional ones:
Fill the title and message, optionally upload a cover image, pick the audience, and click Send. Push delivery starts within 30 seconds for most networks. iOS and Android delivery rates show up in the history once Apple/Google have processed the batch.

- Title (max 100 chars): the bold text on the lock screen / notification shade. Keep it short and specific.
- Message (max 500 chars): the body of the notification. Both iOS and Android truncate after about 100-200 characters depending on the device, write the punchline first.
- Cover Image (optional): rich notification image that shows when the user expands the notification on iOS, or as a large image on Android. JPG or PNG, square or 16:9, 1200 pixels wide is plenty.
- Audience: pick All Devices (every user with the app installed), Specific Customers (search by name or email), or Customer Segment (a saved query like "logged in this week" or "purchased in last 30 days").
Audience Targeting
Three audience modes, picked at send time:
- All Devices: every device that has the app installed and has accepted push. Best for major announcements (new feature launch, sale, breaking news).
- Specific Customers: search the customer database by name or email and tick individual customers. Best for one-to-one transactional notifications you want to send manually (e.g. "Your booking is confirmed" outside the automated flow).
- Customer Segment: a saved audience filter. Common segments: "logged in this week", "made a purchase in the last 30 days", "registered but never opened the app". Segments scale to millions of users, the send job runs in the background.
Targeted sends consistently outperform Send-to-All on every metric (open rate, conversion, retention). Specific Customers > Segment > All Devices in that order, the more targeted the send, the higher the engagement.
Notification History
Below the send form, every push you have sent is logged with delivery stats:
- Title + Message preview: exactly what the recipient saw
- Sent at timestamp
- Total recipients vs. delivered vs. opened (when device returns the open event)
- Audience used (All / Specific / Segment, with the segment name if applicable)
- Cover image (thumbnail) if one was attached
Push delivery is asynchronous, the delivered count typically reaches its final value within 5 to 10 minutes of send. Opened keeps growing for hours after as users wake their phones. There is no resend or edit on a sent push, treat the title and message as finals before tapping Send.
Tips and Best Practices
- Send less, mean more. Three pushes a week feels active. Three a day is a one-way ticket to the Settings → Notifications → Off list.
- Schedule for the time zone of the audience. A push at 8am New York is a push at 5am Los Angeles. Most users disable an app that wakes them up.
- Title is the hook, message is the value. "10% off" in the title, "Sale ends Friday on every audio book" in the message. Don't bury the value.
- Cover images double engagement. Lock screens with rich notifications get 2-3x the open rate of plain text. A simple branded image is enough.
- Test with Specific Customers before sending to All. Use your own customer record as a test target, send the push, see what it looks like on your phone, then re-send to the real audience with any tweaks.
- The total devices stat is your ceiling. A 5,000-device app cannot send to 50,000 users. The Promote page shows the live count of devices that opted into push, this is your maximum reachable audience.
- Respect quiet hours. Native operating systems suppress non-critical notifications during the user's configured Do Not Disturb hours, your push still queues and delivers, but it lands silently. Don't fight this, build around it.