In this article, we will learn how to use the job feature on the swiftspeed platform. The job feature can be used to create an app that allows your users to access all available job listings at a specific location. Kindly follow the steps below to integrate this feature. You can check out our YouTube tutorial. Remember to like and subscribe to the channel.
Step 1:
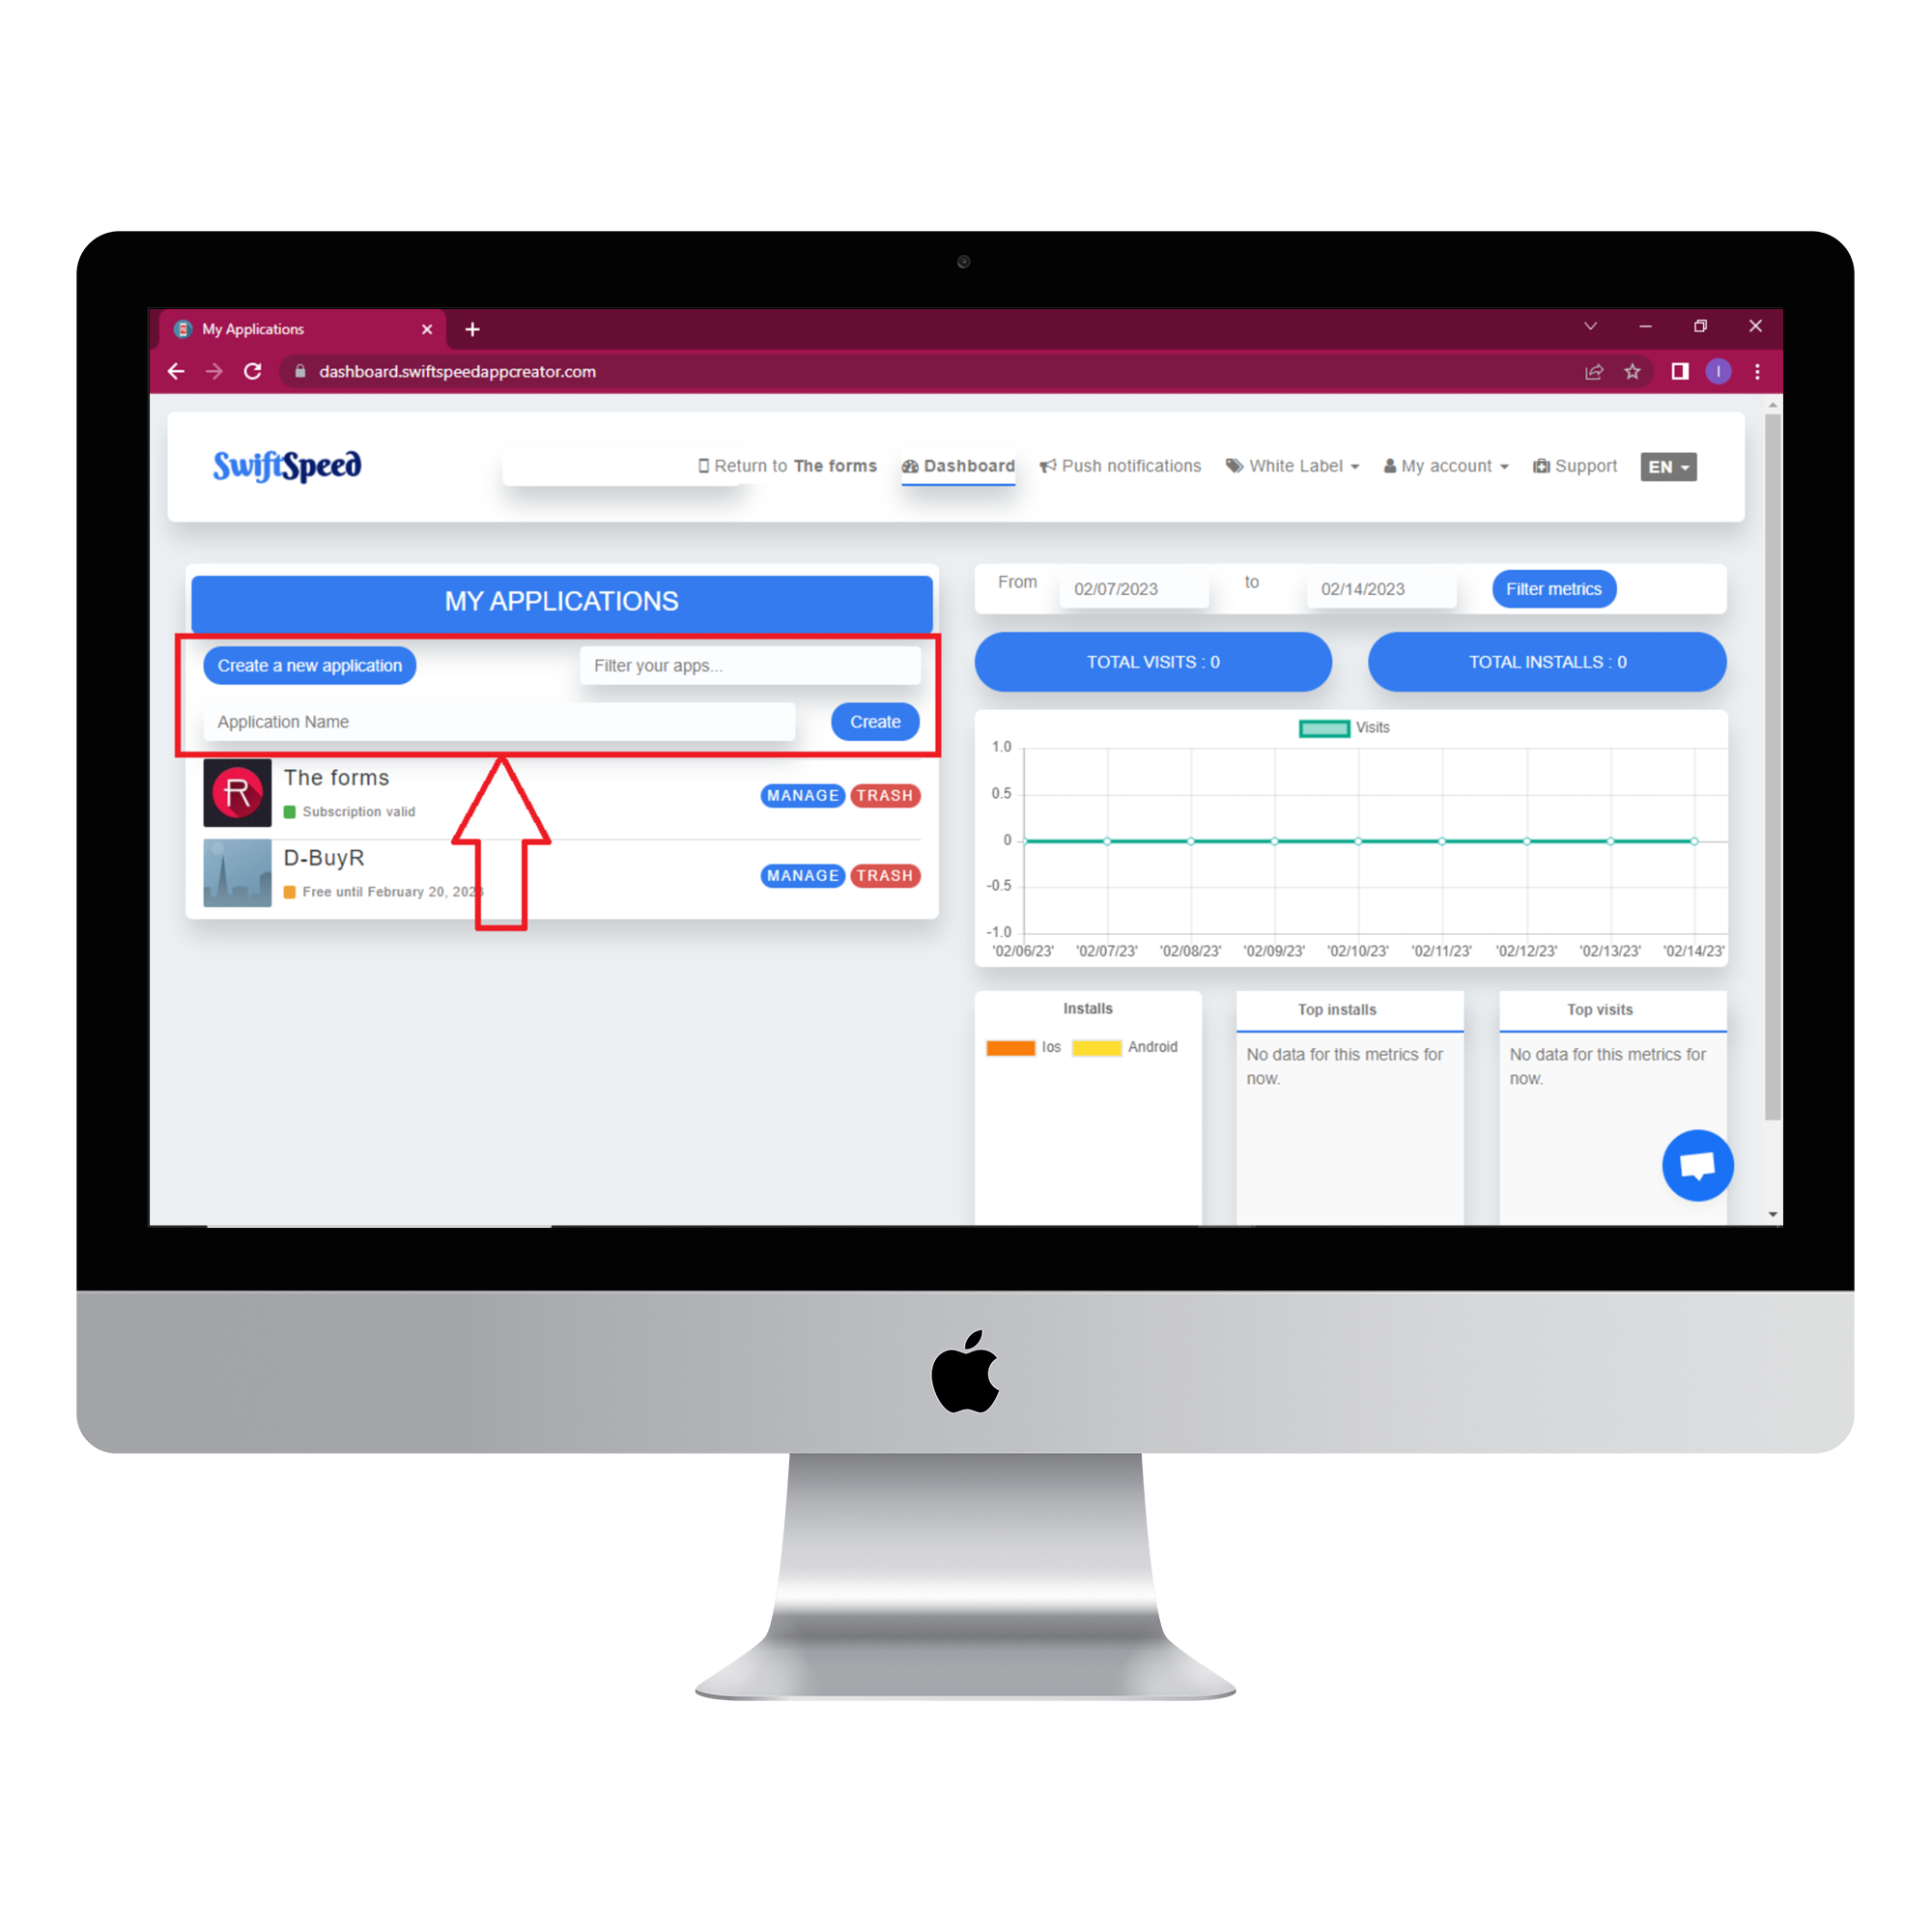
Login to the Swiftspeed Editor Dashboard. Click on “create a new application” or select a pre-existing app ( if you have one ). If you selected “Create a new application”, you will have to type in the name of your app and click “Create”. If you are not familiar with the app creation process, please read our article on creating an app on our platform.
Step 2:
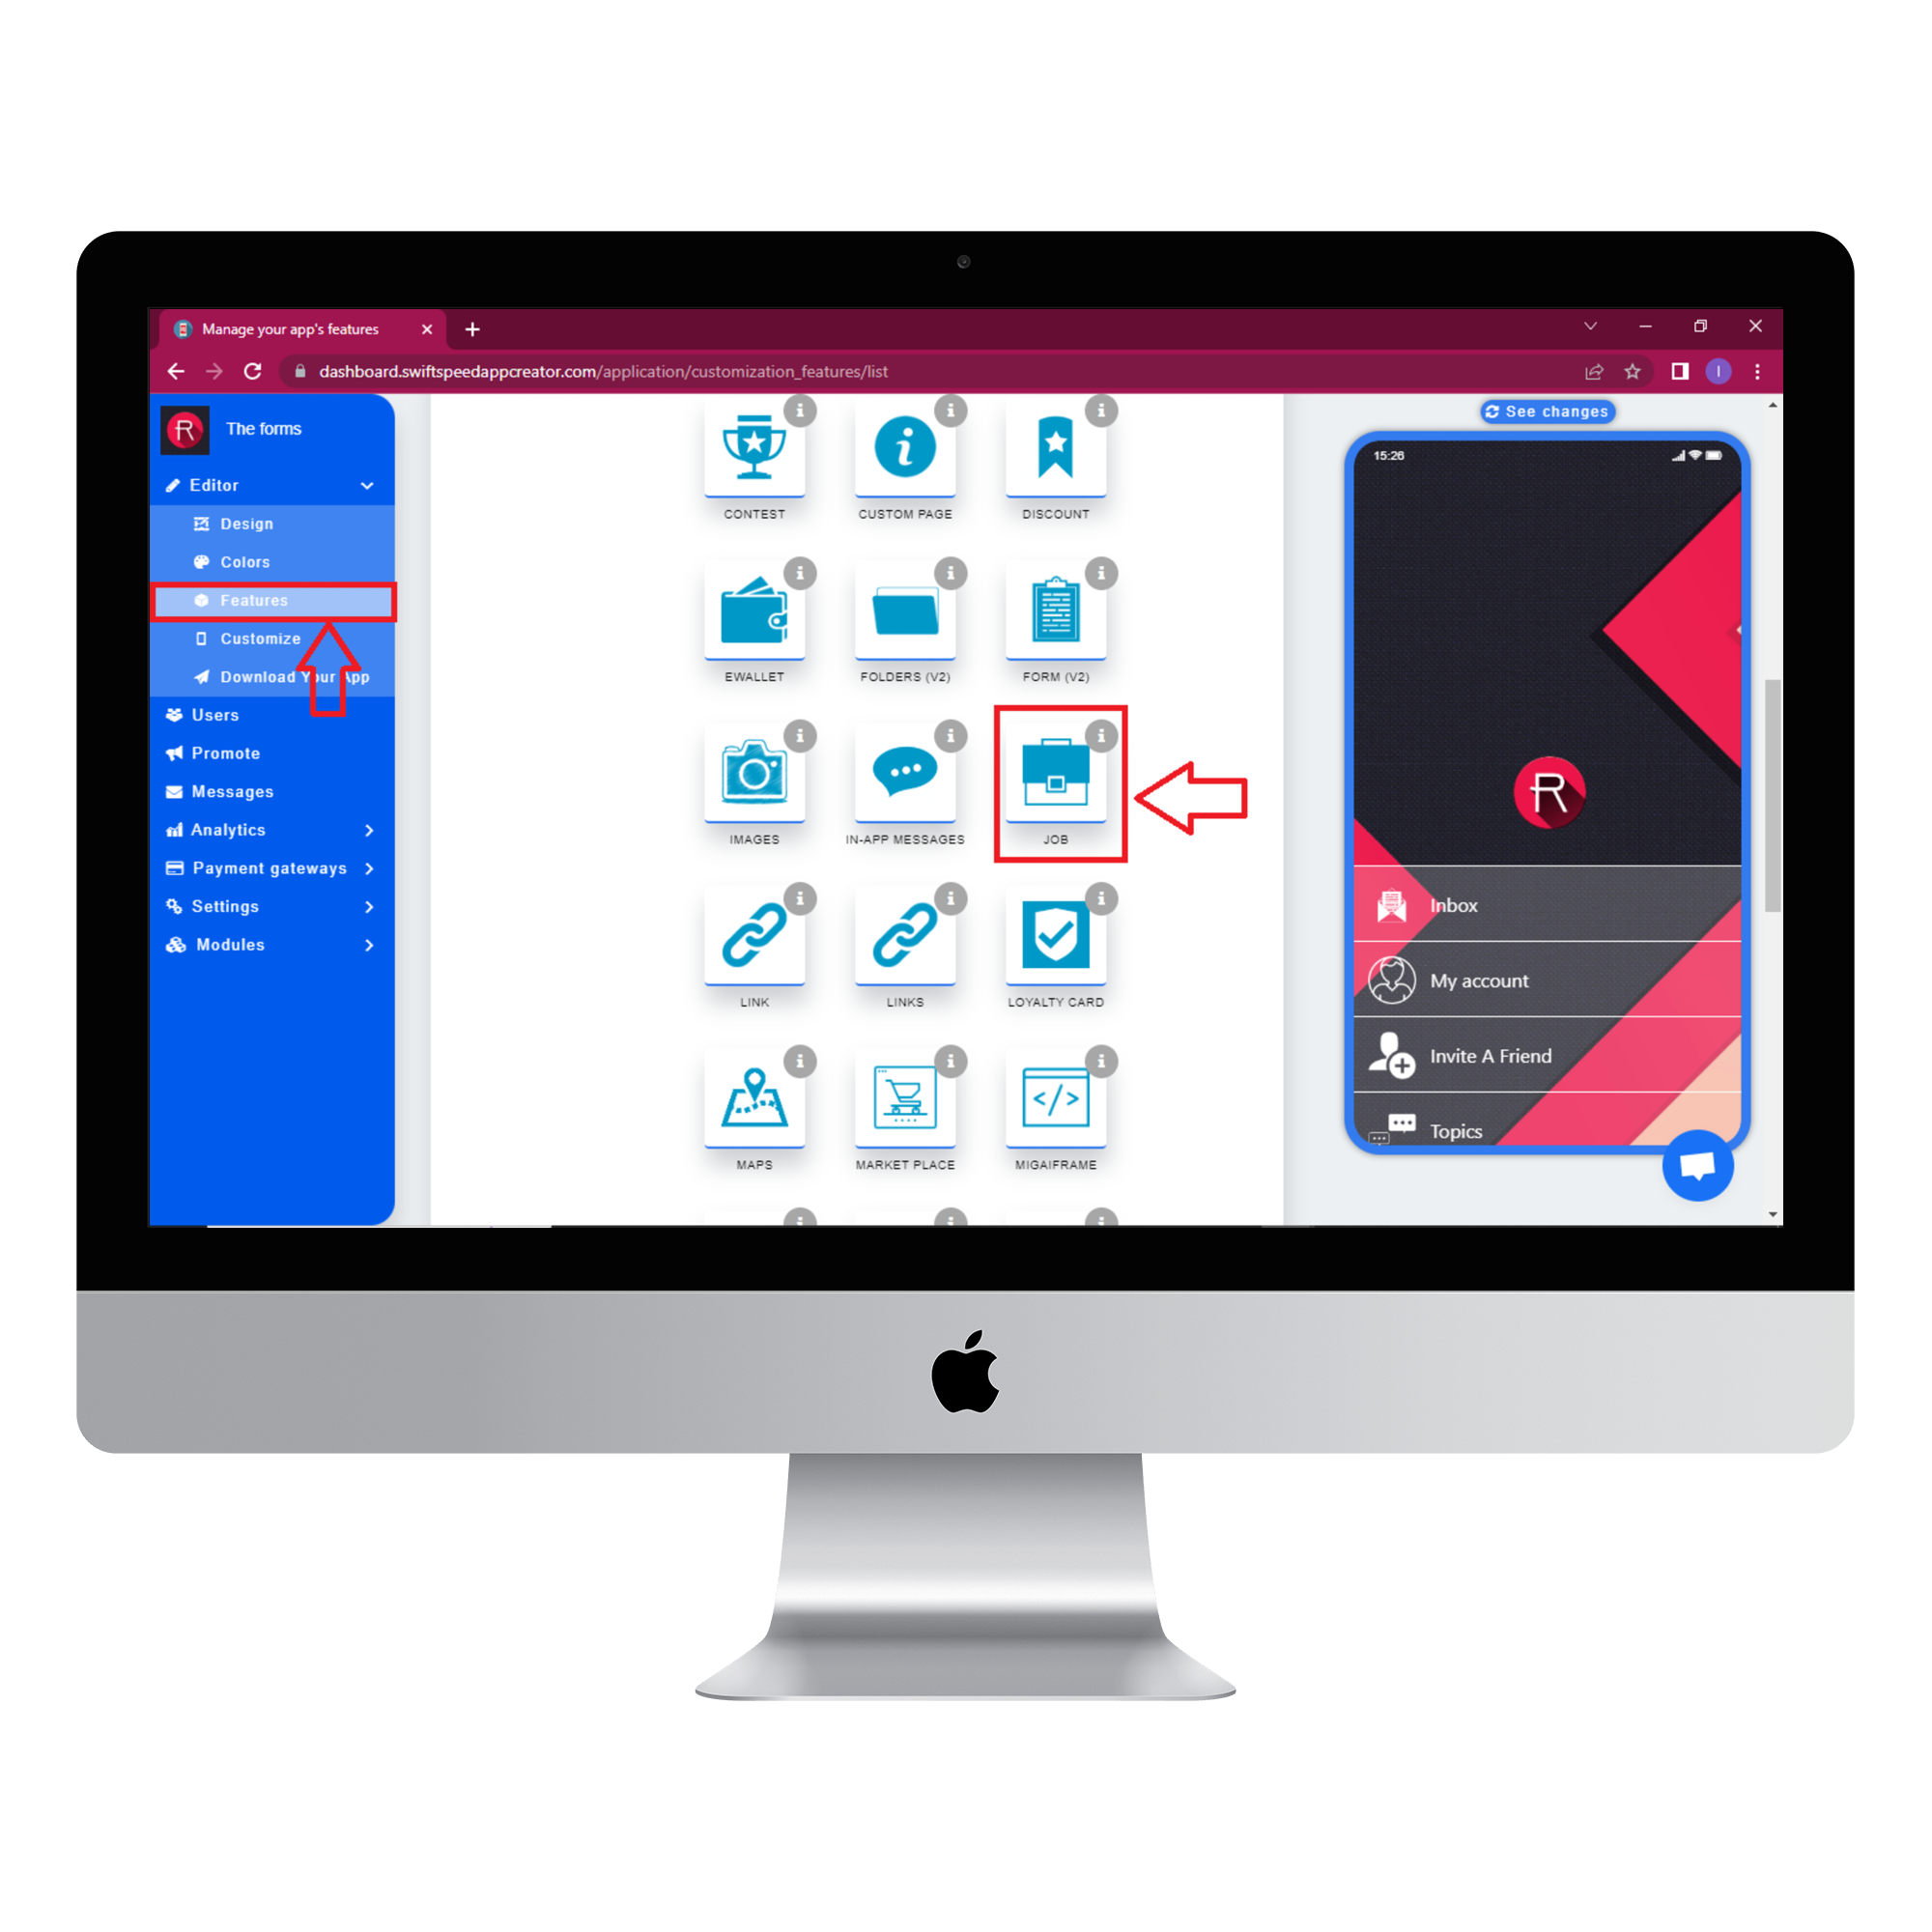
Select “Features” from the side menu on the left side of your screen. Choose the “Job ” feature from the list of features and click on “Add feature” when the popup window appears. If you find it challenging to locate the “Job” feature, you can use the search box to find it. Just type in “Job” and press “Enter” on your keyboard.
Step 3:
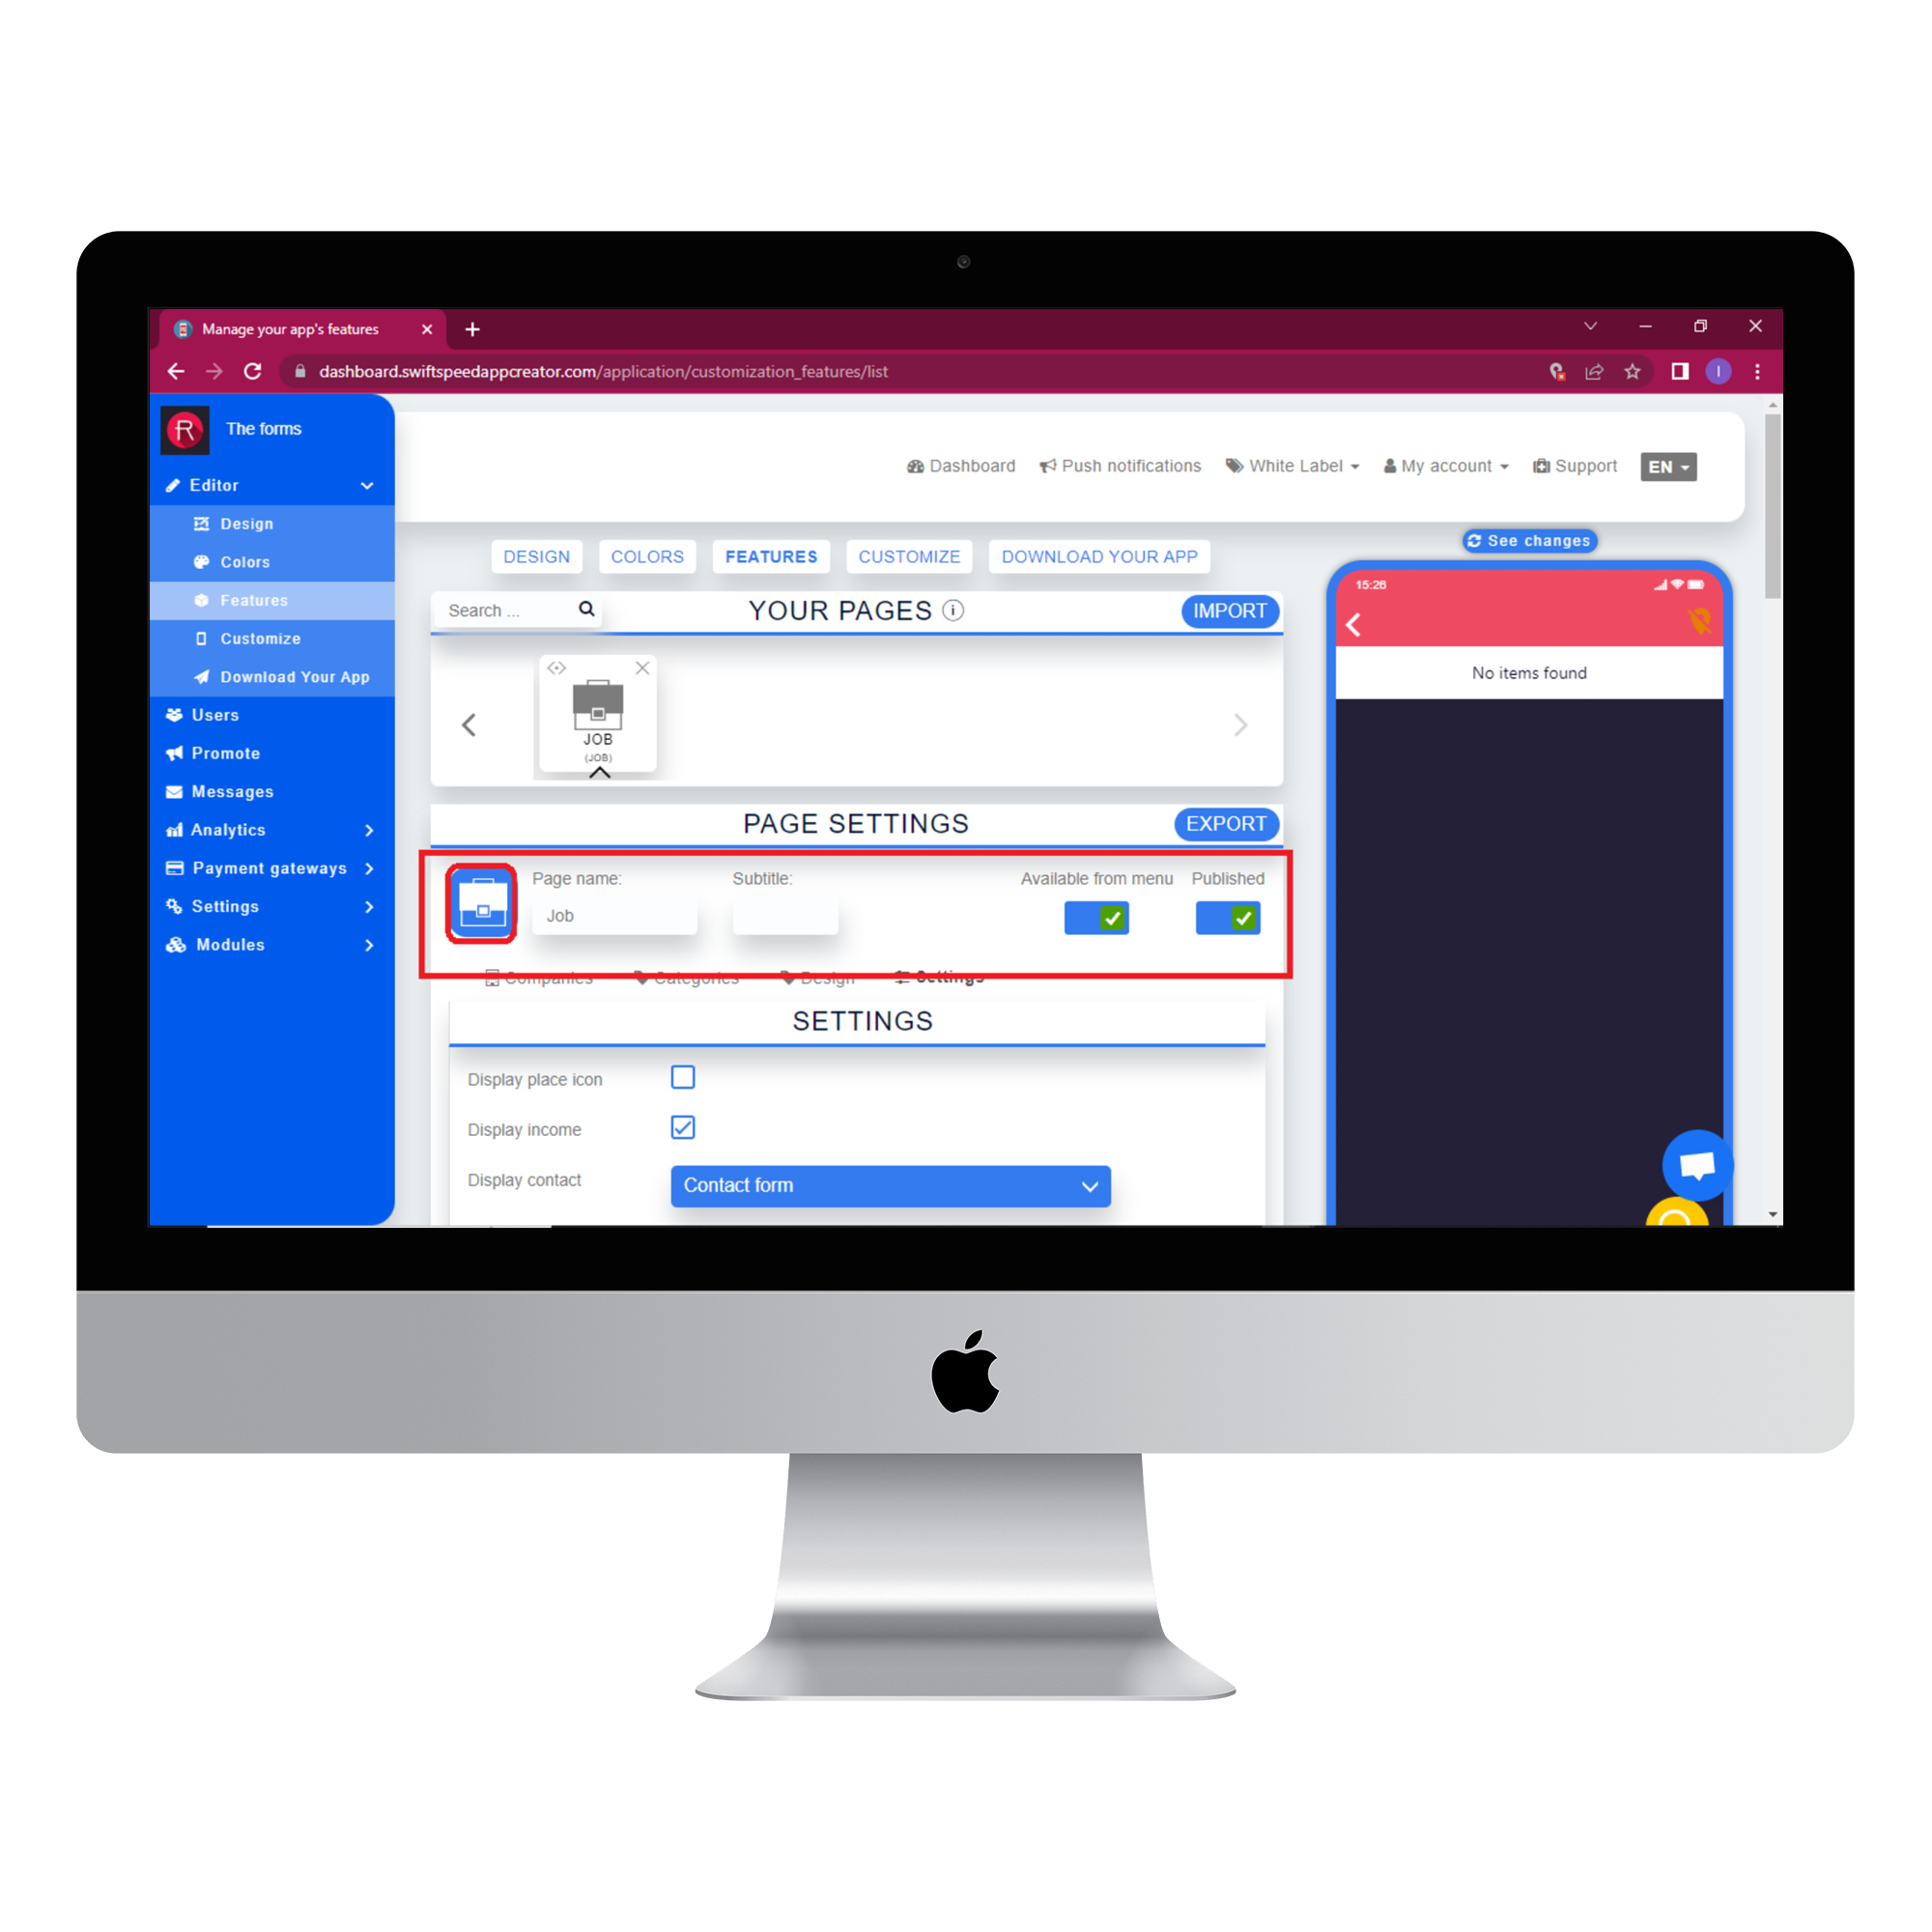
In the Page settings section, you can change the feature icon by clicking on the image button to the left of the “Page name” label. Choose your new feature icon, and it will be saved automatically.
Step 4:
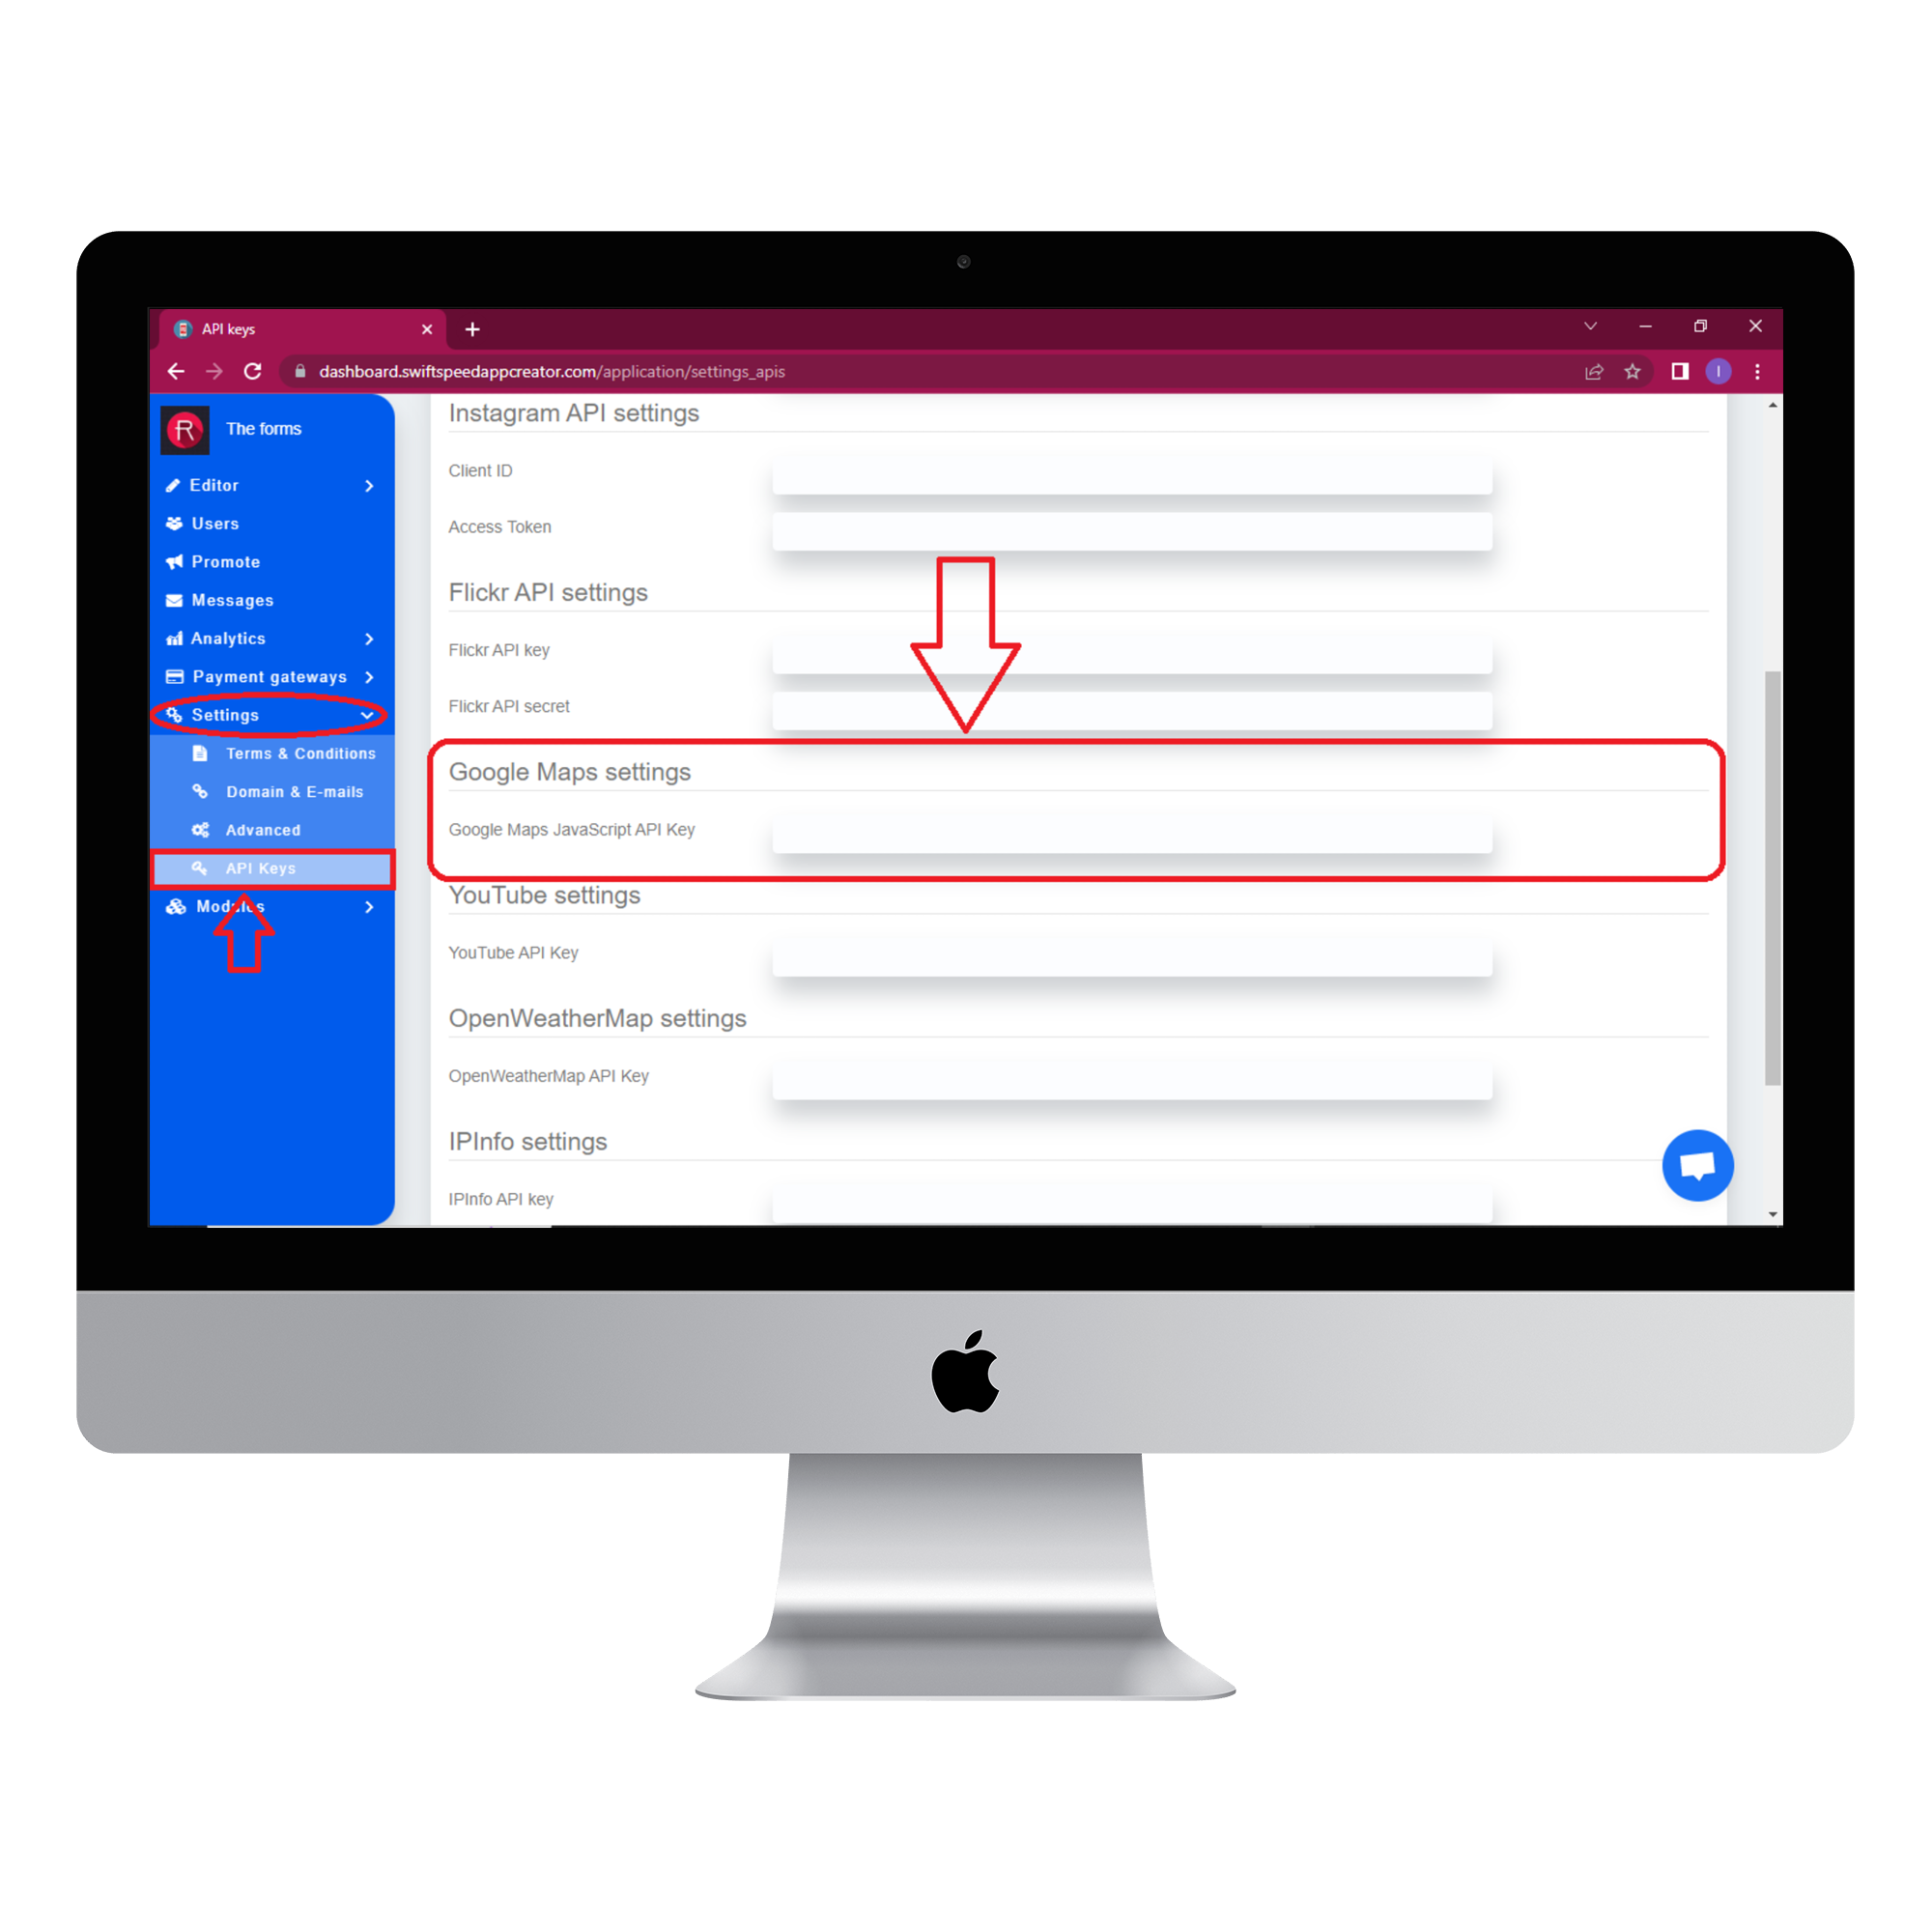
The job feature requires an API key, so you need to select settings from the side menu and choose “Api Keys”. Go to the Google maps settings section, enter your Google Maps API key and click “Save”. Go back to the features page by clicking on “editor” from the side menu and selecting “features”.
Step 5:
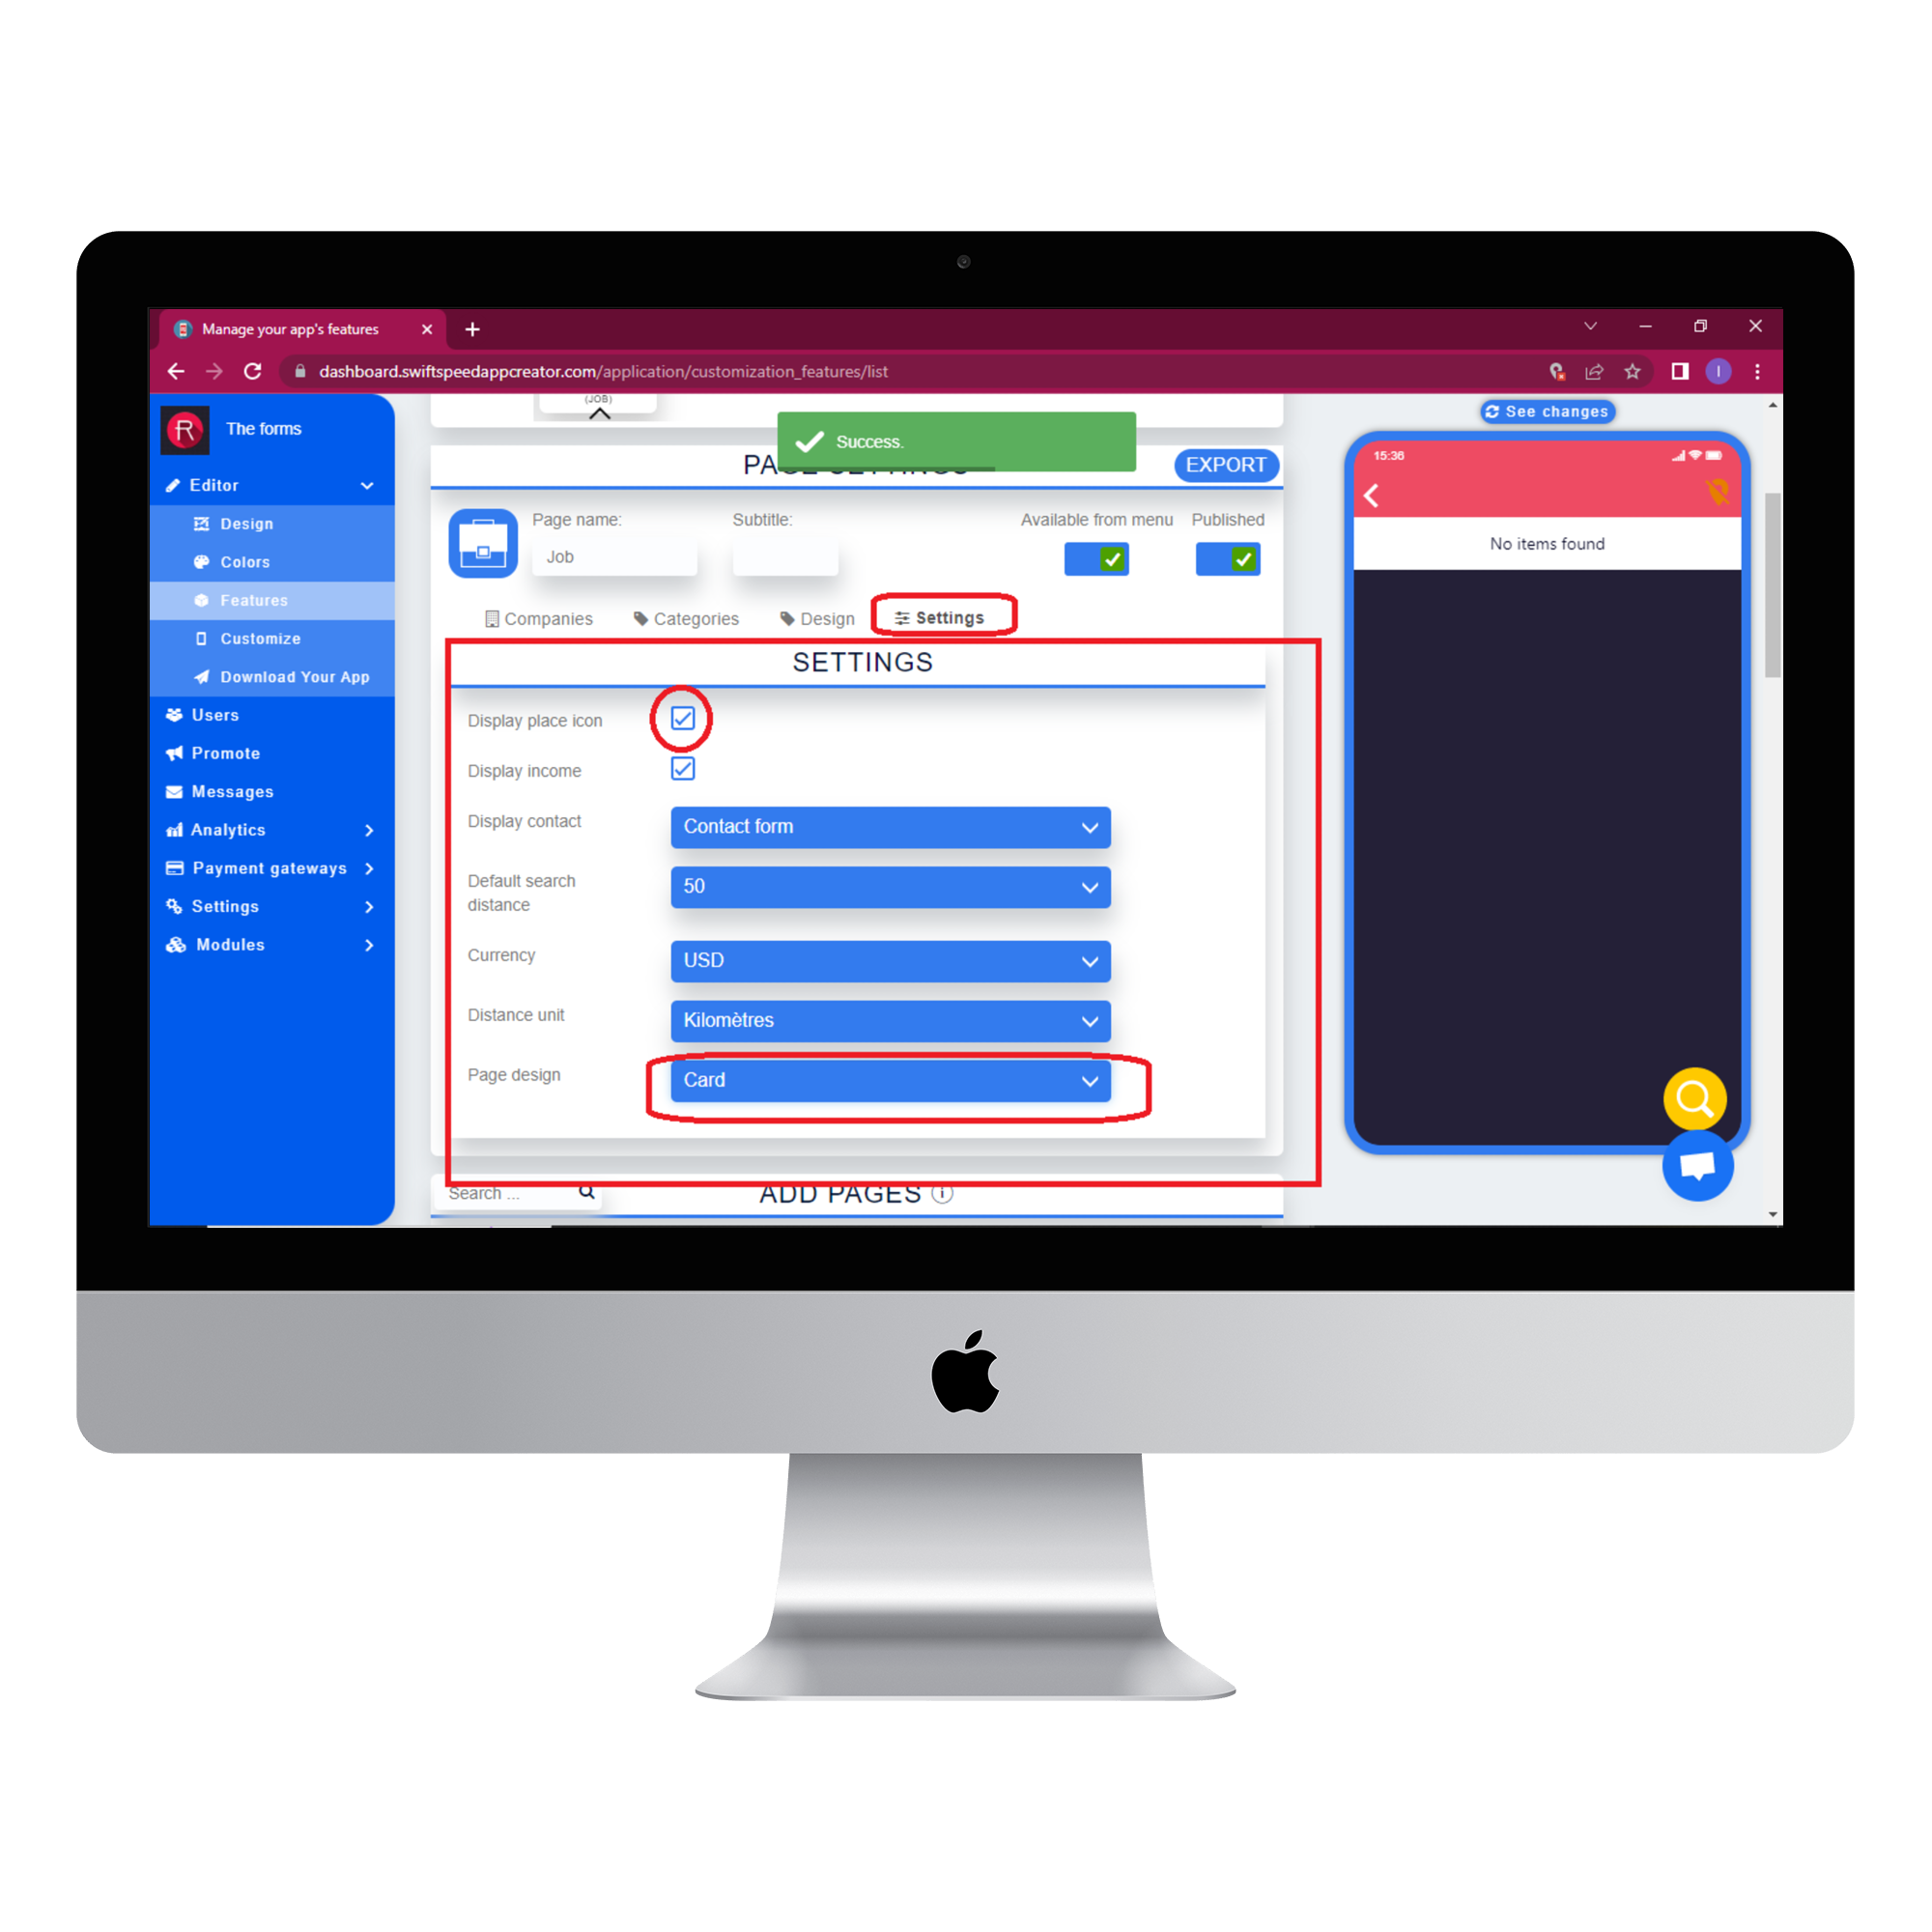
Select the settings tab and tick the “Display icon” checkbox. Choose “card” as the page design and select a currency for the job listing. We will use GBP( Great British pound ) as the currency for this tutorial.
Step 6:
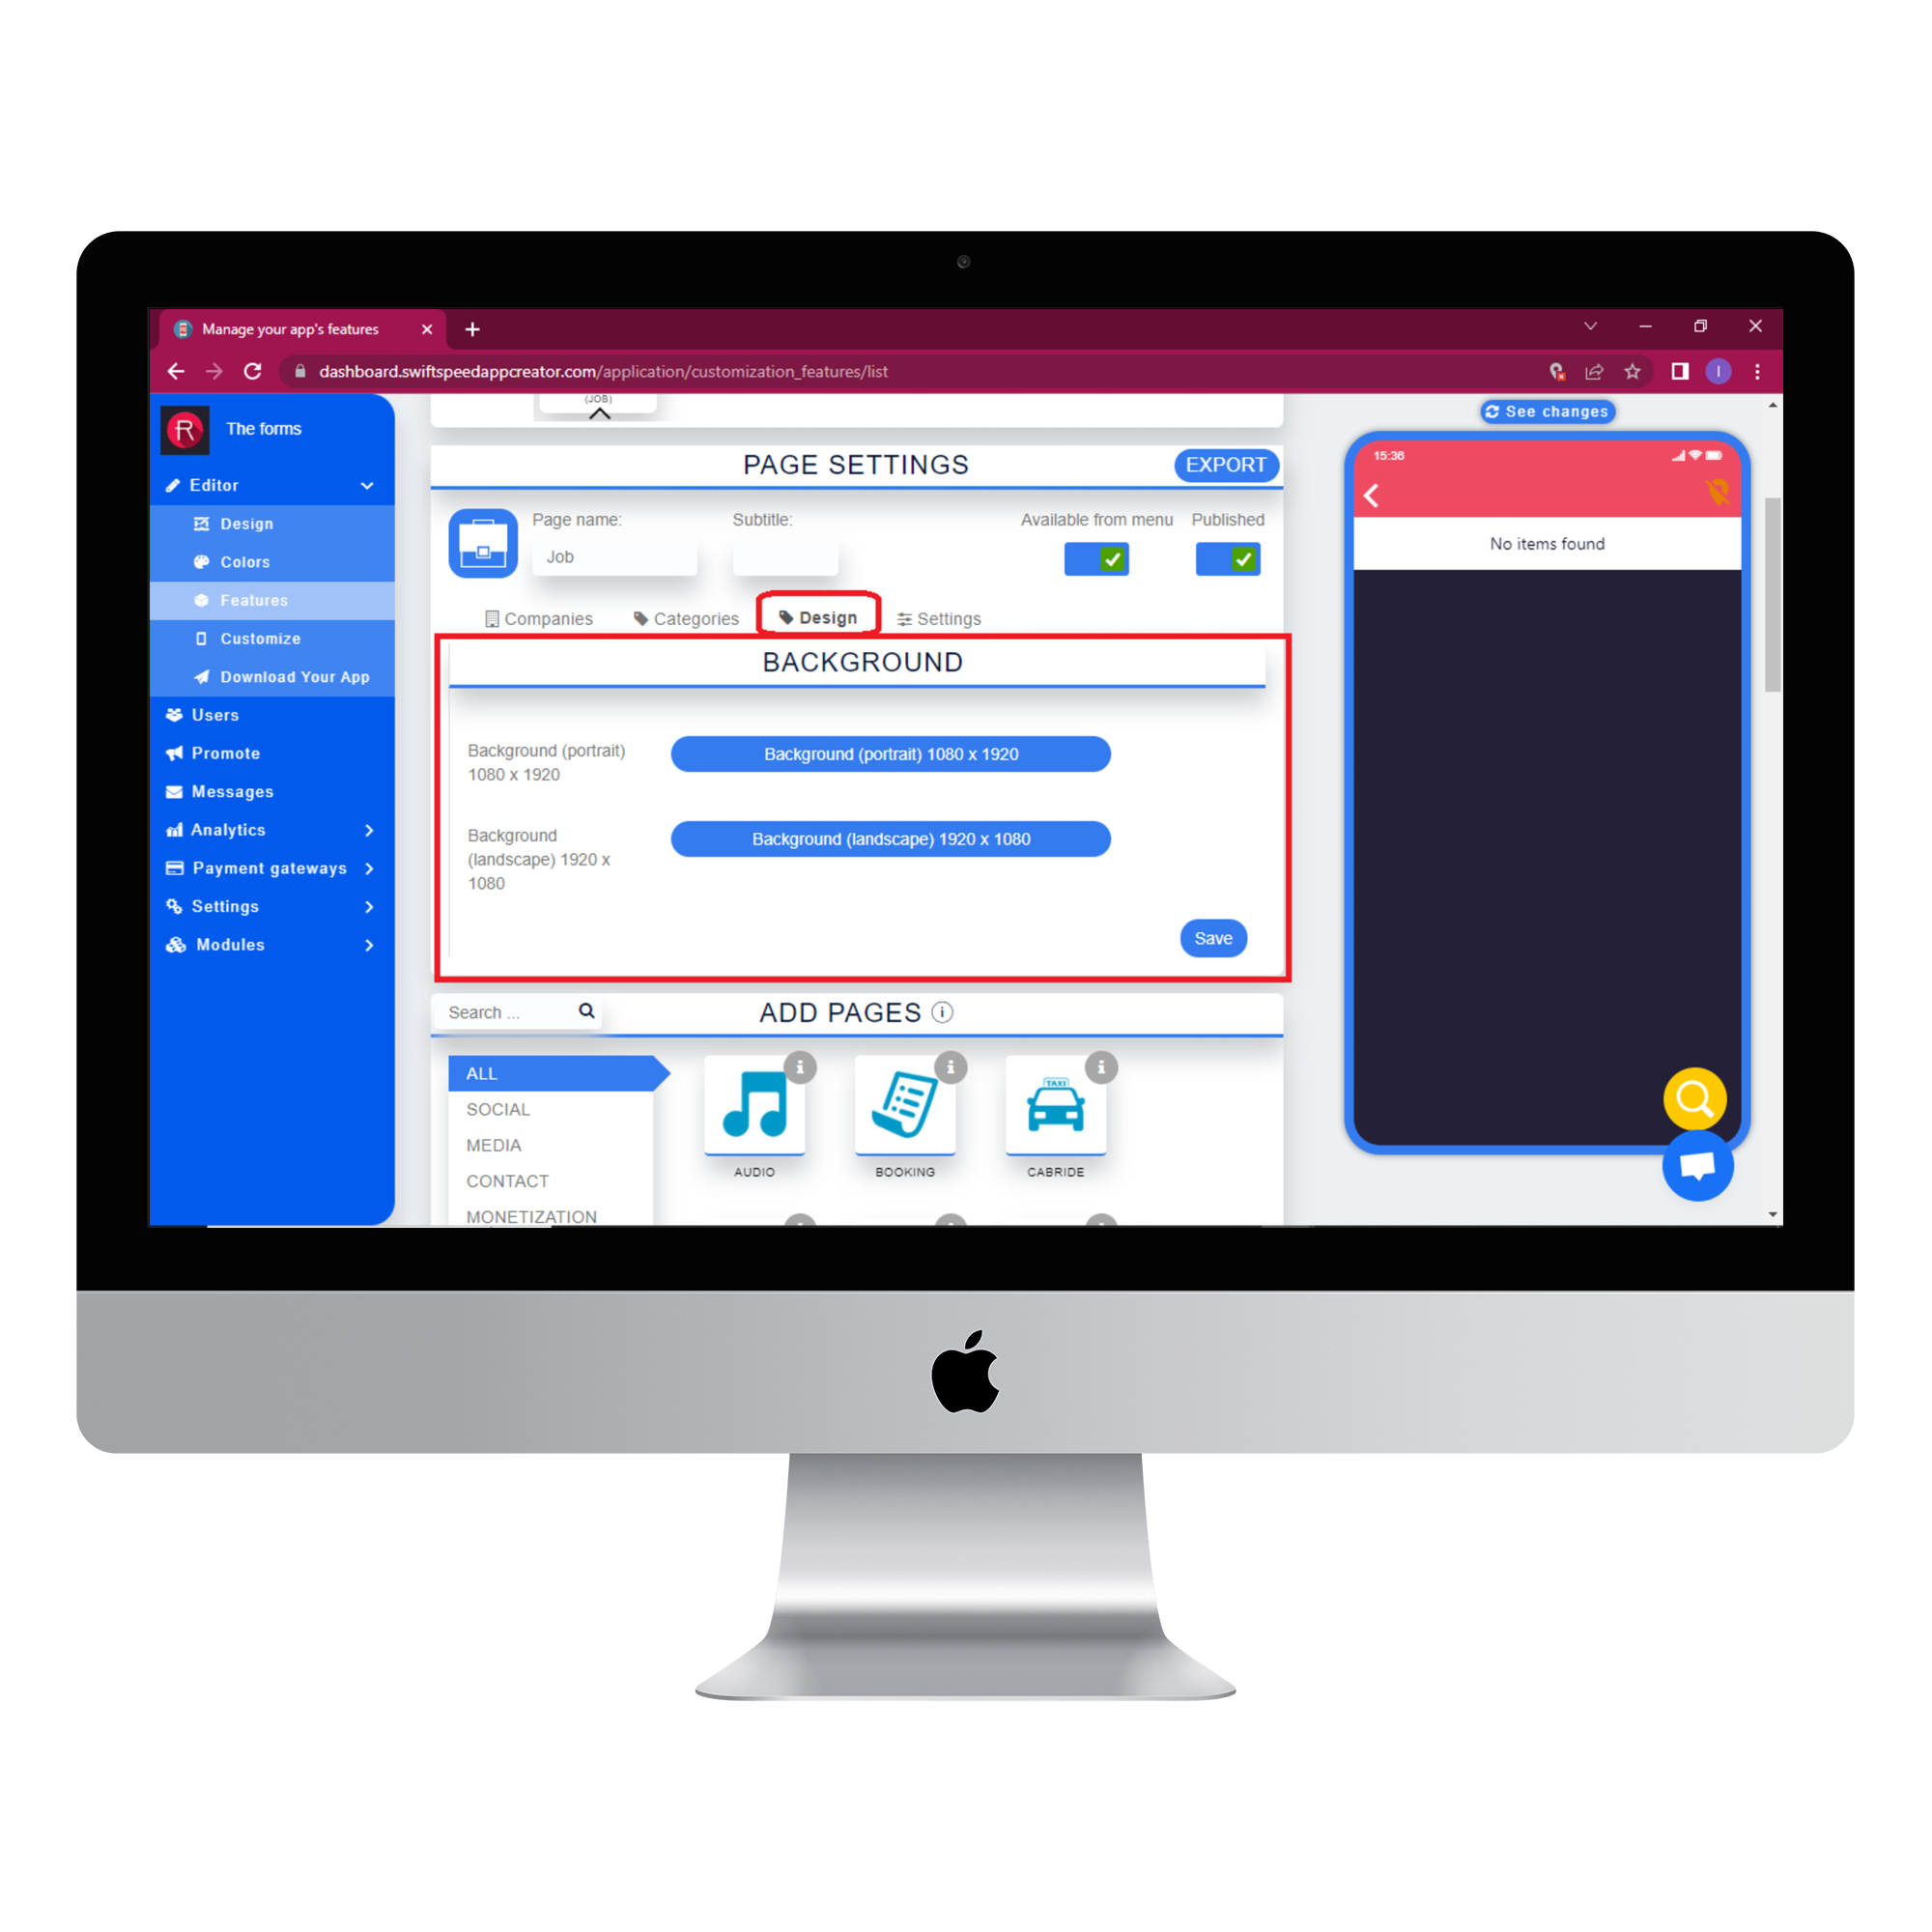
Select the design tab if you want to change the background image. You can use any image you like as the background for your app. different images can be used as the background for portrait and landscape mode. Click “save” when you have chosen the image. You can skip this step if you prefer our default background.
Step 7:
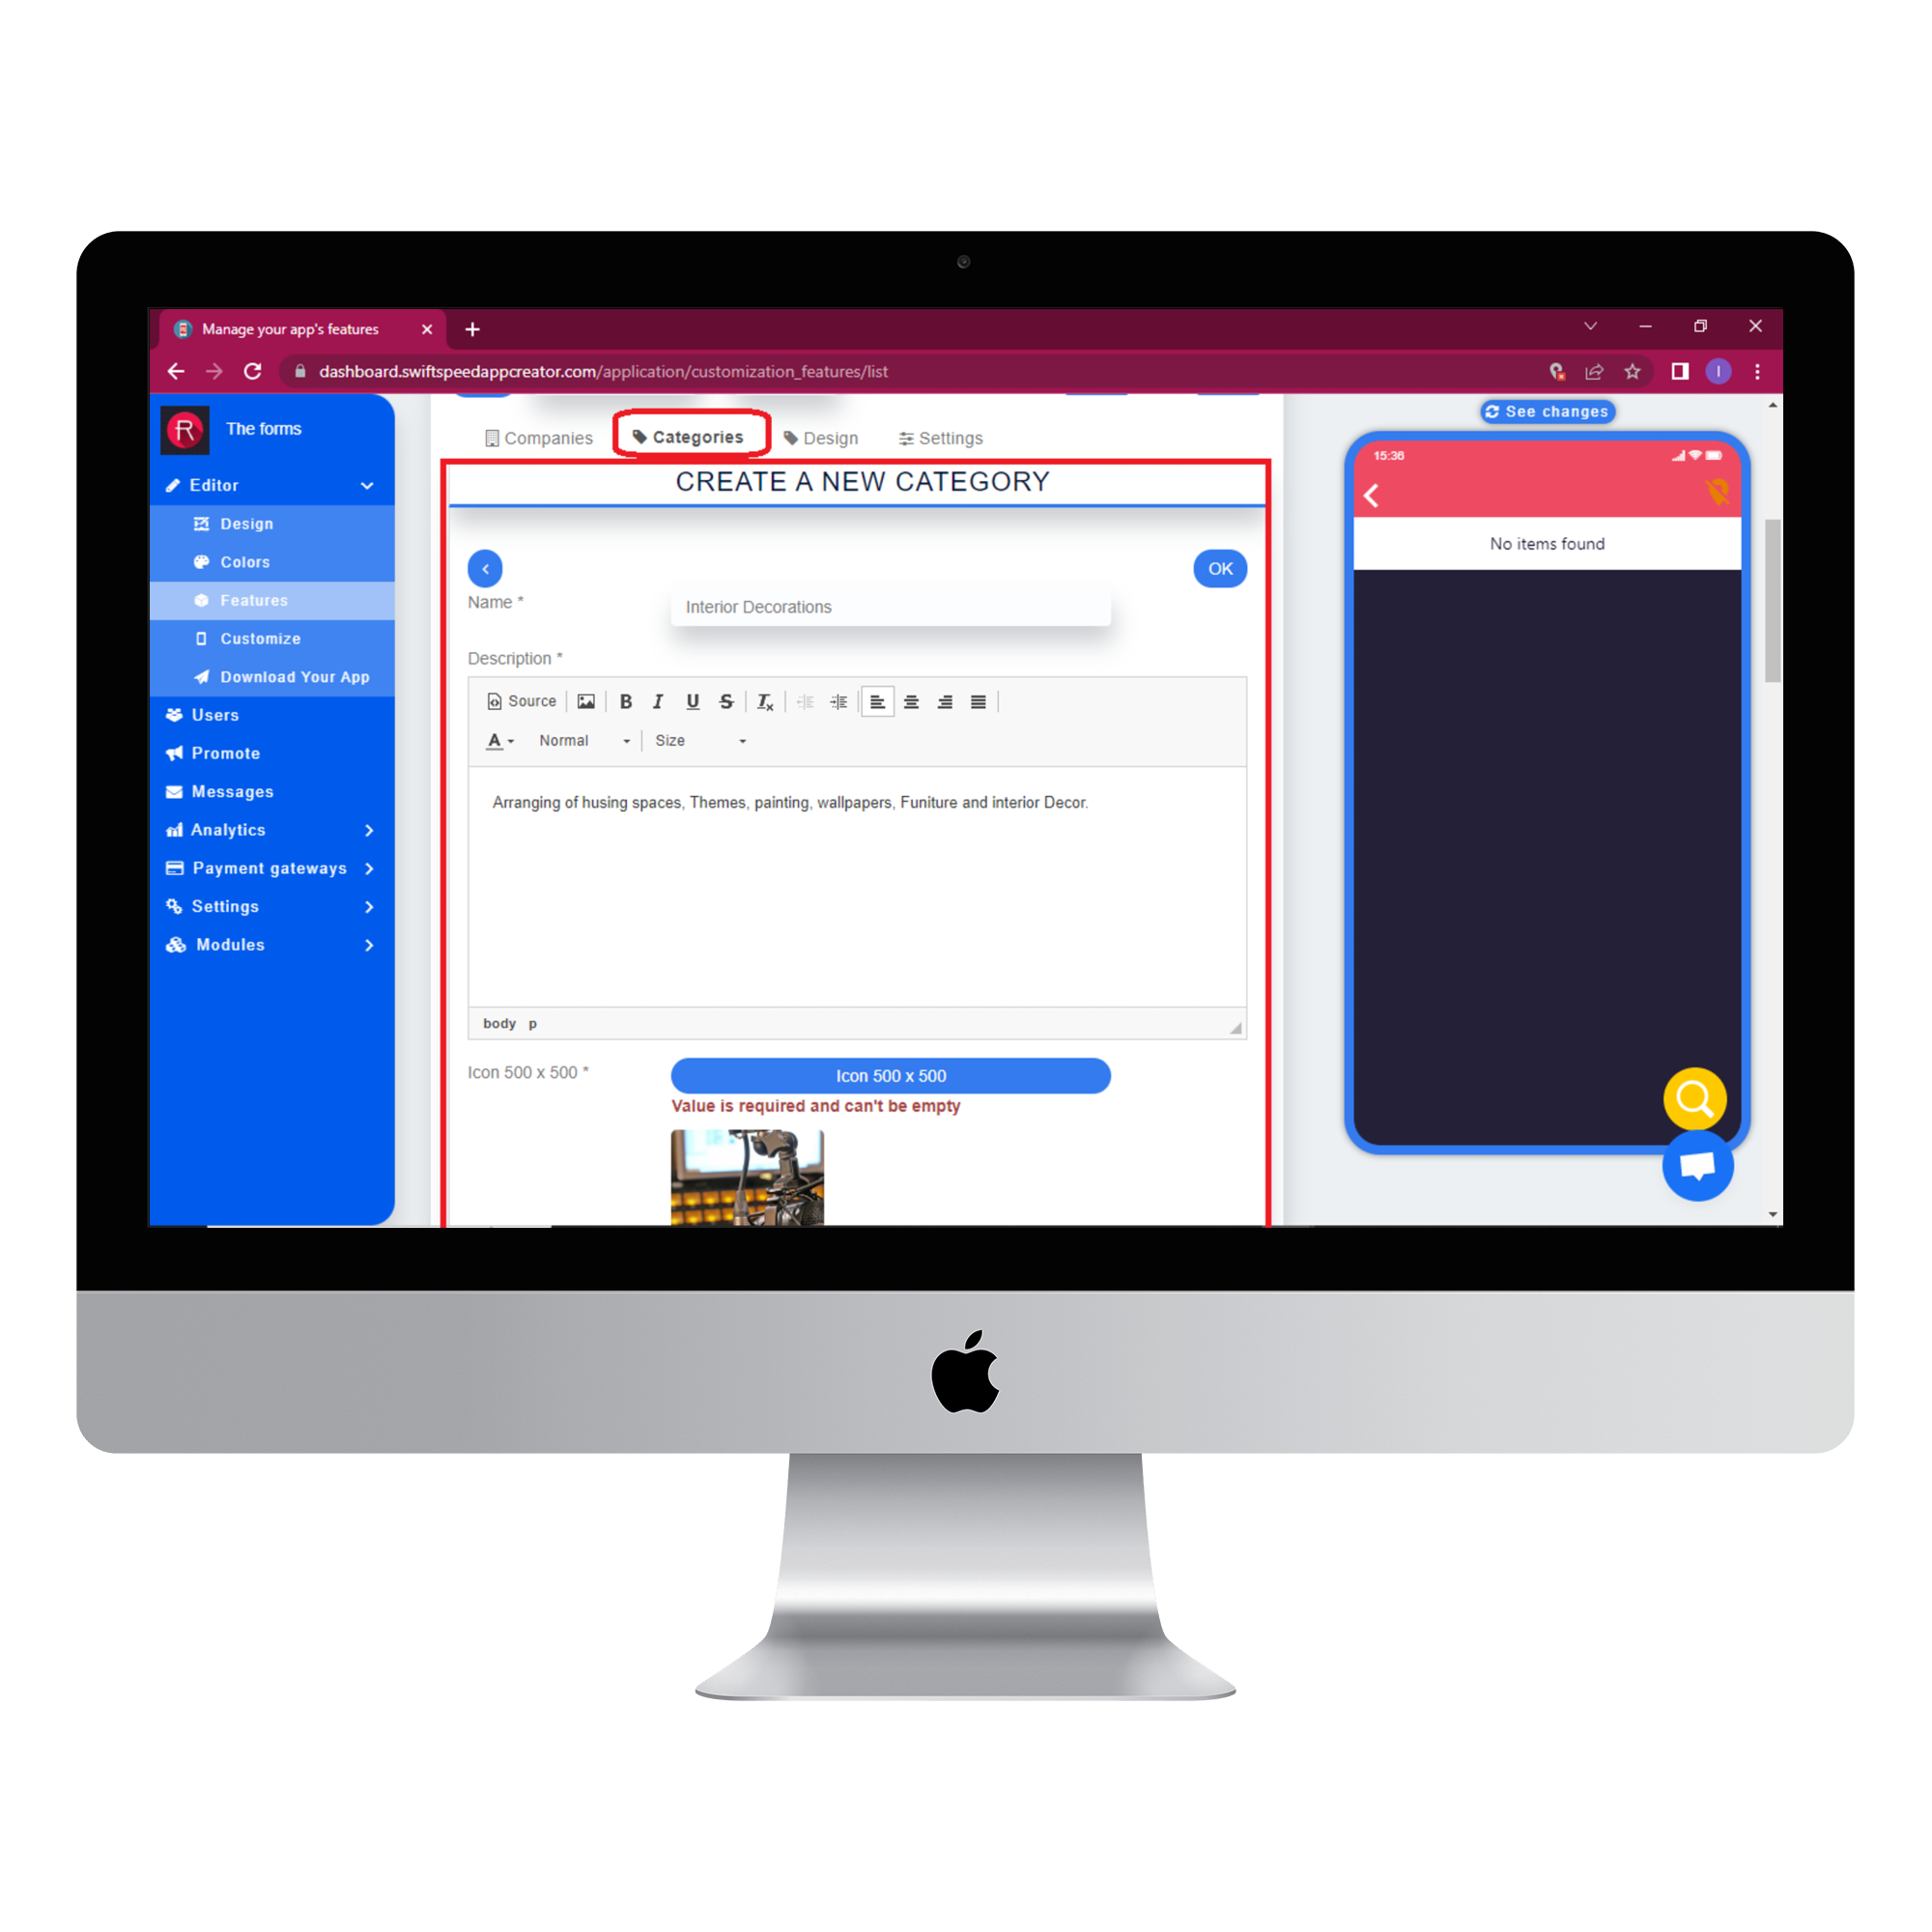
Select the categories tab and click on the (+) button to add a new category. Type the name and description of the job listing. You can add an icon to help describe the job more. Add some keywords so users can easily find the job. Click ok, and the category will be added. You can add as many job categories as required.
Step 8:
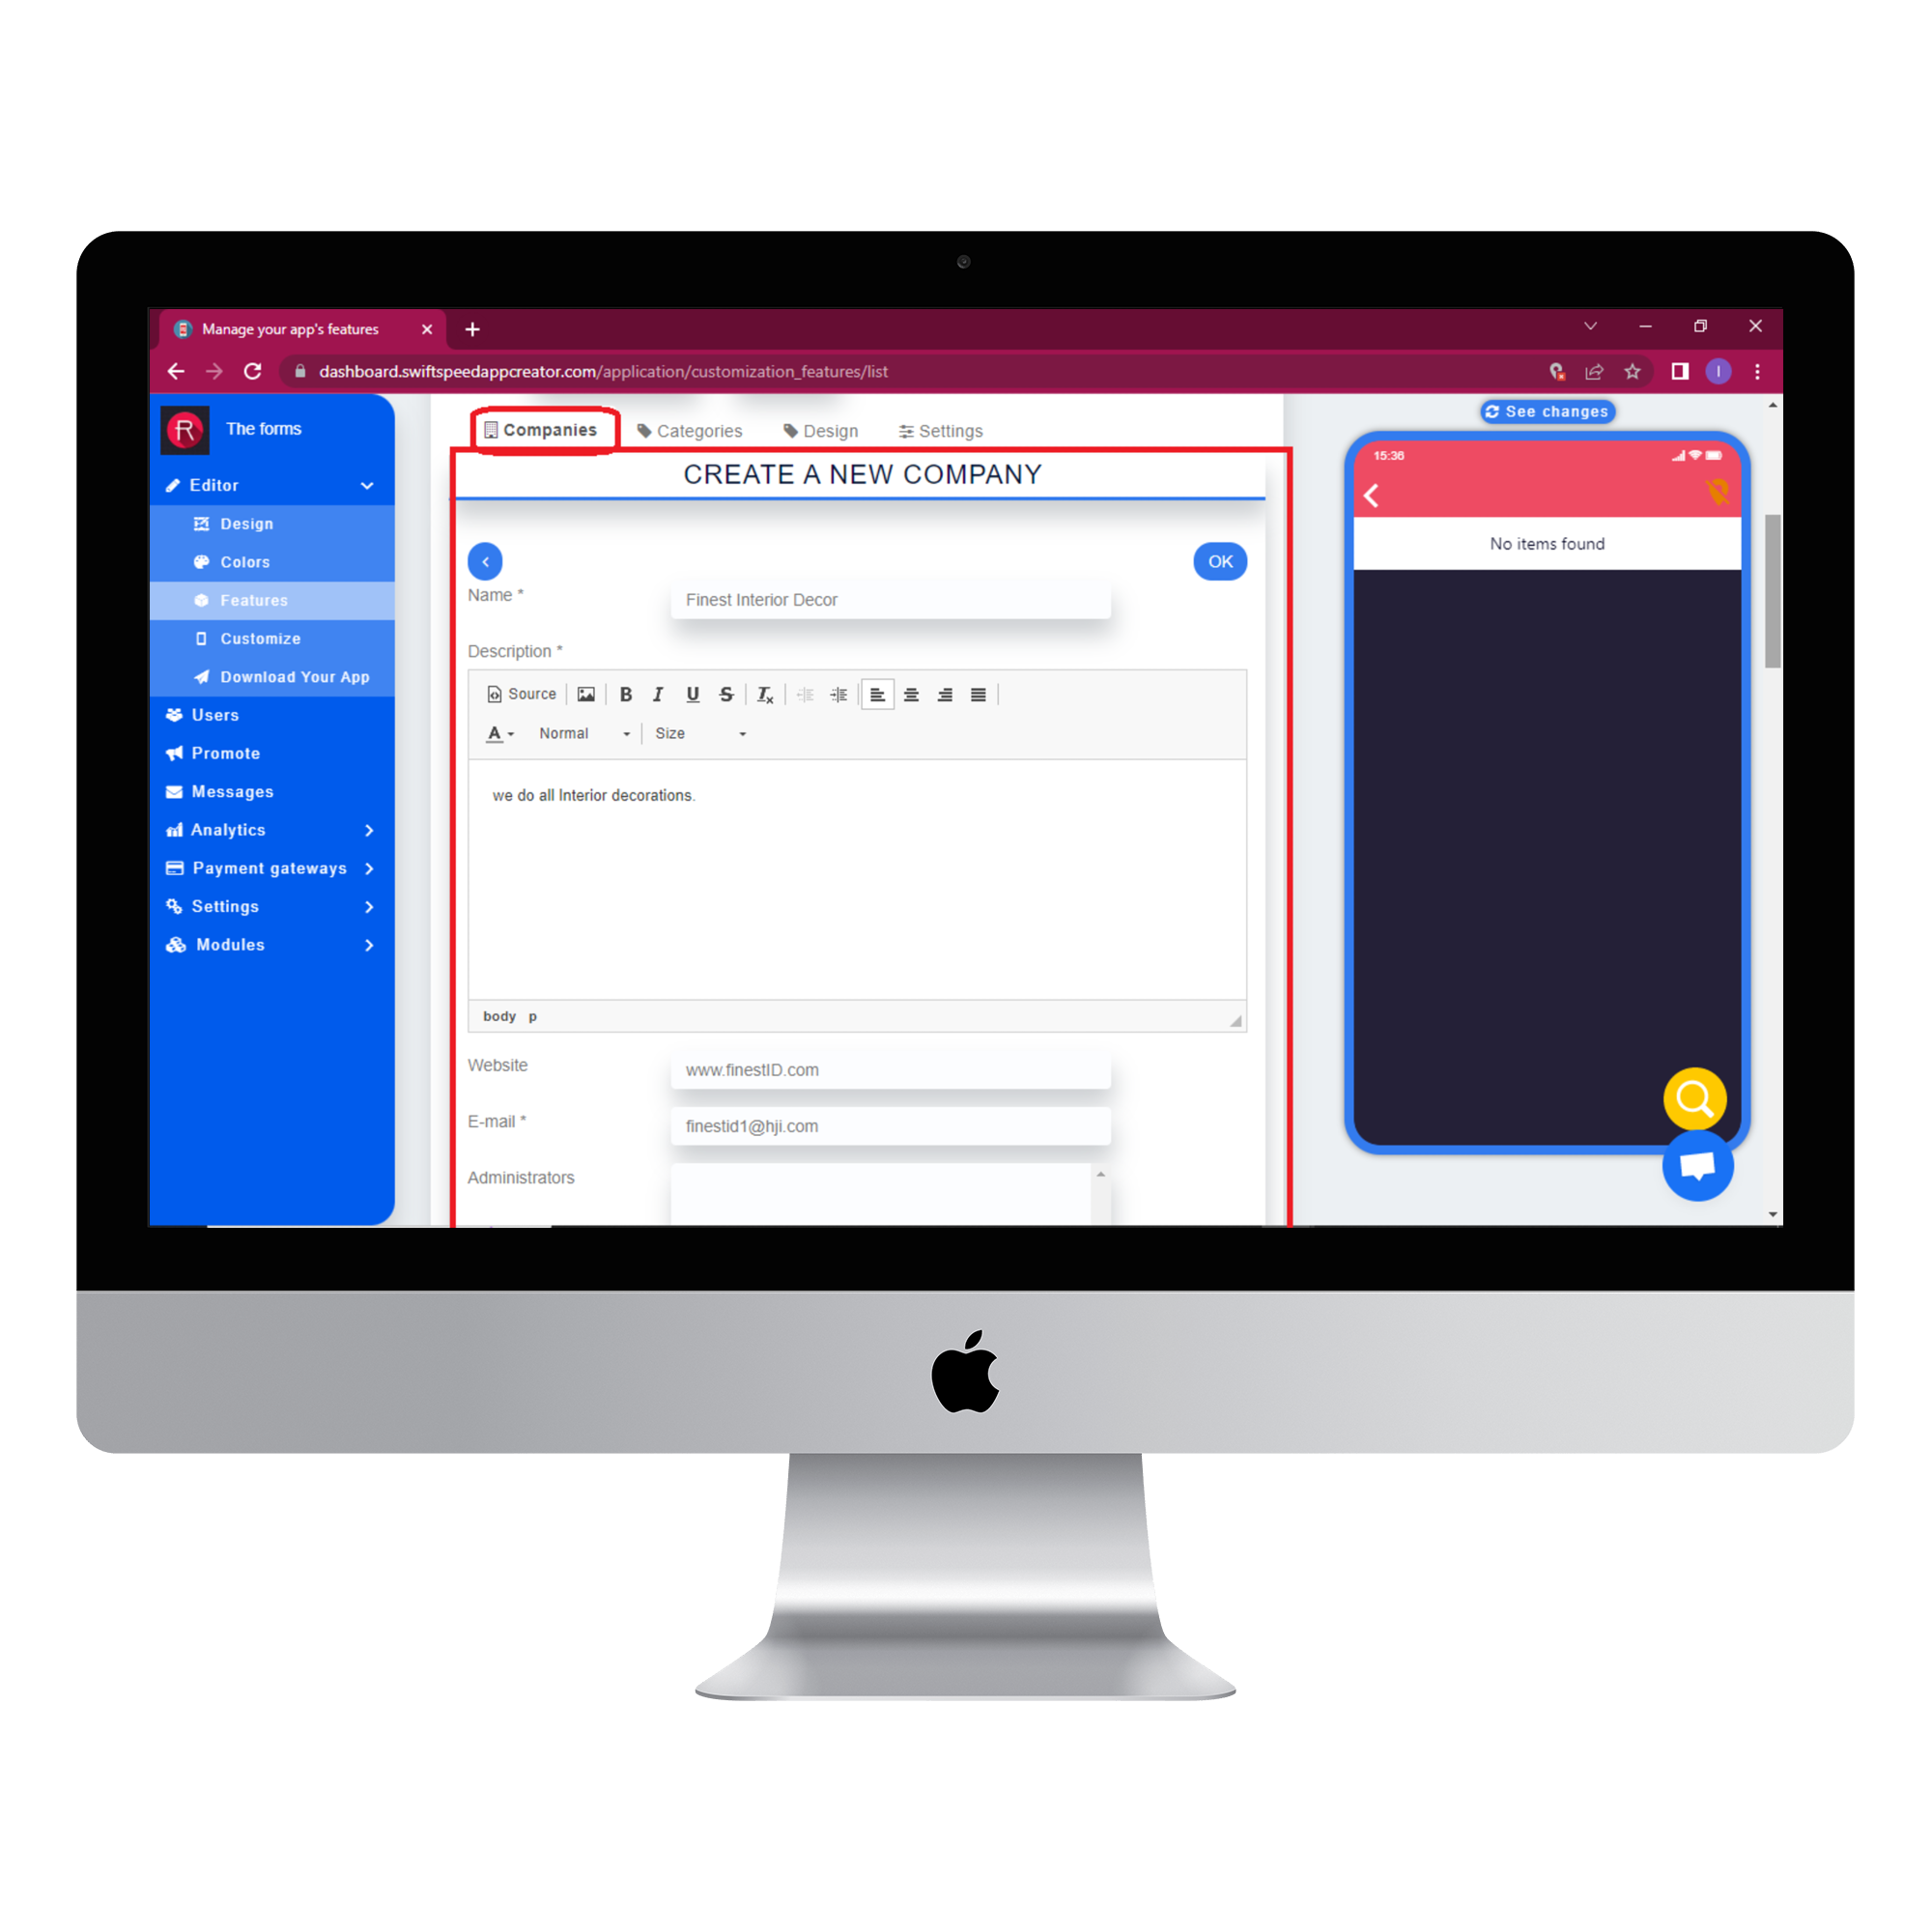
Select the companies tab and click on the (+) button to add a new company. Type in the name and description of the company. Type in the other required details, then chooses an administrator for the job page. Type in the company’s address and website, then add the logo. Click “Ok”, and the company will be added. You can add as many companies as you like by simply repeating this step.
Step 9:
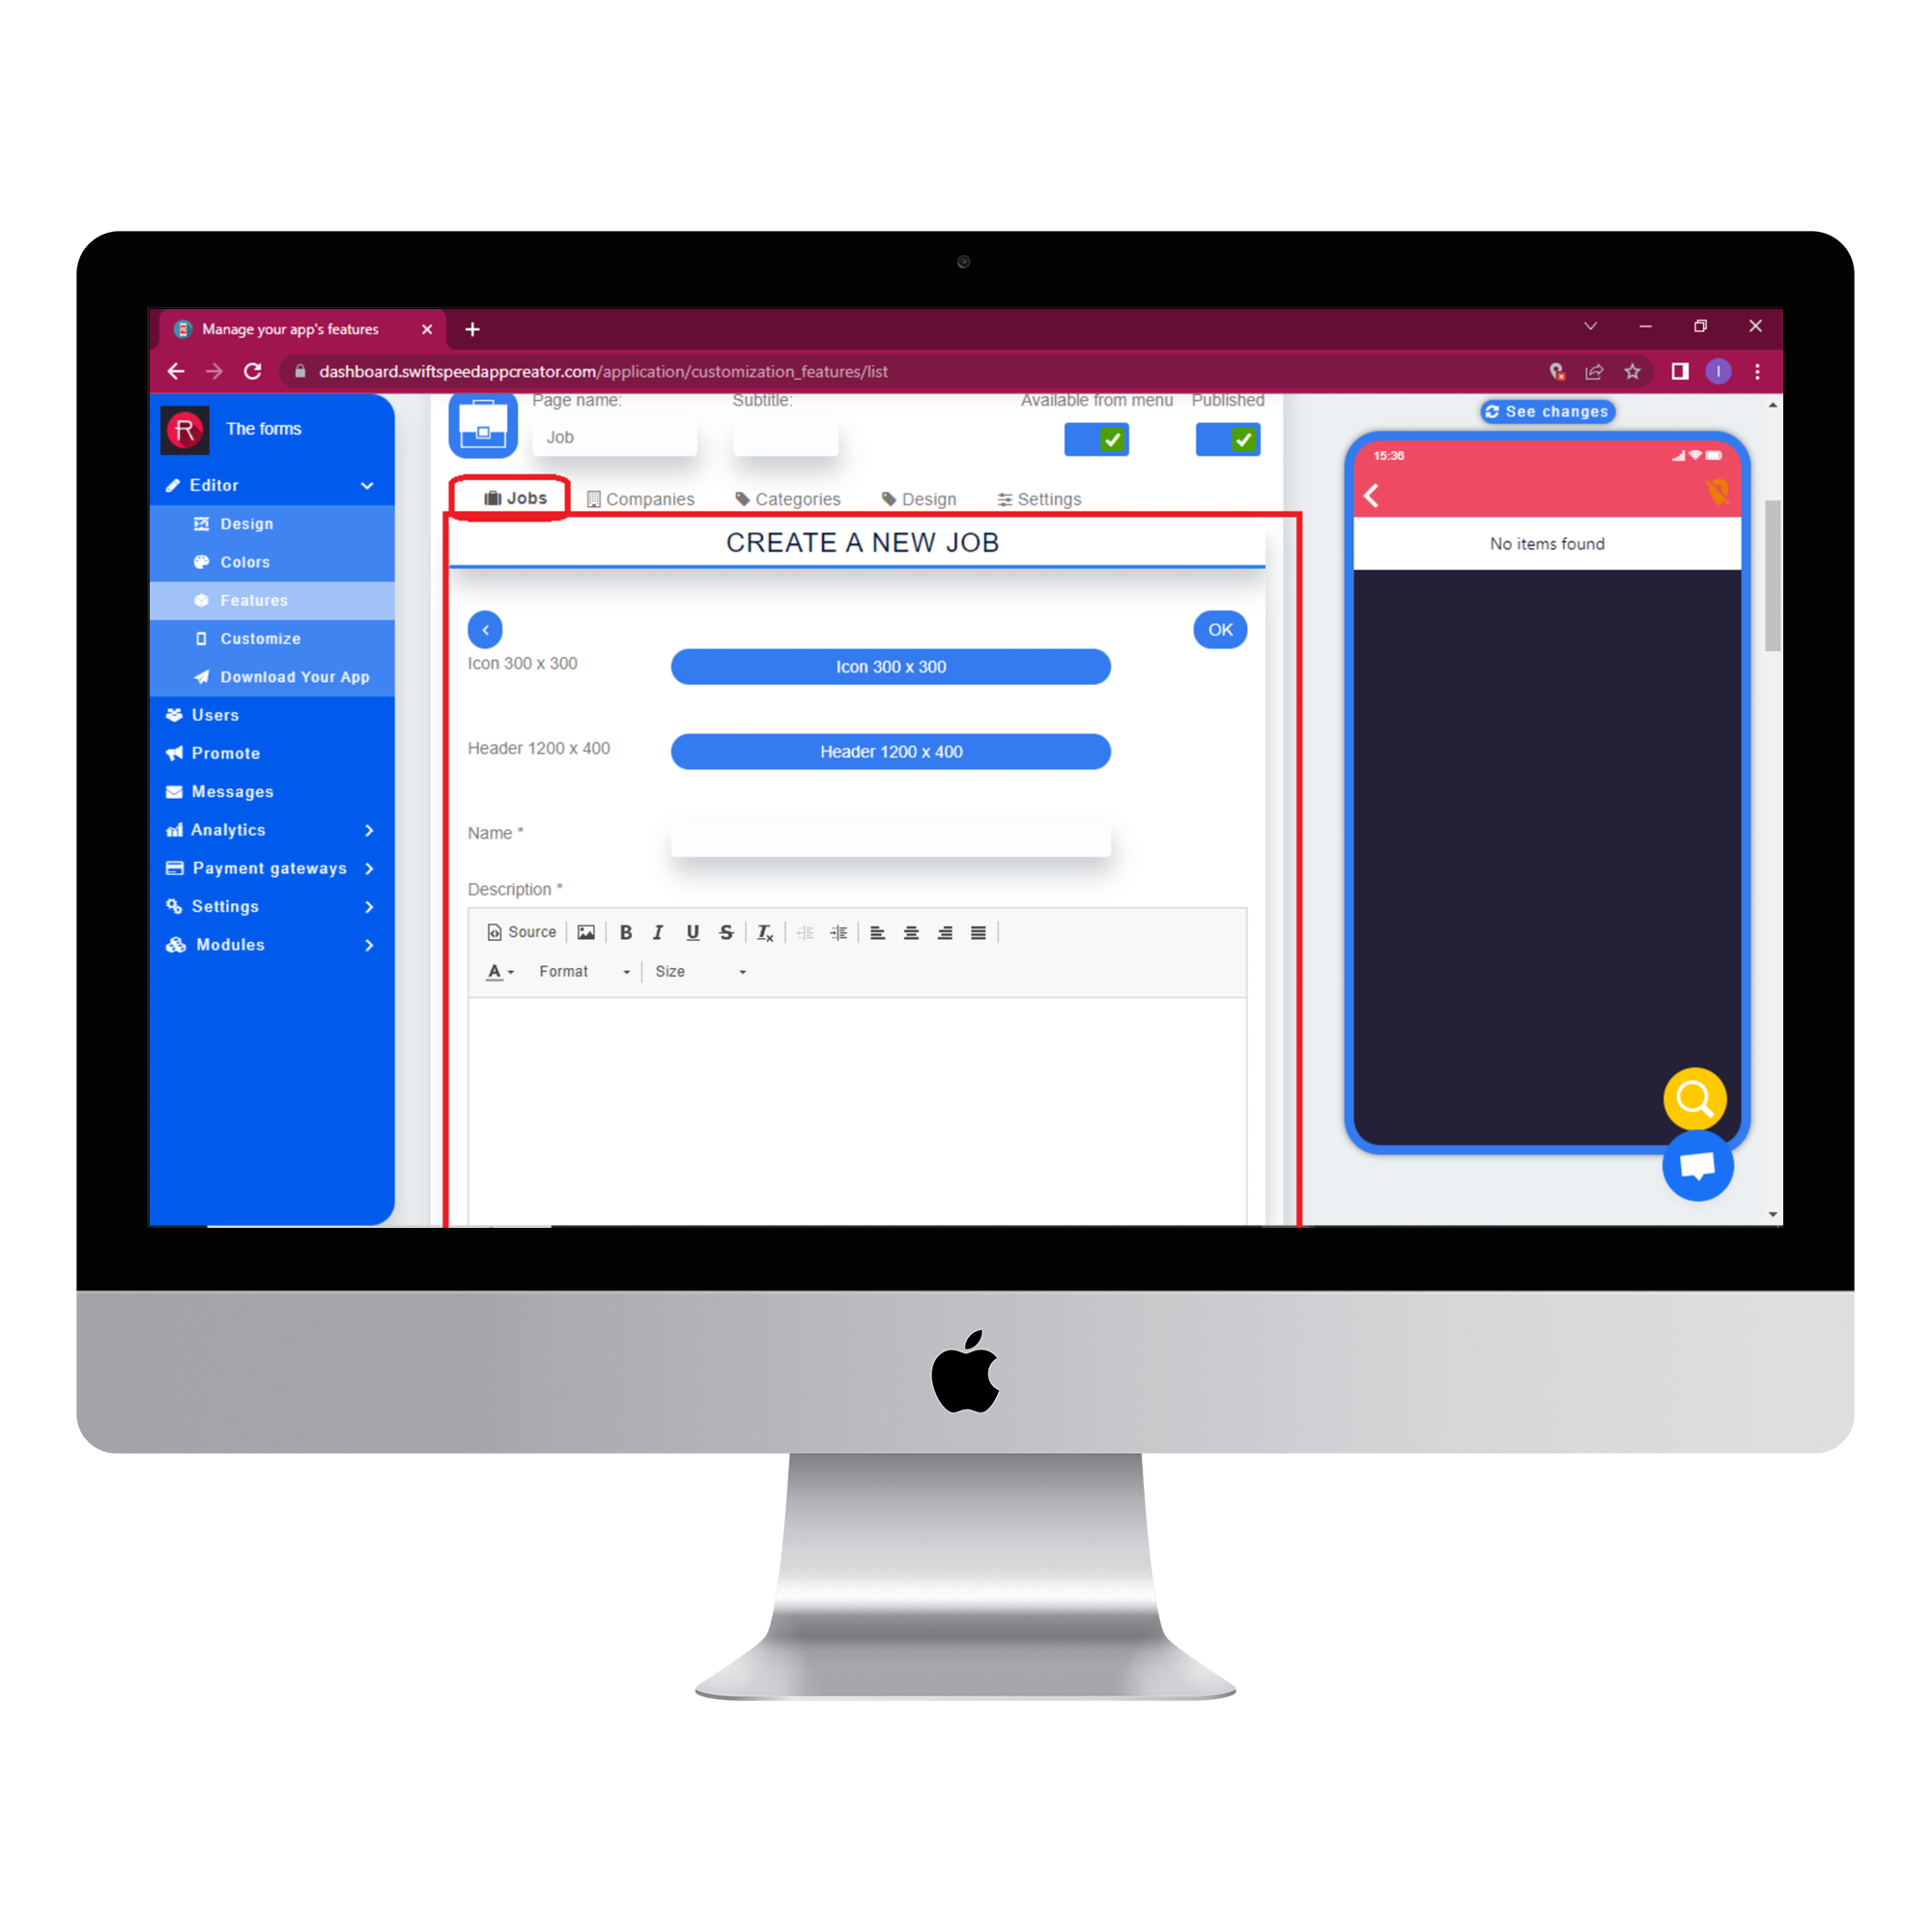
Select the “Job” tab and click the (+) button to add new jobs. set an icon for the job and pick a header image. Fill out all other required information so users that want to apply for the job can easily make contact. Click “Ok” when you are done.
Step 10:
Click on the “see changes” button above the virtual device to see what your app would look like on an actual device. To generate an Apk of your app, click on “Download your app” from the side menu, scroll down and click on “Generate Apk.” Choose a subscription plan and the Apk will be sent to your email address when the build is complete. Here is an example of what your app would look like.
Congratulations! You have successfully added the Job feature to your app.
Check out our complete app maker features to see other essential features you could integrate into your app.

