To Compile Your IOS Source Code and publish an iOS app, you need a Mac computer; unlike Android studio, Xcode software used to generate your iOS app build cannot run on a windows computer. If you are confused about making an IOS App, please read this article to get started with our platform.
Step to compile an iOS app
Create the items related to the developer account with which you are going to publish
You have to create a CSR file and an iOS Distribution certificate. And you will be able to use these items for all of the next apps you will have to publish under this developer account –> keep them preciously once created.
The CSR File
It must be created from the keychain access tool of your Mac. Open it from Applications > Utilities > Keychain Access:
From the menu select “Keychain access” > “Certificate Assistant” > “Request a Certificate From a Certificate Authority”:

In the window that opens, enter the email of the developer account (or any other email address, it doesn’t have any impact), and enter the name of your developer account, and select “Saved to disk”:
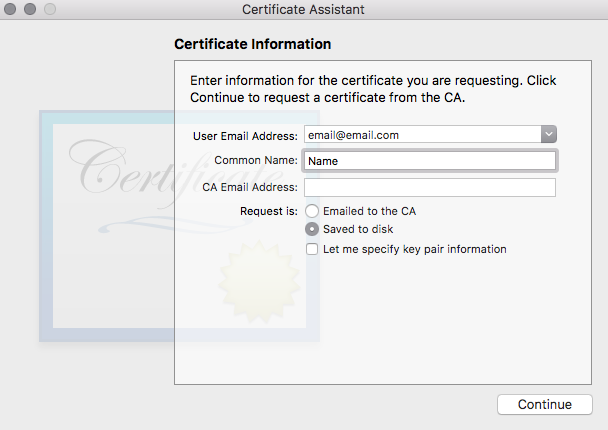
Save this CSR to your disk, in a folder related to the certificates of your developer account.
Close the window.
The iOS Distribution certificate
– Connect at https://developer.apple.com/membercenter/index.action with the developer account
– Click on “Certificates, Identifiers & Profiles”
– Click on “Certificates” in the menu on the left, then click on ![]() :
:

– Choose “iOS Distribution (App Store and Ad Hoc)” and click on “Continue”:

– Sign your iOS Distribution certificate with the CSR file you have created before.
– Download the iOS Distribution certificate that has been created.
– Double click on the iOS Distribution certificate (ios_distribution.cer) to add it to the Keychain Access.
Create the items related to the app you are going to publish
The Apple Push Services certificate
Thanks to this certificate you will be able to add push notifications, in-app purchase, and other services to your app. In our case, only the push notification service is interesting.
– Click on “Identifiers” in the menu on the left, then click on ![]() :
:

– Choose “App IDs” and click on “Continue”:

– Enter your app name, the Bundle ID of the app:

– Go below and select “Push Notifications” in the list of “Capabilities“:

– Click on “Continue“.
– Then click on “Register“.
– In the list, find the App ID you have just created and click on it.
– Go at the bottom and for Push Notifications, click on “Configure”:

– In “Production SSL Certificate” section click on “Create Certificate”:
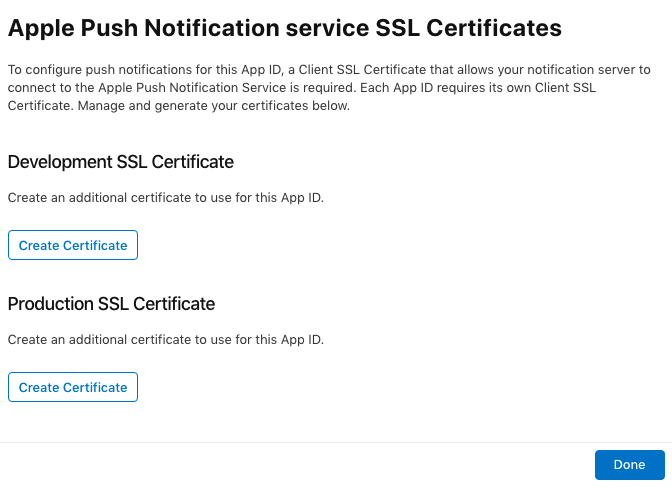
– Click on “Choose File” and upload the CSR file you have created before for this developer account (the same CSR you have used to create the iOS Distribution certificate for this developer account):

– Download the Apple Push Services certificate (aps.cer) that has just been created. Store this certificate in a folder related to this app on your Mac.

– Click on “< All Certificates“.
-Double click on the Apple Push Services certificate (aps.cer) to add it to the Keychain Access.
The Provisionning Profile
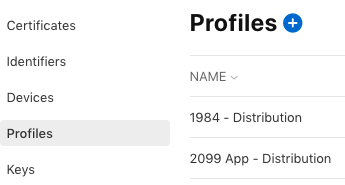
– Click on “Profiles” in the menu on the left, then click on ![]() :
:
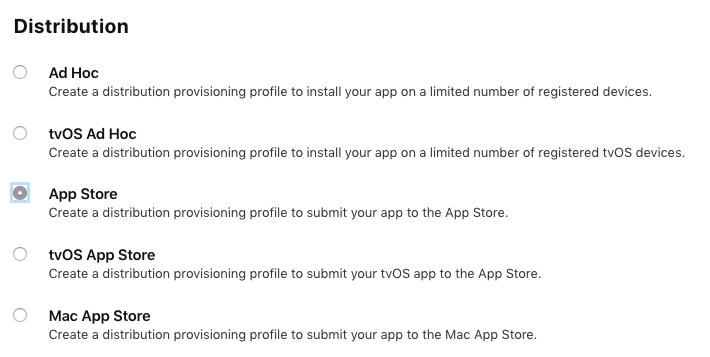
– Choose “App Store” under “Distribution“:
– Select the App ID of your app, and click on “Continue”:

– Select the iOS Distribution certificate associated to the CSR you have used to sign the Apple Push Services Certificate you have created just before (it is very important to use the iOS Distribution which has been created with the CSR used to sign the aps.cer of this app. Don’t forget it, and don’t forget that in case you create a new aps.cer for this app with another CSR you will have to create a new provisionning profile too with the iOS Distribution certificate made with this CSR, and then to publish an update of your app on the App Store)

– Click on “Continue“.
– Name the Provisionning Profile and click on “Continue”
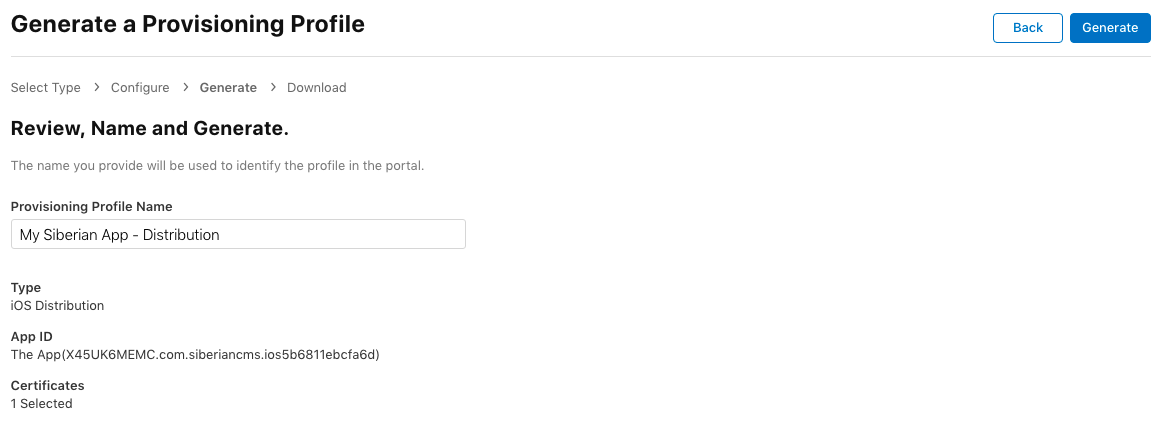
– Download the Provisionning Profile that has just been created. Store this certificate in the folder related to this app on your Mac, and which contains the Apple Push Services certificate created just before.

Compiling the app
– Download your iOS source code.
– Unzip the folder and open the .xcworkspace file by double-clicking it.
– If you haven’t already, you need to add the Apple developer account to Xcode.
Go to Xcode > Preferences…
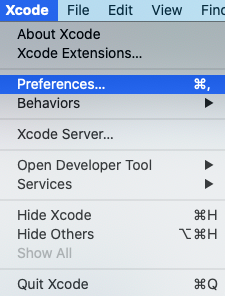
Then on the Accounts tab:
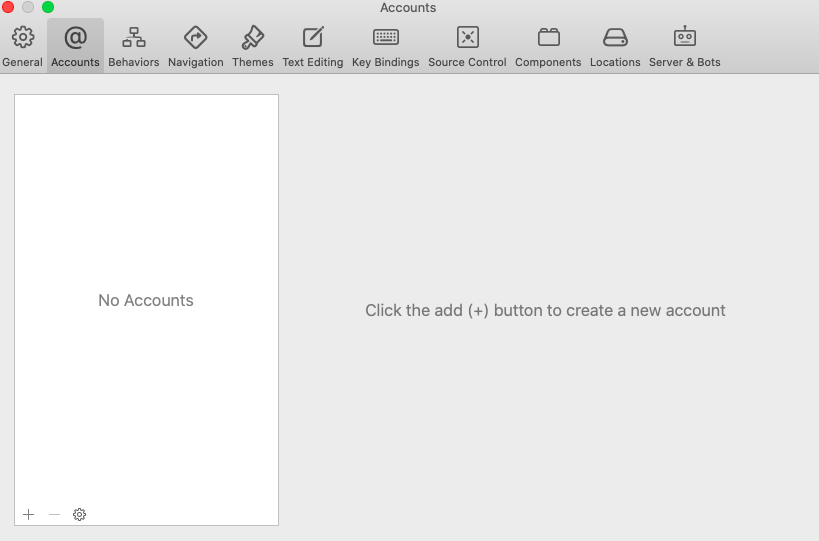
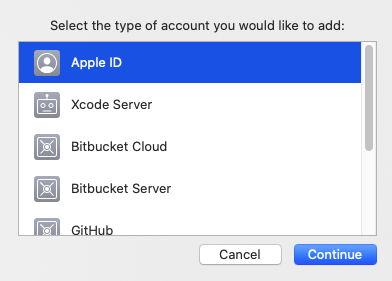
Click on the + to add an account and select Apple ID:
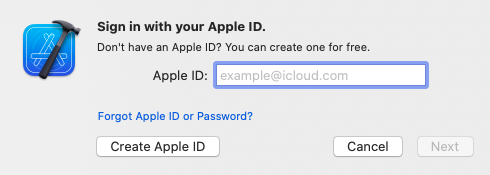
Then enter the Apple ID and its password.
The Apple developer account will be added.
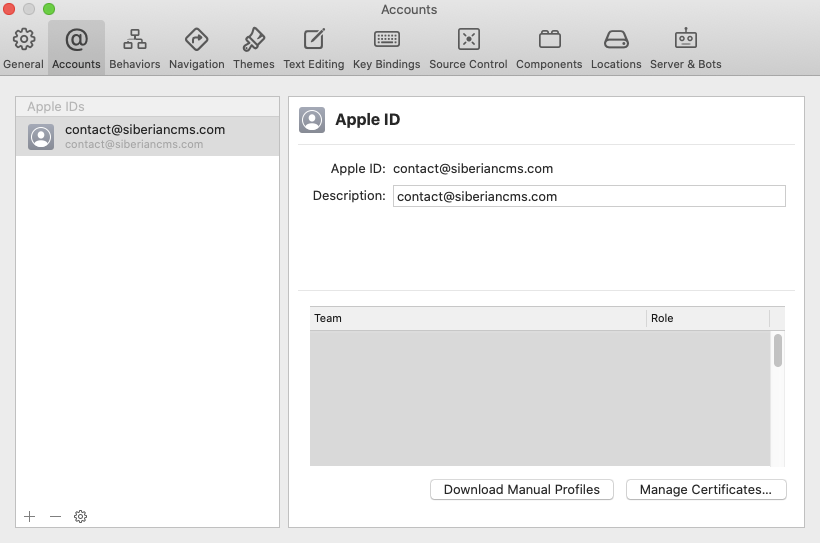
Note that you can add several Apple developer accounts.
– Then follow this video to compile the app:
[embedyt] https://www.youtube.com/watch?v=66jNftlYCAI[/embedyt]
Note: you must first create your app on App Store Connect before sending the build with Xcode (Step 1 > 3 of the above documentation).
Creating the .pem certificate
More info about the push notifications with Siberian CMS
– Go into the Keychain Access on your Mac
– From the left menu, select “Certificates.”
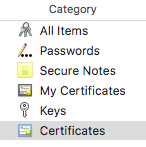
– In the search bar at the upper right, enter the bundle ID of your app
– Click on the arrow on the left of your “Apple Push Services” certificate, a private key must be attached under it

– Select the private key and the certificate
– Right-click on them
– Select “Export 2 items…”

– Choose your desktop as the destination (it can be another location but you will have to adjust the code we will give you after)
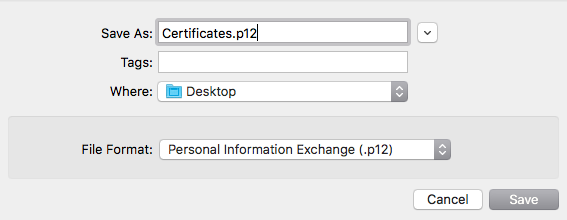
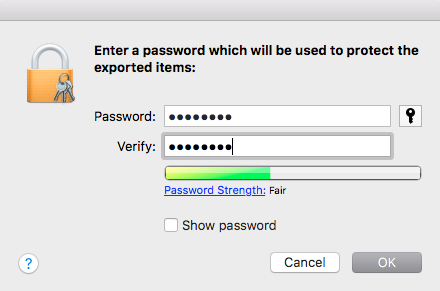
– Choose a password of your own
– Open the Terminal console of your Mac (From Applications > Utilities > Terminal)
– In the Terminal, be sure to be located on your desktop (you must have “Desktop” displayed and then your username)

– Enter this command:
“openssl pkcs12 -in Certificates.p12 -out certificat.pem -nodes -clcerts”
(If the terminal answers that there is no file named “Certificates.p12”, go to your desktop and check what is the name of this certificate .p12, and enter this name rather than Certificates.p12 in the command line)

– Enter the password you have used just before to export your certificate on your desktop

– On your desktop, you now have two certificates: a Certificates.p12 and a certificat.pem.
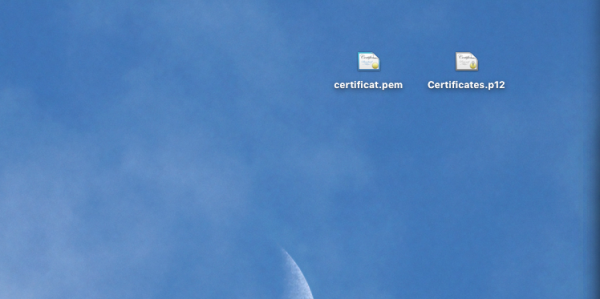
– Move these files to the folder of your app on your Mac (with the provisioning profile and the aps.cer)
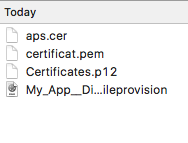
– Send us this certificate here, and we will integrate it with your App.
– You’re done!

