Artificial intelligence (AI) has seen rapid advances in recent years, with systems capable of generating human-like text, analyzing images, understanding speech, and more. OpenAI is one of the leading companies at the forefront of AI research and development.
Founded in 2015, OpenAI’s mission is to ensure that artificial general intelligence benefits all of humanity. They have released several AI models that are freely available through their API, including the famous GPT-3 for advanced text generation.
👉🏾 Other Swiftspeed Users also read: How do Free Apps Make Money in 2024? strategies Exposed
In this guide, we’ll walk through how to create your own AI web app powered by OpenAI’s API. We’ll cover:
- Setting up a Python environment and Flask app
- Authenticating with the OpenAI API
- Building API wrapper functions to call OpenAI models
- Creating a frontend with HTML/CSS/JavaScript
- Integrating the backend Python and frontend code
- Testing the app locally
- Deploying the finished app to a cloud platform
By the end, you’ll have a web app that can generate text, analyze images, answer questions, and more using the latest AI from OpenAI. Whether you want to build a writing assistant, customer support chatbot, or other AI-powered tools, this guide will equip you with the knowledge to develop your own app backed by the most advanced artificial intelligence available today. So let’s get started!
Prerequisites To Create An AI App
To build an AI app using OpenAI, you’ll need:
- An account with OpenAI. You’ll need to sign up on the OpenAI website to get an API key that allows you to make requests to the various AI models offered through the API.
- Basic knowledge of Python and Flask. You don’t need to be an expert, but you should understand how to:
- Write simple Python scripts
- Install Python packages using pip
- Build basic Flask web apps and routes
- Use templates in Flask
- Make API requests in Python
The app we’ll build uses Python on the backend and basic HTML/CSS on the frontend, so having experience with these will be helpful. But the code is simple enough that even beginners should be able to follow along without too much trouble.
Setting up the Python Environment
To build an AI application with Python and Flask, we first need to set up our Python environment.
Installing Python and Creating a Virtual Environment
at least Python 3 needs to be installed on your system. I recommend using the latest Python 3 version.
Once Python is installed, create a virtual environment for your project. This allows you to isolate the project dependencies and avoid conflicts with other Python projects on your system.
To create a virtual environment:
python3 -m venv my_app_envActivate the environment:
source my_app_env/bin/activateThe virtual environment will now be active for any pip installs or running Python code.
Installing Dependencies
Within the activated virtual environment, install the required packages:
pip install flask openaiThis will install Flask for building the web framework and the OpenAI library for accessing the API.
Other dependencies like NumPy and requests will also be installed automatically.
The virtual environment now has all the necessary packages to build our AI application with Python and Flask.
Authenticating with the OpenAI API
To use the OpenAI API, you’ll need an API key. Here’s how to get one:
- Go to openai.com and sign up for an account.
- Once you’ve signed up, you’ll be taken to your account dashboard. Click on “View API keys”.
- Click the button that says “Create new secret key.” This will generate a new API key that you can use to authenticate requests.
- Copy this API key and save it somewhere safe – treat it like a password 😉.
Next, you’ll want to save the API key as an environment variable rather than hardcoding it into your code. Here’s how:
- Create a new file called
.envin the root of your project directory. - Add the following line to the
.envfile, replacingYOUR_API_KEYwith your actual API key:
OPENAI_API_KEY=YOUR_API_KEY- In your Python code, load the API key from the environment variable like this:
import os
openai_key = os.getenv("OPENAI_API_KEY")
Now you can use openai_key in your code to authenticate instead of hardcoding the API key.
This keeps your API key secure and separate from your main code. Just be sure not to commit the .env file to source control!
👉🏾 Other Swiftspeed Users also read: App Name Detailed Guidelines and Best Practices for Success
Building the Flask App
Flask is a popular and lightweight Python web framework that will allow us to create the backend of our AI app quickly and easily. Here are the steps to build out the basic Flask app structure:
Creating the basic Flask app structure
First, we’ll initialize our Flask app and configure the basic settings like specifying the templates directory. We can also add any additional config options if needed:
from flask import Flask, render_template, request
app = Flask(__name__)

app.config['TEMPLATES_AUTO_RELOAD'] = True
Next, we can define the routes and views for the different pages of our app:
@app.route("/")
def home():
    return render_template("home.html")

@app.route("/chat")
def chat():
    return render_template("chat.html")
This will route the root URL to a home.html template and /chat to a chat.html template.
We’ll also need a route to handle form submissions from the chat page to generate AI responses:
@app.route("/get")
def get_bot_response():
    userText = request.args.get('msg')
    # Code to get AI response
    return str(ai_response)
Adding routes for different functionality
As we build out the full capabilities of the app, we can continue to add routes and views to handle different functionalities like user accounts, analyzing images, etc.
For example, we may want to add routes for a user login page, user profile page, as well as API routes for registering accounts and logging in/out:
@app.route("/login")
def login():
    return render_template("login.html")

@app.route("/profile")
def profile():
    return render_template("profile.html")

@app.route("/api/register", methods=["POST"])
def register():
    # Code to handle registration
    return jsonify(result)

@app.route("/api/login", methods=["POST"])
def login_user():
   # Code to login user
   return jsonify(result)
This allows us to separate the frontend code from the backend APIs and keep things modular.
Integrating OpenAI Functions
OpenAI provides several main functions that can be called from Python code to leverage the AI models:
Completion
The openai.Completion class allows generating text from a prompt. This is useful for auto-completing text, summarizing articles, translating text, and more. Some key parameters:
engine– The AI engine to use, such astext-davinci-003. More capable engines require more tokens (usage billing units).prompt– The text to complete. This seeds the AI with context.max_tokens– The maximum number of tokens to generate in the completion. More tokens allow for more text.temperature– Fraction of sampling randomness. Higher values produce more creative results.top_p– Alternative to controlling randomness with temperature. Higher values increase diversity.n– How many completions to generate?
For example:
response = openai.Completion.create(
  engine="text-davinci-003",
  prompt="Hello",
  max_tokens=5
)
print(response["choices"][0]["text"])
This generates a friendly greeting completion from the prompt “Hello”.
Embedding
The openai.Embedding class can analyze textual or numerical content and convert it into vector representations. This is helpful for semantic analysis and clustering.
Key parameters:
model– The embedder to use liketext-embedding-ada-002.input– The content to analyze. Can be text, images, etc.
For example:
response = openai.Embedding.create(
  model="text-embedding-ada-002",
  input="The food was delicious and the waiter..."
)

print(response["data"][0]["embedding"])
This encodes the input text into a semantic vector representation.
Moderation
The openai.Moderation class can filter out toxic, unsafe, or undesirable content.
Key parameters:
input– The content to analyze.model– The moderation model to use.
For example:
response = openai.Moderation.create(
   input="The content to check for safety."
)

print(response["results"][0]["flagged"])
This analyses the input and returns if the model flagged it as inappropriate.
The completion, embedding, and moderation functions provide powerful building blocks for integrating OpenAI into an application.
Building the Frontend
The frontend of our AI assistant app handles displaying the UI to users and passing data between the backend Python code and the frontend HTML templates. Here’s how to build the frontend:
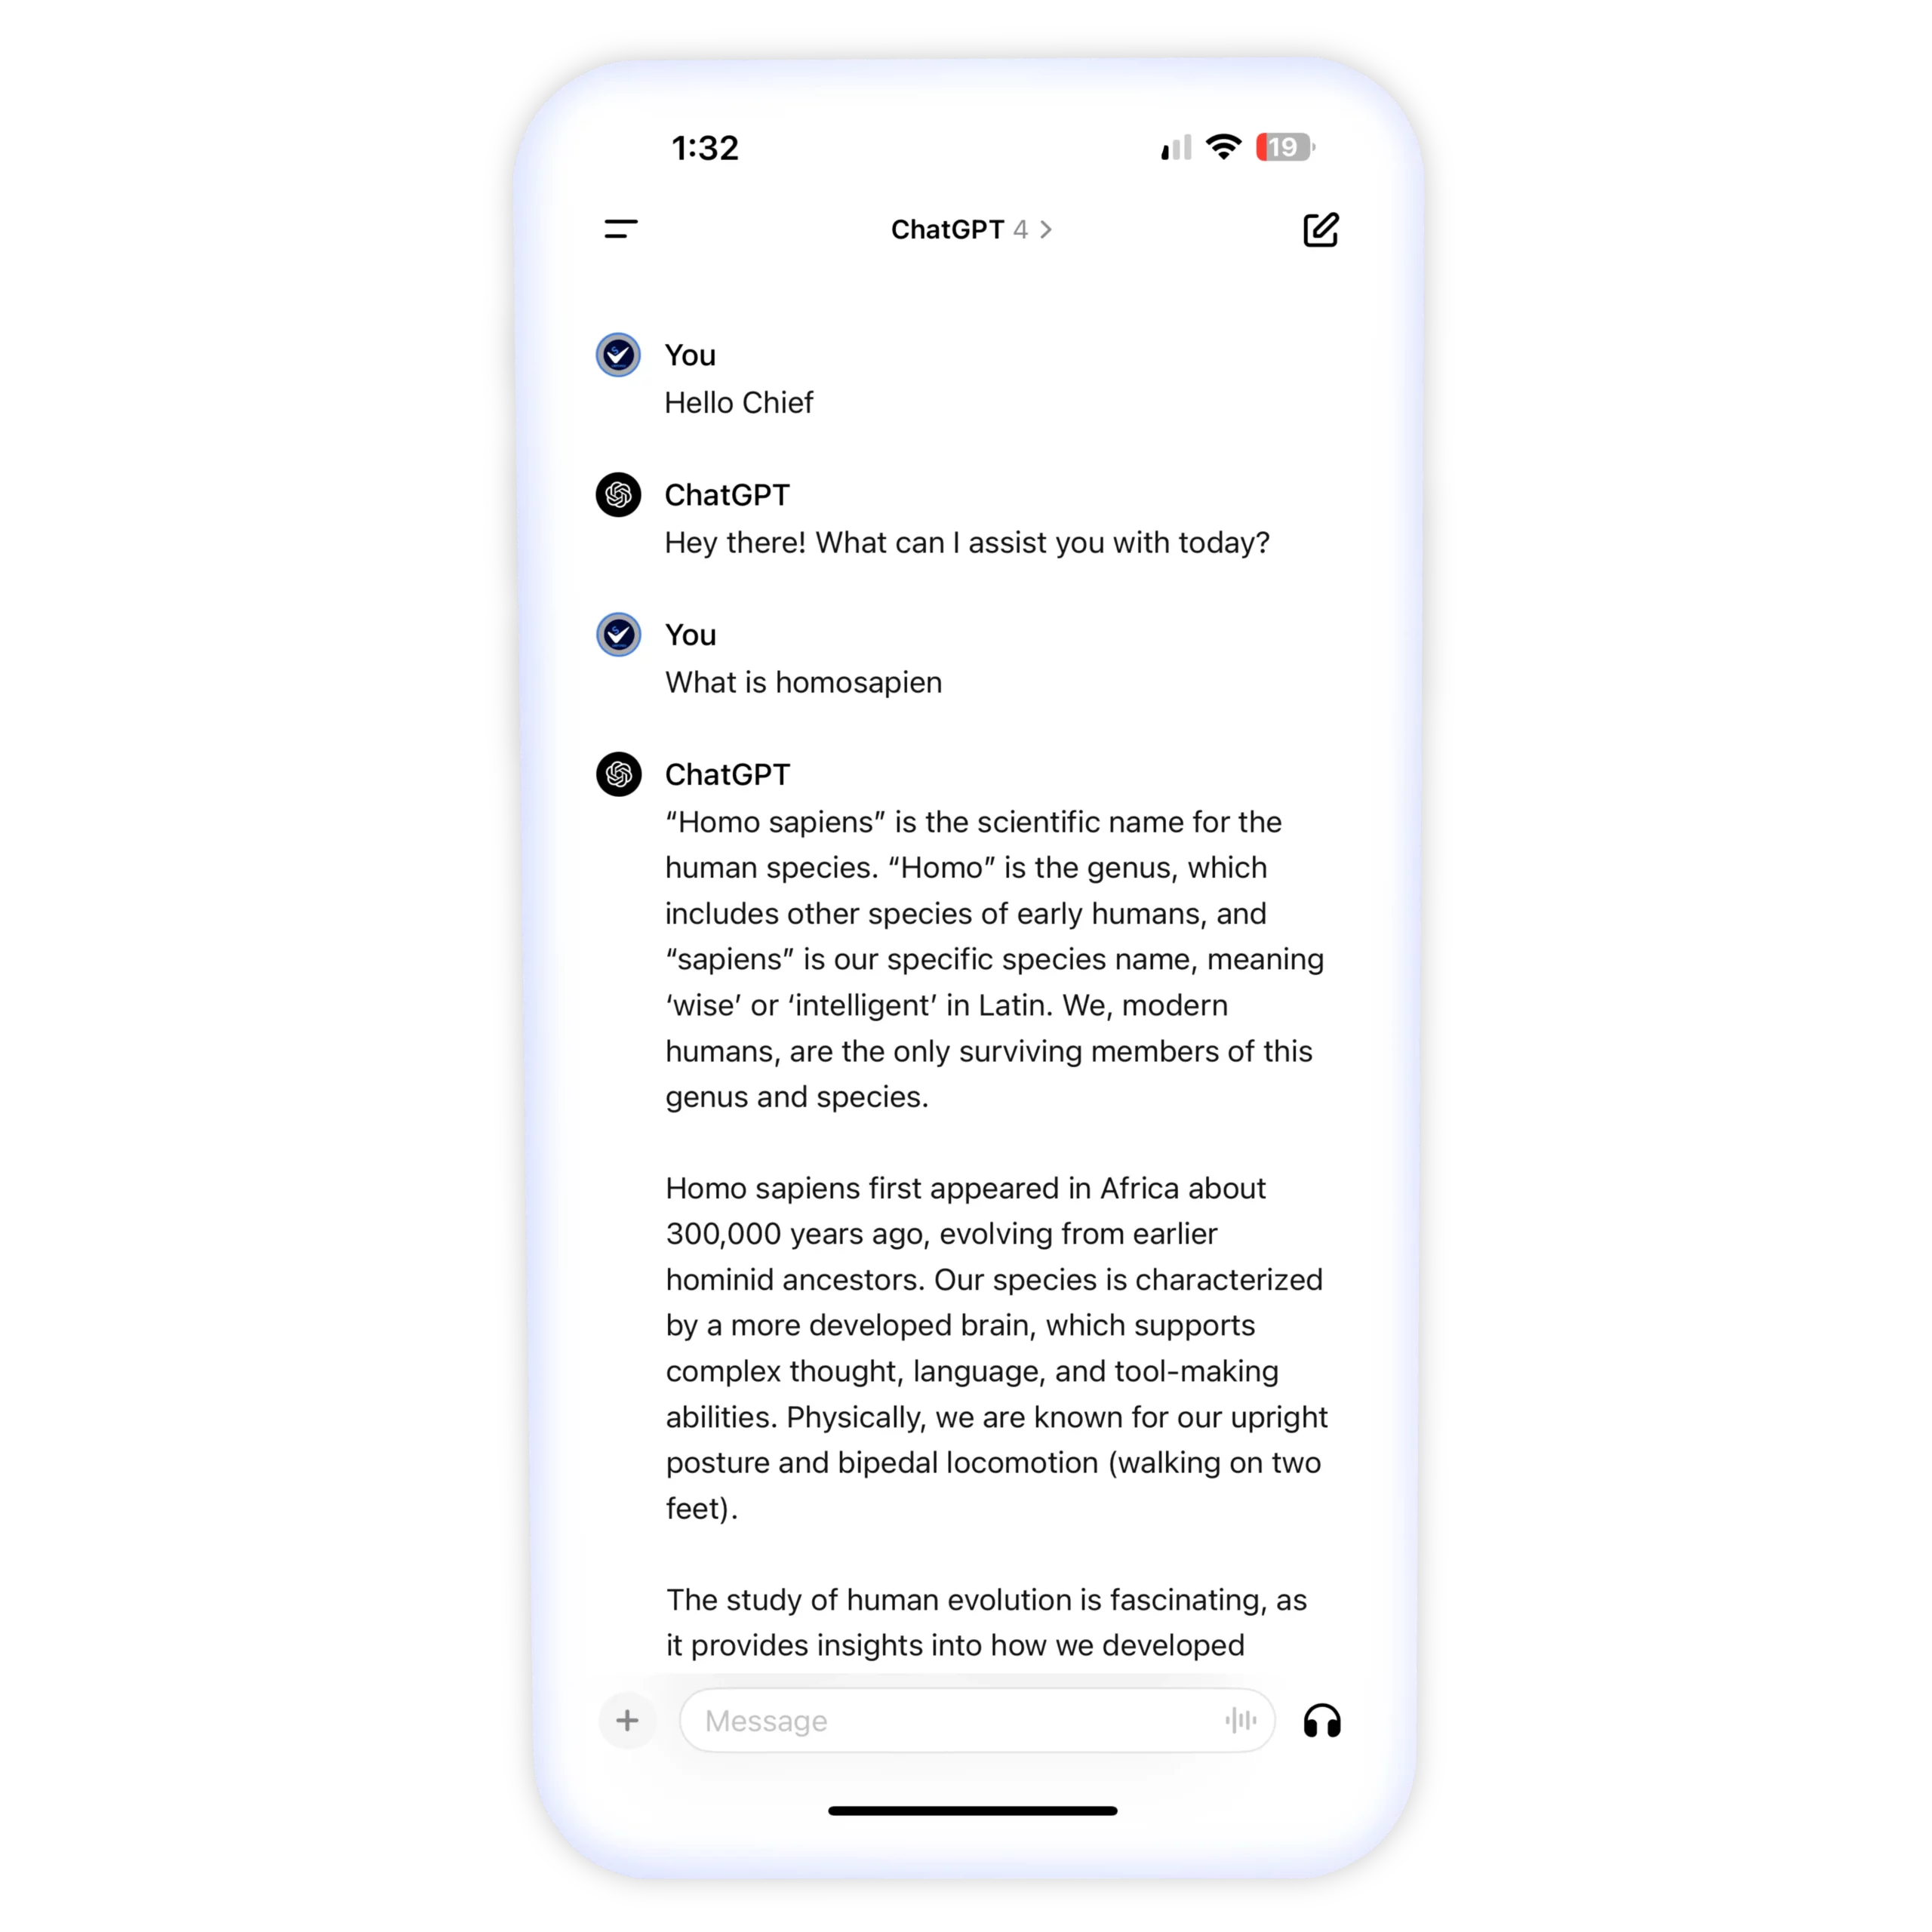
We’ll use the Flask templating engine Jinja to generate our HTML pages dynamically based on the backend data.
First, we’ll create a templates folder and add HTML files for each page we need:
- index.html – The homepage
- chat.html – The page with the chat UI
In index.html, we’ll add a simple welcome message and link to the chat page.
In chat.html, we’ll build out the UI for the chatbot:
- A text input field for users to type messages
- A submit button to send messages
- A div to contain the chat messages
We’ll render chat.html when the “/chat” route is accessed and pass the chat history from the backend to the template.
In the template, we can loop through the chat history and print each message:
{% for msg in chat_history %}
  <div>{{ msg }}</div>
{% endfor %}
When the user submits the form, we’ll send an AJAX request to the “/chat” route to get the bot’s response. The route will run the response through OpenAI, add it to the chat history, and return the updated history.
We can then append the new response to the message div. This allows us to have a complete conversation without refreshing the page!
And that’s the basics of building the frontend for our AI assistant web app with Flask and OpenAI!
Don’t wish to go through this hassle? app builder like Swiftspeed allows you to build an AI app, customize it, and then publish it on the app stores.
👉🏾 Other Swiftspeed Users also read: The Ultimate Guide to iPhone Screen Resolutions and Sizes in 2024
Testing the App
Once you have finished building your AI app with OpenAI, it is crucial to properly test it before deployment. Testing helps validate that your app functions as intended and provides a good user experience. Here are some key areas to focus on when testing your OpenAI app:
Validating App Functionality
- Ensure that all pages and features of your app work correctly. Click through the entire app frontend interface to check for any bugs or broken functionality.
- Test generating text for different user inputs and prompts. The app should handle various input lengths and topics properly without crashing.
- Verify that the app is securely handling the OpenAI API keys without exposing them to the front end. Test authentication and authorization.
- Check that any backend logging or database integration works as expected. Validate input handling and data storage.
Checking Generated Text Quality
- Review multiple text samples produced by the app. Check that the outputs are related to the prompts and make logical sense.
- Look for repetitive or nonsensical phrases in the generated text. The outputs should be unique and coherent.
- If implementing any filters, validate that inappropriate or unsafe content is being blocked properly.
Performance Testing
- Load-test the app by having multiple users interact with it simultaneously. Check for any latency issues.
- Monitor resource usage like CPU, memory, and network. Optimize any bottlenecks.
- Consider testing at a larger scale on staging servers before full production deployment. Check for discrepancies between staging and local environments.
Thorough testing is essential to provide a smooth user experience and catch any defects before releasing your AI app to the public. Test early and often throughout the development process.
Deploying the App
Once you have the app working locally, it’s time to deploy it so others can access your AI assistant. There are several good options for deploying a Flask app:
Cloud Platforms
Popular platforms like Render, AWS, Azure, and Heroku make deploying Flask apps simple. Most have free tiers for getting started and then offer paid plans to scale as your traffic grows.
With Render, you can connect your GitHub repository, and it will automatically deploy new commits. AWS, Azure, and Heroku all have CLI tools to help push your code and manage deployments. The services provide load balancing, auto-scaling, monitoring, and more to run your app robustly in the cloud.
Build An AI App with Swiftspeed
Create premium apps without writing a single line of code, thanks to our user-friendly app builder. Build an app for your website or business with ease.
Scalability and Costs
A key advantage of cloud platforms is their ability to scale horizontally to meet demand. You can configure auto-scaling rules to launch additional app instances when traffic spikes. This prevents your app from going down under high load.
It’s important to keep an eye on costs and optimize resource usage for your traffic patterns. Often, bandwidth and computing time are the biggest expenses. Caching and other optimizations can help reduce costs. You may also want to throttle requests if users are abusing your free tier.
Overall, the convenience and capabilities of cloud platforms make them an ideal choice for deploying AI apps built with Flask and OpenAI. With good practices, you can scale gracefully while keeping costs under control.
Wait Sec, Before I wrap Up
In this article, we walked through the steps to create a simple AI web app powered by OpenAI. We started by setting up a Python environment and Flask server to handle the backend integration with OpenAI’s API.
After obtaining an API key, we built out the routes and views to send user input to the API and return AI-generated responses. To display these responses, we added basic frontend code with HTML, CSS, and JavaScript.
The full app allows users to get AI-generated summaries, translations, and other outputs by sending text prompts. While basic, it shows how easy it is to leverage OpenAI for creating intelligent web apps.
There are many ways this demo app could be improved and expanded:
- Add user accounts and authentication to track usage
- Implement more UI/UX design and visual elements
- Containerize the app for easier deployment to cloud platforms
- Add caching to avoid hitting API rate limits
- Build for scale by adding workers and background processing
Additionally, the capabilities of OpenAI go far beyond what was shown here. Some ideas for exploring more AI features:
- Use the Image and Codex APIs for generating visuals and code
- Leverage the embeddings and moderation tools
- Build conversational interactions with the Chat API
- Apply the fine-tuning features for custom models
The opportunities to create intelligent apps with OpenAI are vast. This project provided a solid introduction, but as you continue learning, there are many exciting directions you can take; essentially, what is most important is creating an app that makes your user happy.


