Convert your website to app in minutes
Turn any website into a native Android and iOS app. No coding needed. Your web-to-app conversion gets you a real native app, not a browser wrapper, published on the App Store and Google Play.
Convert web to app in 3 steps
No developer needed. Swiftspeed converts your website to a native mobile app with push notifications, offline support, and app store publishing.
Enter your website URL
Paste your website URL and Swiftspeed automatically detects your site type (standard web, WordPress, or RSS) and configures the best setup.
Customize your app
Set your app name, icon, splash screen, colors, and choose from push notifications, offline support, and navigation style. No code needed.
Publish to the app stores
Download your signed APK and AAB for Google Play, and Xcode source for the App Store. Go live in hours, not months.
Three ways to turn your website to app
Whether you want a direct web-to-app link, a native WordPress experience, or an RSS-powered news app, Swiftspeed has you covered.
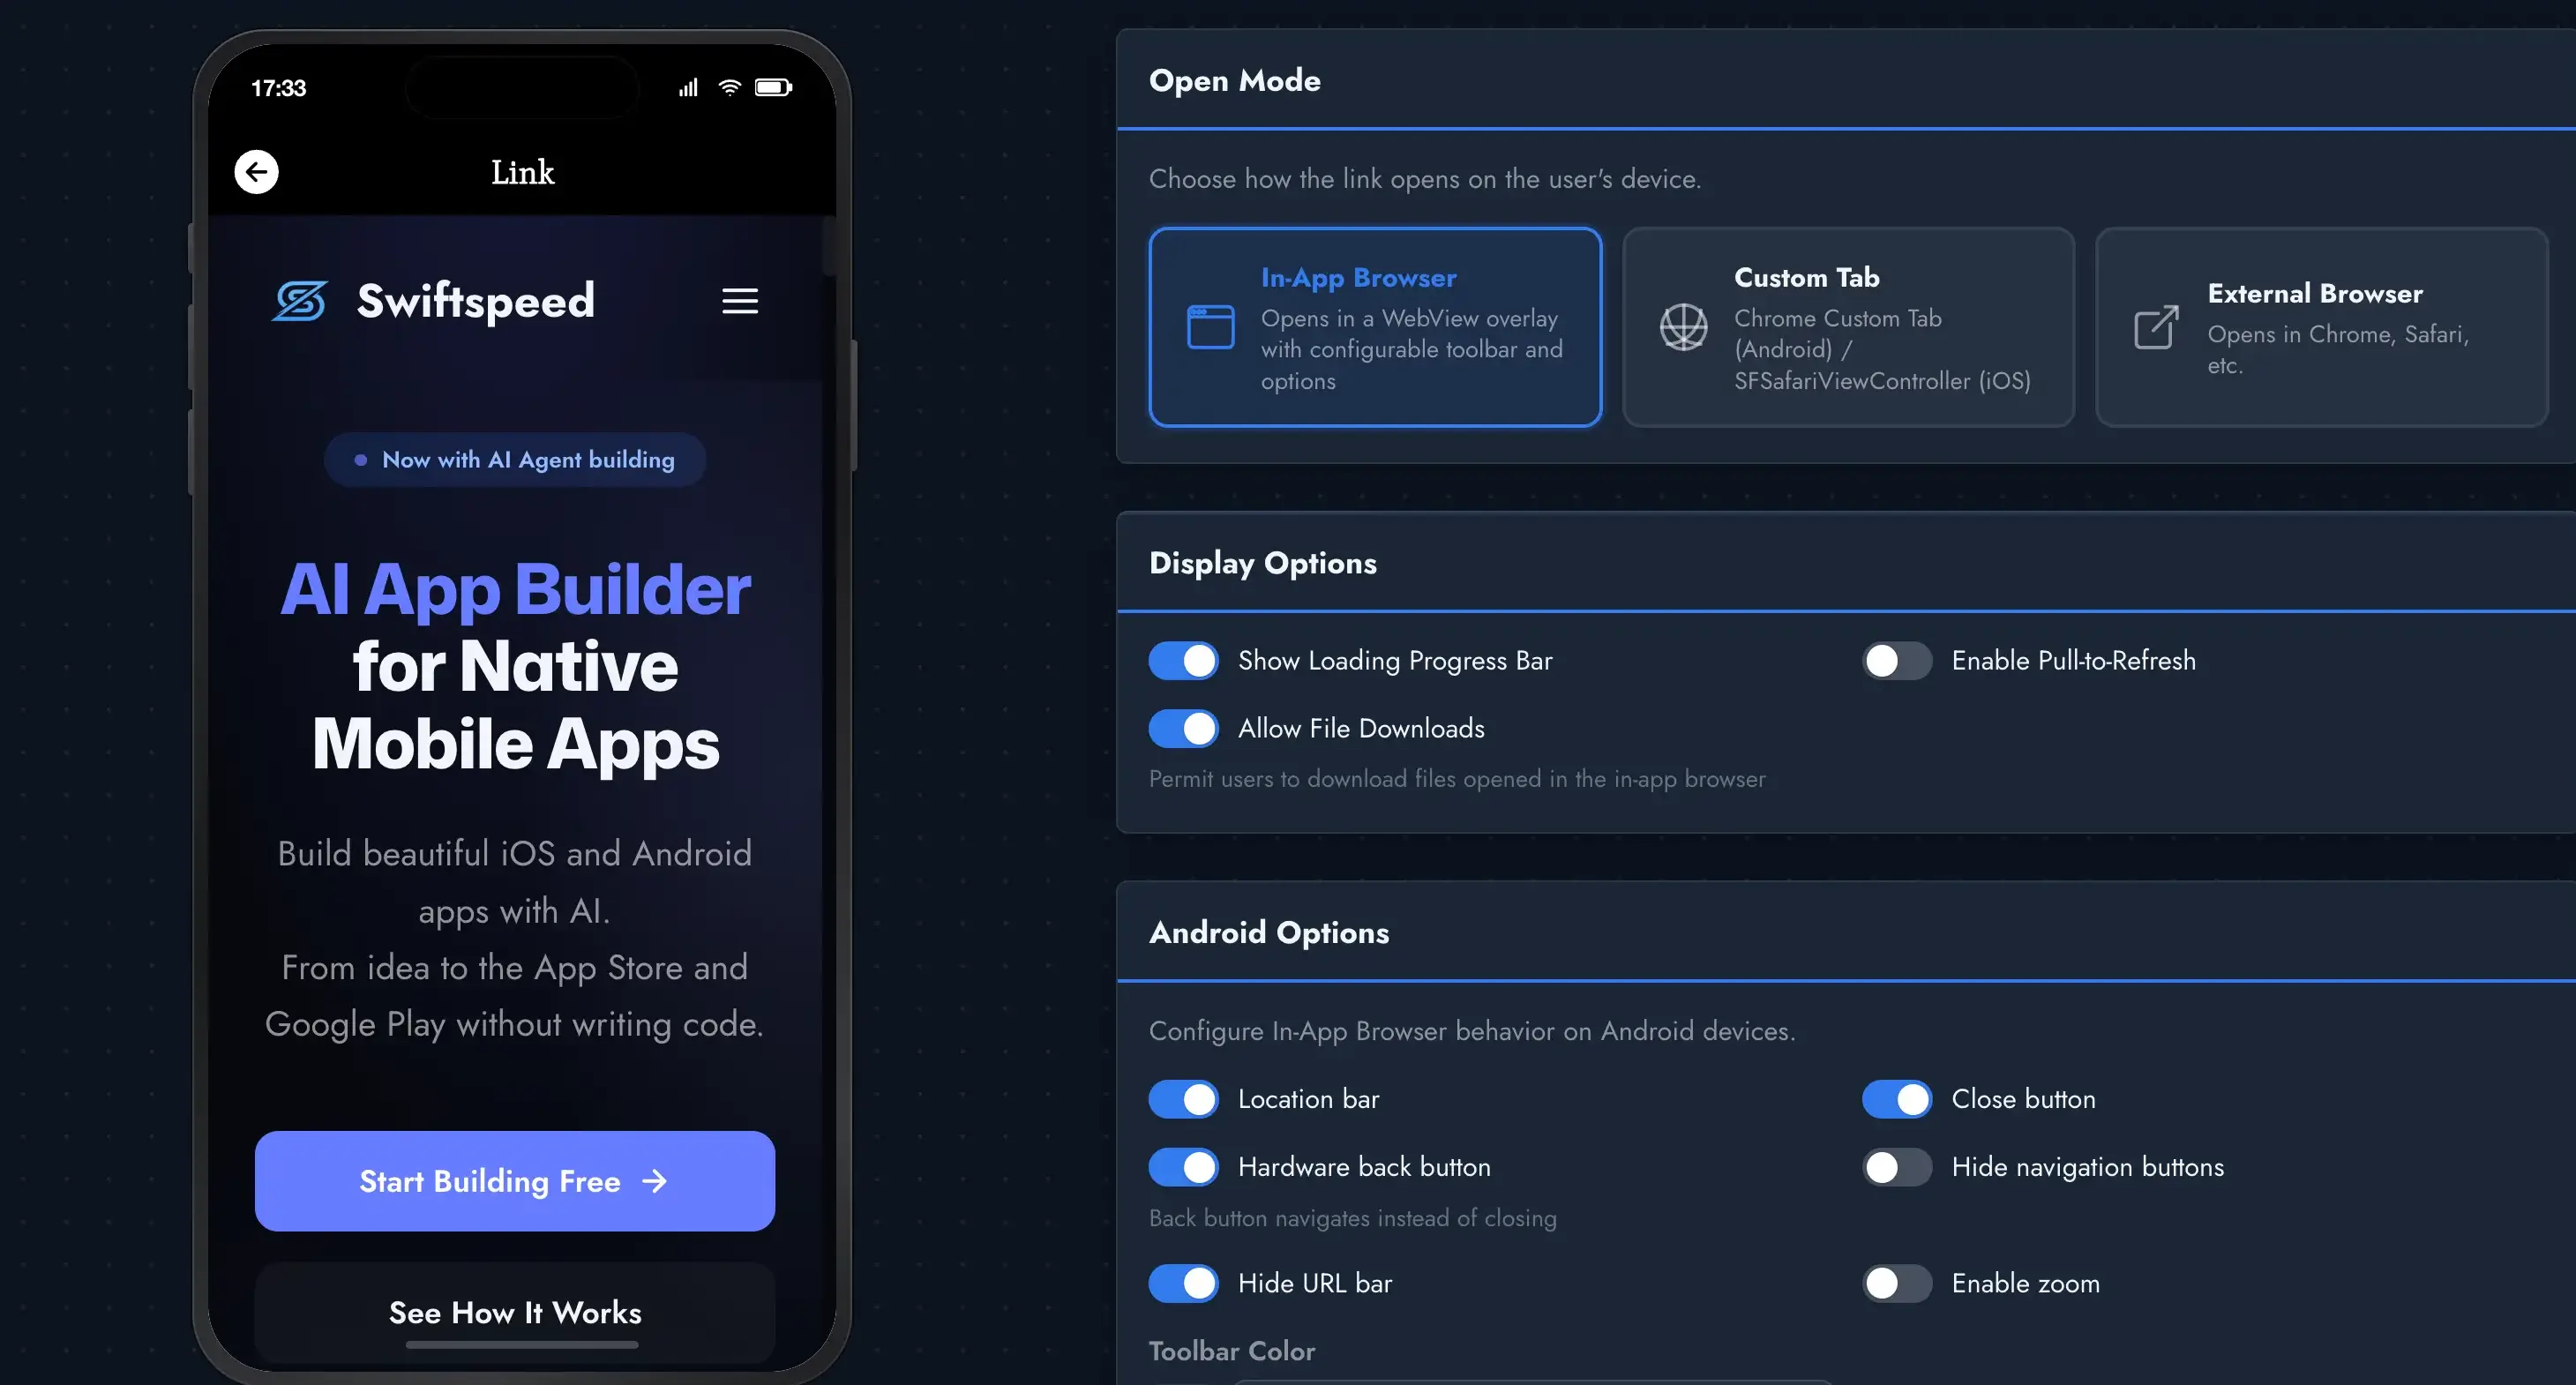
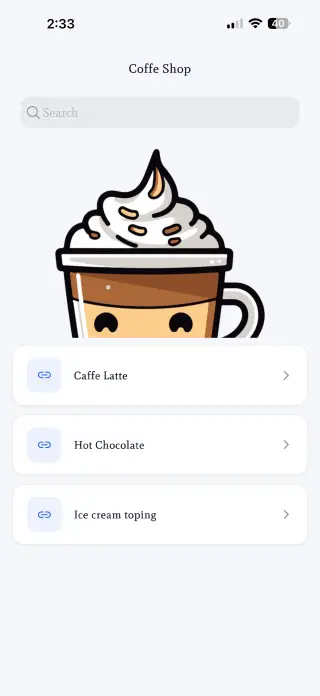
Link any website to app instantly
Paste your website URL and Swiftspeed converts it into a native app with an in-app browser, custom tabs, or external browser mode. Your website to app conversion is instant with full control over display options, progress bars, pull-to-refresh, and file downloads.

WordPress website to app with native layouts
Connect your WordPress site using the native REST API. No plugins needed. Swiftspeed fetches your posts, categories, and media, then renders them in a native app-feel layout with search, categories, and article detail views. The best way to convert your WordPress website to app.
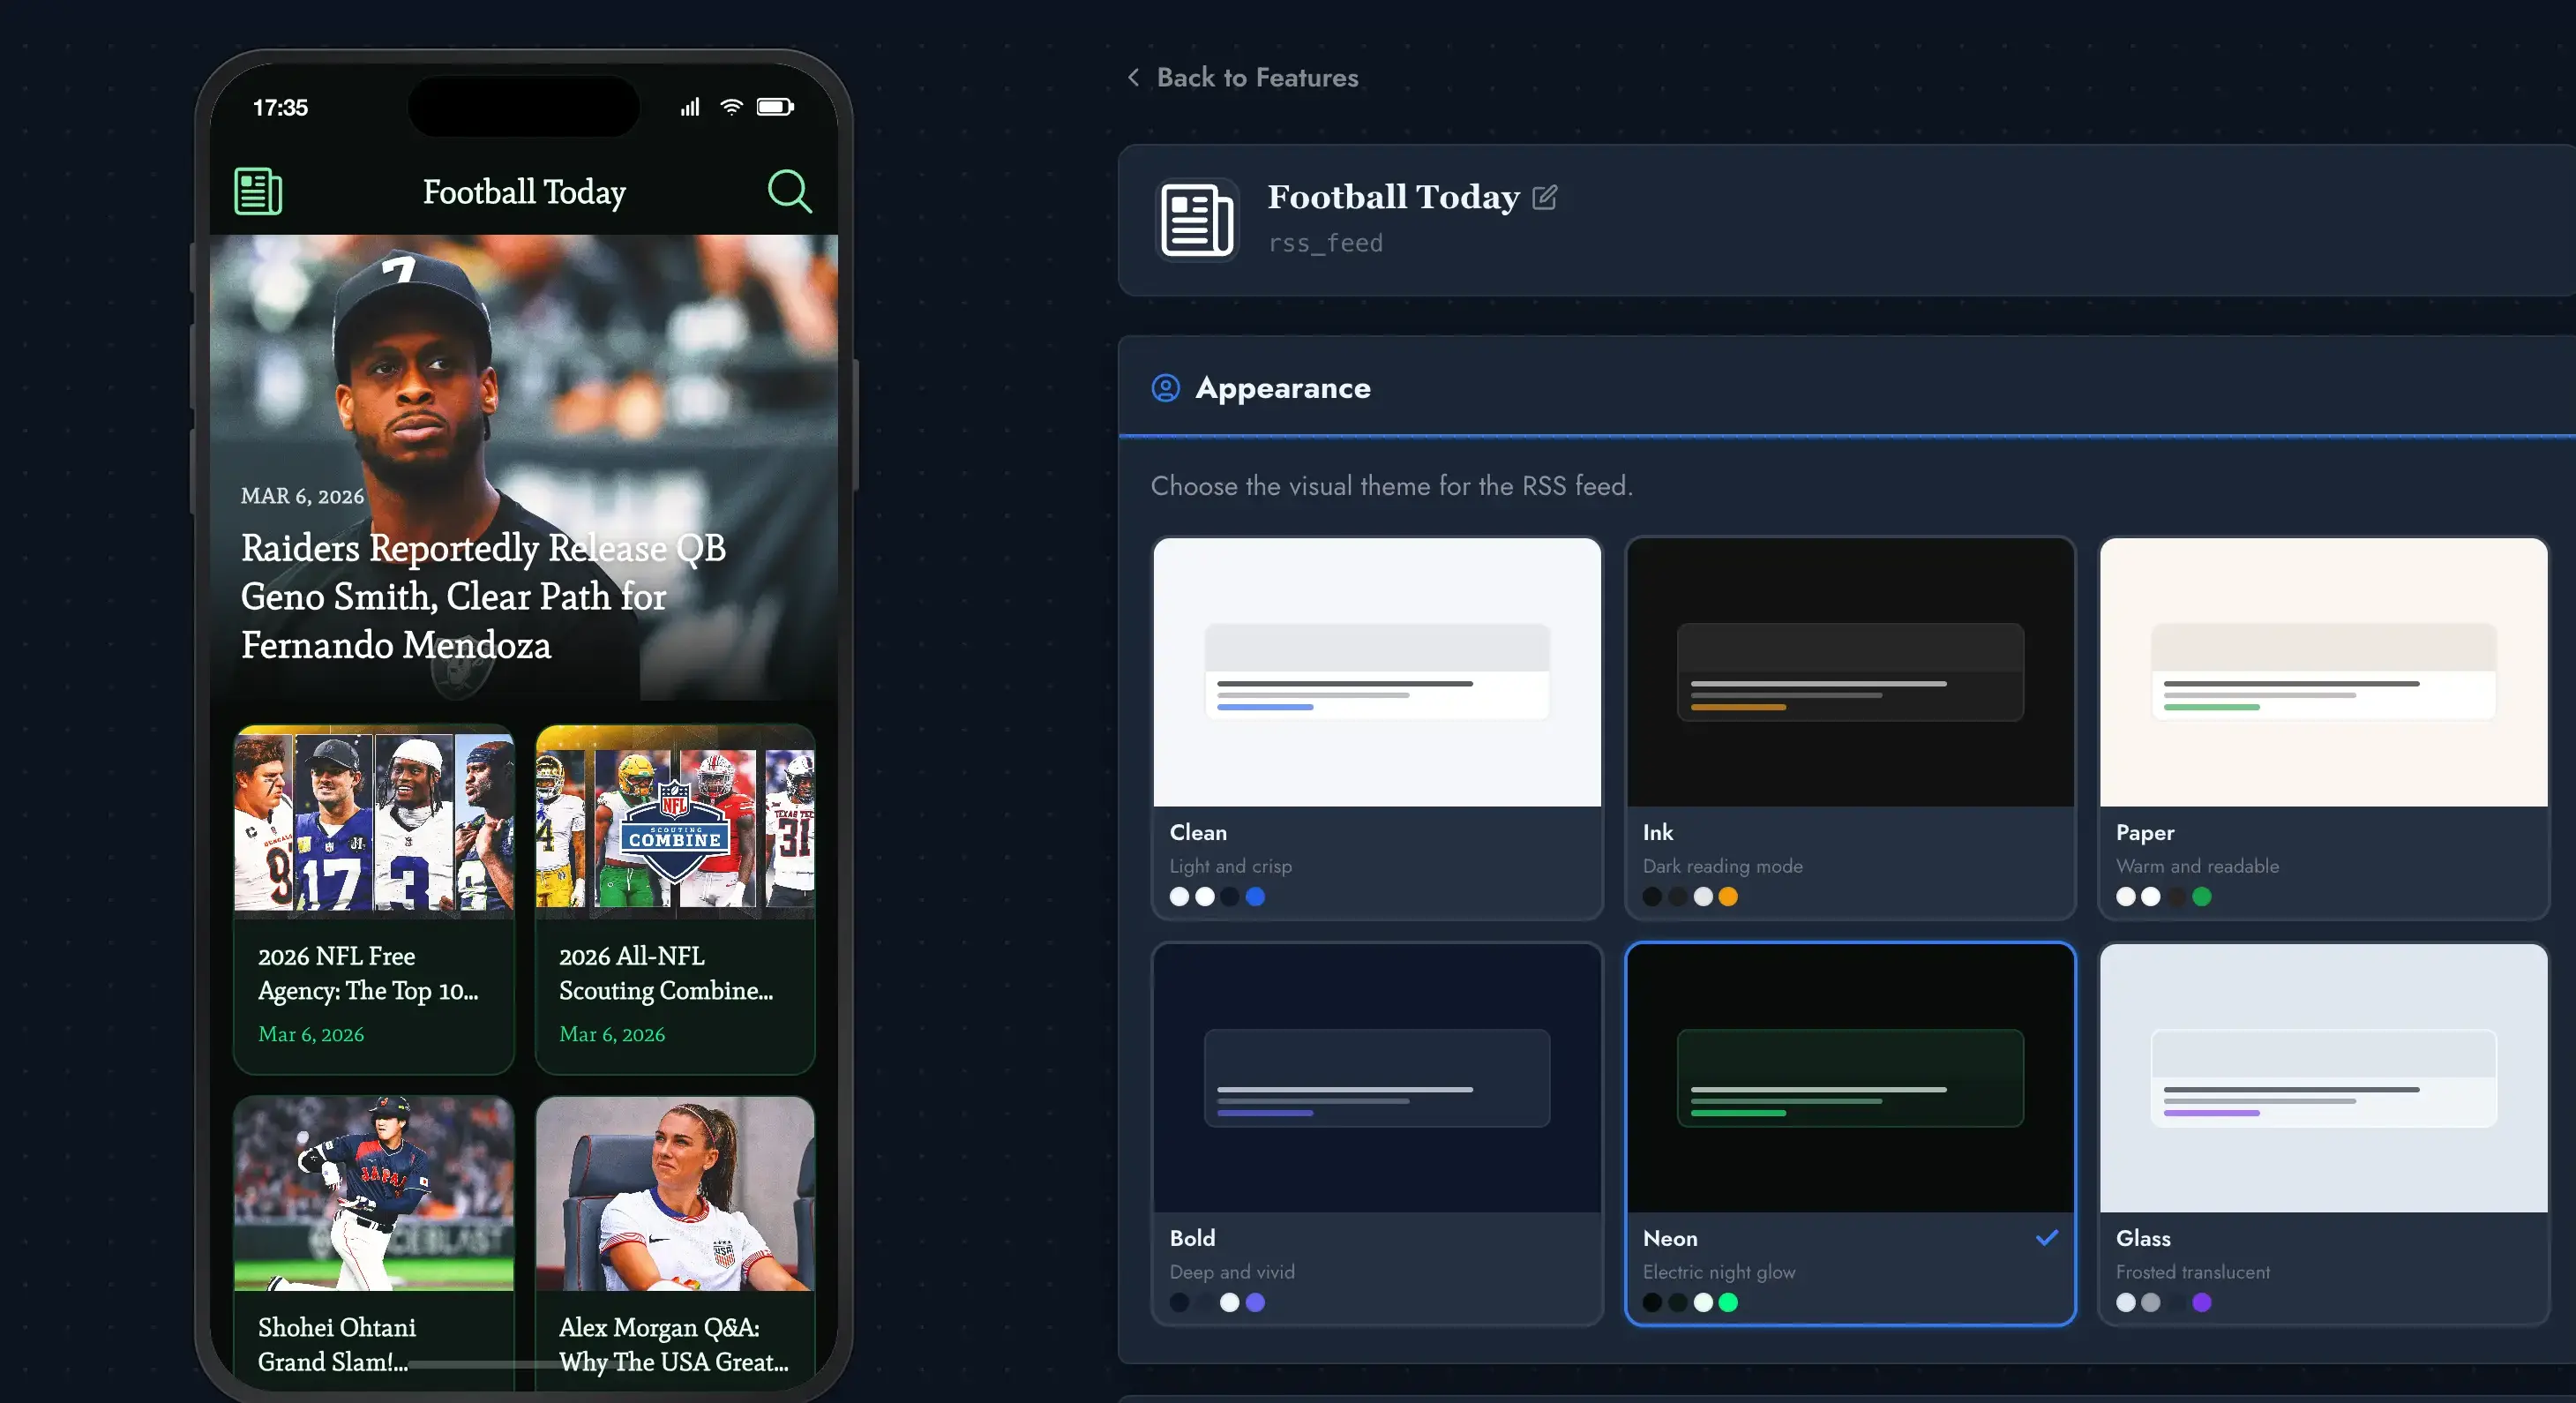
Any RSS feed to native app
Turn any website with an RSS feed into a beautiful native news app. Choose from 6 visual themes, from clean magazine layouts to bold headline styles. Your web to app conversion pulls content automatically, so your app is always fresh with zero maintenance.
Any website becomes a real app
Wrap your existing site, embed web apps, pull in RSS feeds, or build a link hub — all in a native shell.

Why convert your website to a mobile app?
Mobile apps outperform websites in every engagement metric. Users spend 7x more time in apps than mobile browsers. A native app built from your website gives your business a direct channel to your customers' home screens.
More than a web wrapper. A real native app
When you convert your website to an app with Swiftspeed, you get native features that web views can't deliver.
Push Notifications
Send targeted messages directly to users' devices. Schedule campaigns, segment audiences, and drive re-engagement.
Native Navigation
Smooth, native tab bars, side menus, and navigation stacks that feel like a real app, because it is one.
Offline Support
Your app works even without an internet connection. Cached content loads instantly and syncs when back online.
App Store Publishing
Get a signed APK and AAB for Google Play, plus Xcode source for the App Store. Real store listings, real downloads.
Custom Branding
Your app icon, splash screen, colors, and name. Full white-label, no Swiftspeed branding on paid plans.
Analytics & Insights
Track installs, sessions, screen views, and user engagement. Understand how people use your app and optimize.
Works with any website
Convert any website to a mobile app regardless of the platform it was built on. WordPress, Shopify, custom-coded, it all works.
Website vs. native app from your website
Ready to convert your website to an app?
Join thousands of businesses that turned their websites into native mobile apps with Swiftspeed. Get started, no credit card required.