Getting your app rejected sets your launch timeline back by weeks or even months. It also requires additional development work to fix the issues that got your app rejected. Clearly, it’s in every developer’s best interests to take the proper precautions to avoid app store rejection in the first place.
This guide will shed light on the primary reasons for app rejections and share insights on smoothly sailing through the rigorous app store review process. By embracing the App Store’s best practices, you’ll put your app on the path to success and keep those dreaded rejection emails at bay.
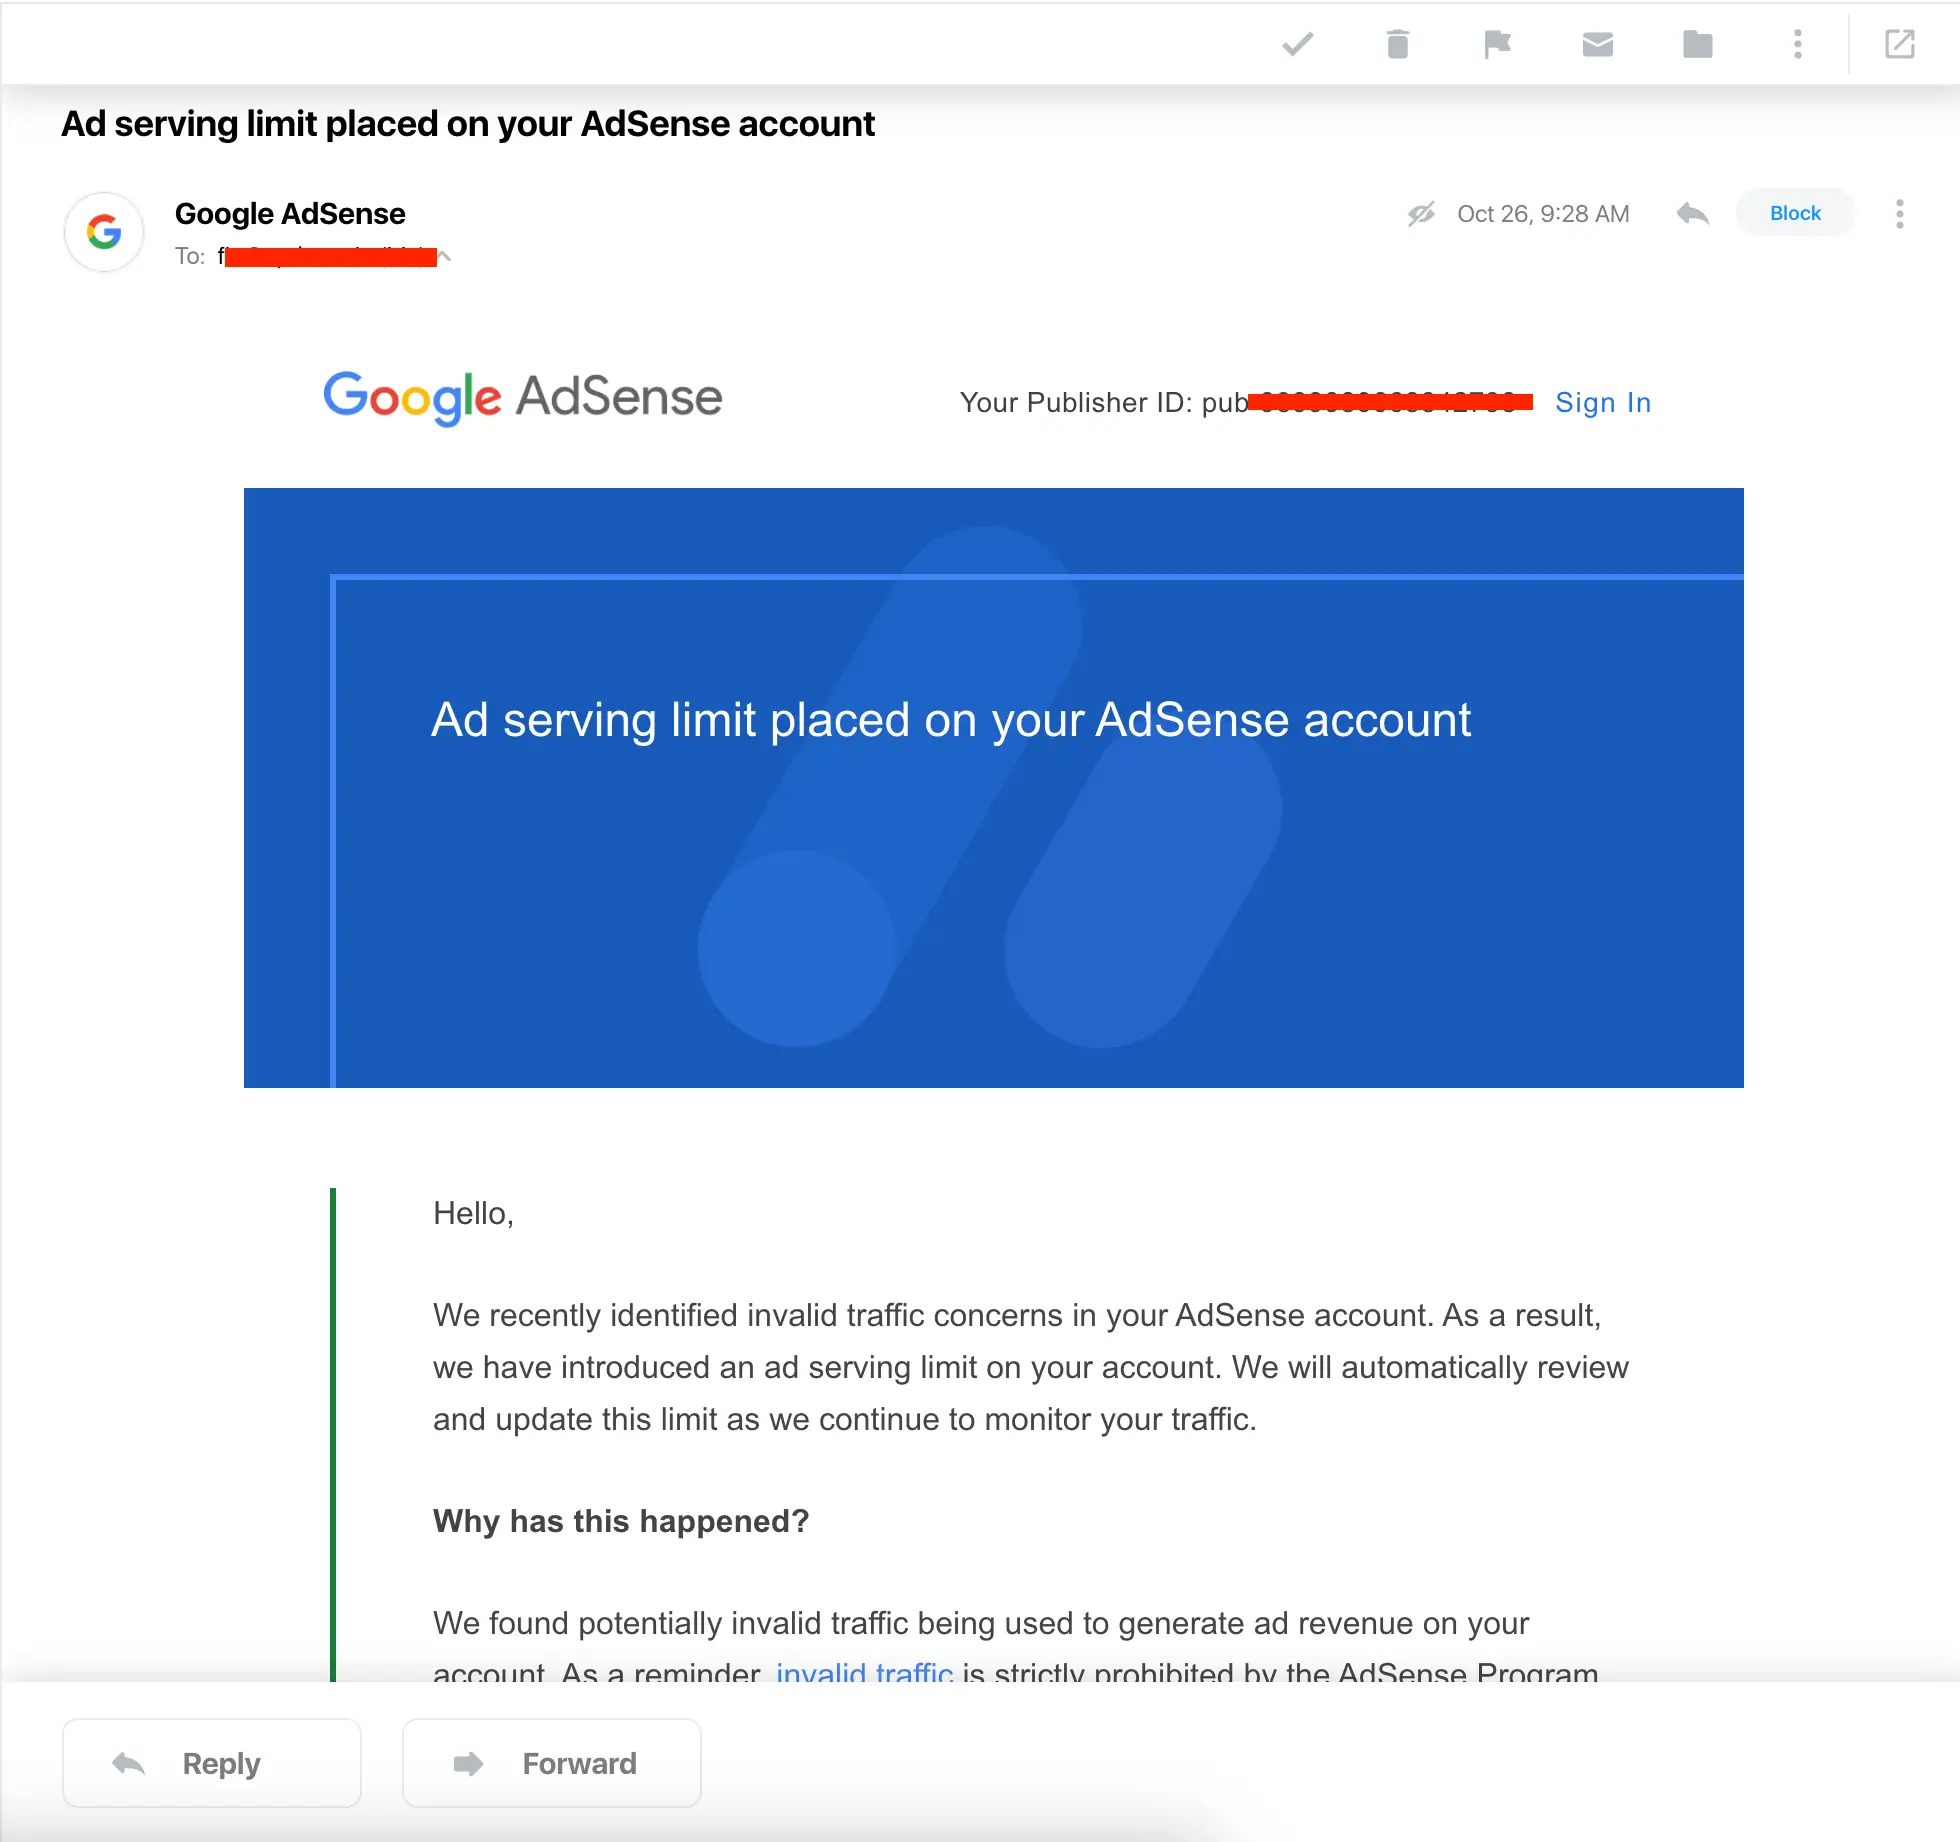
It’s not unusual for the App Store submission process to be frustrating. Our first experience with their review team was quite challenging. In fact, our client’s app was rejected an astonishing 27 times – no joke! 😂 You might find it hard to believe, just like I did initially, but the proof is right here:
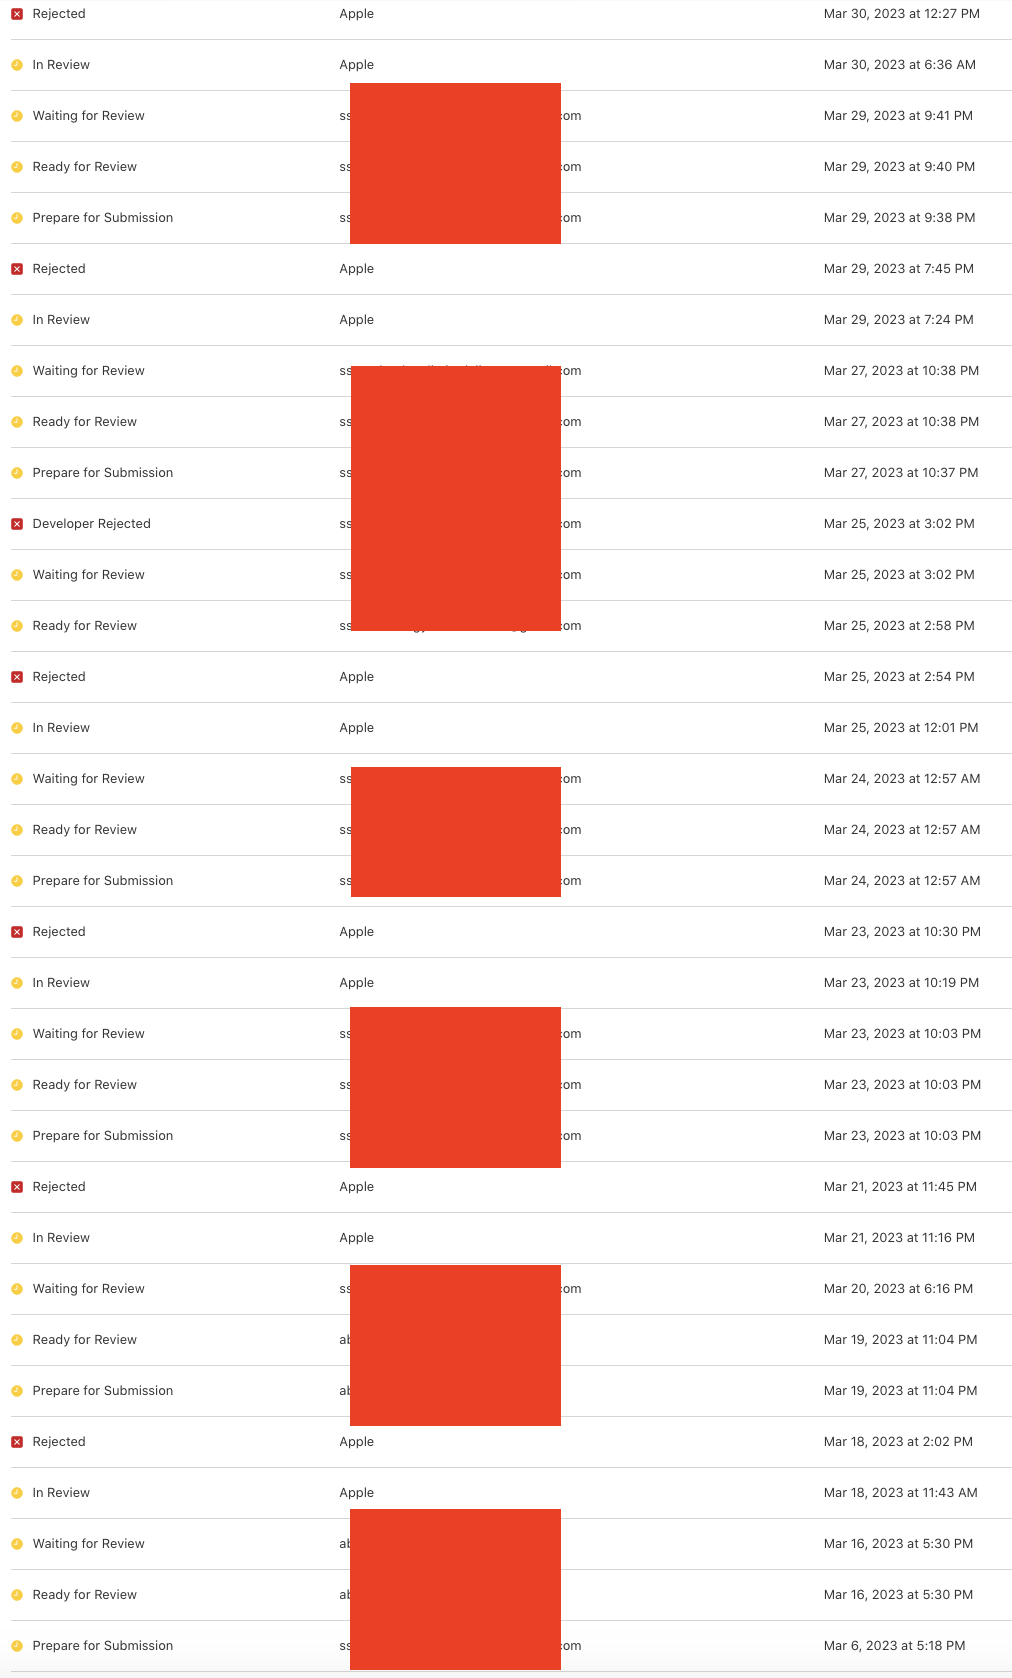
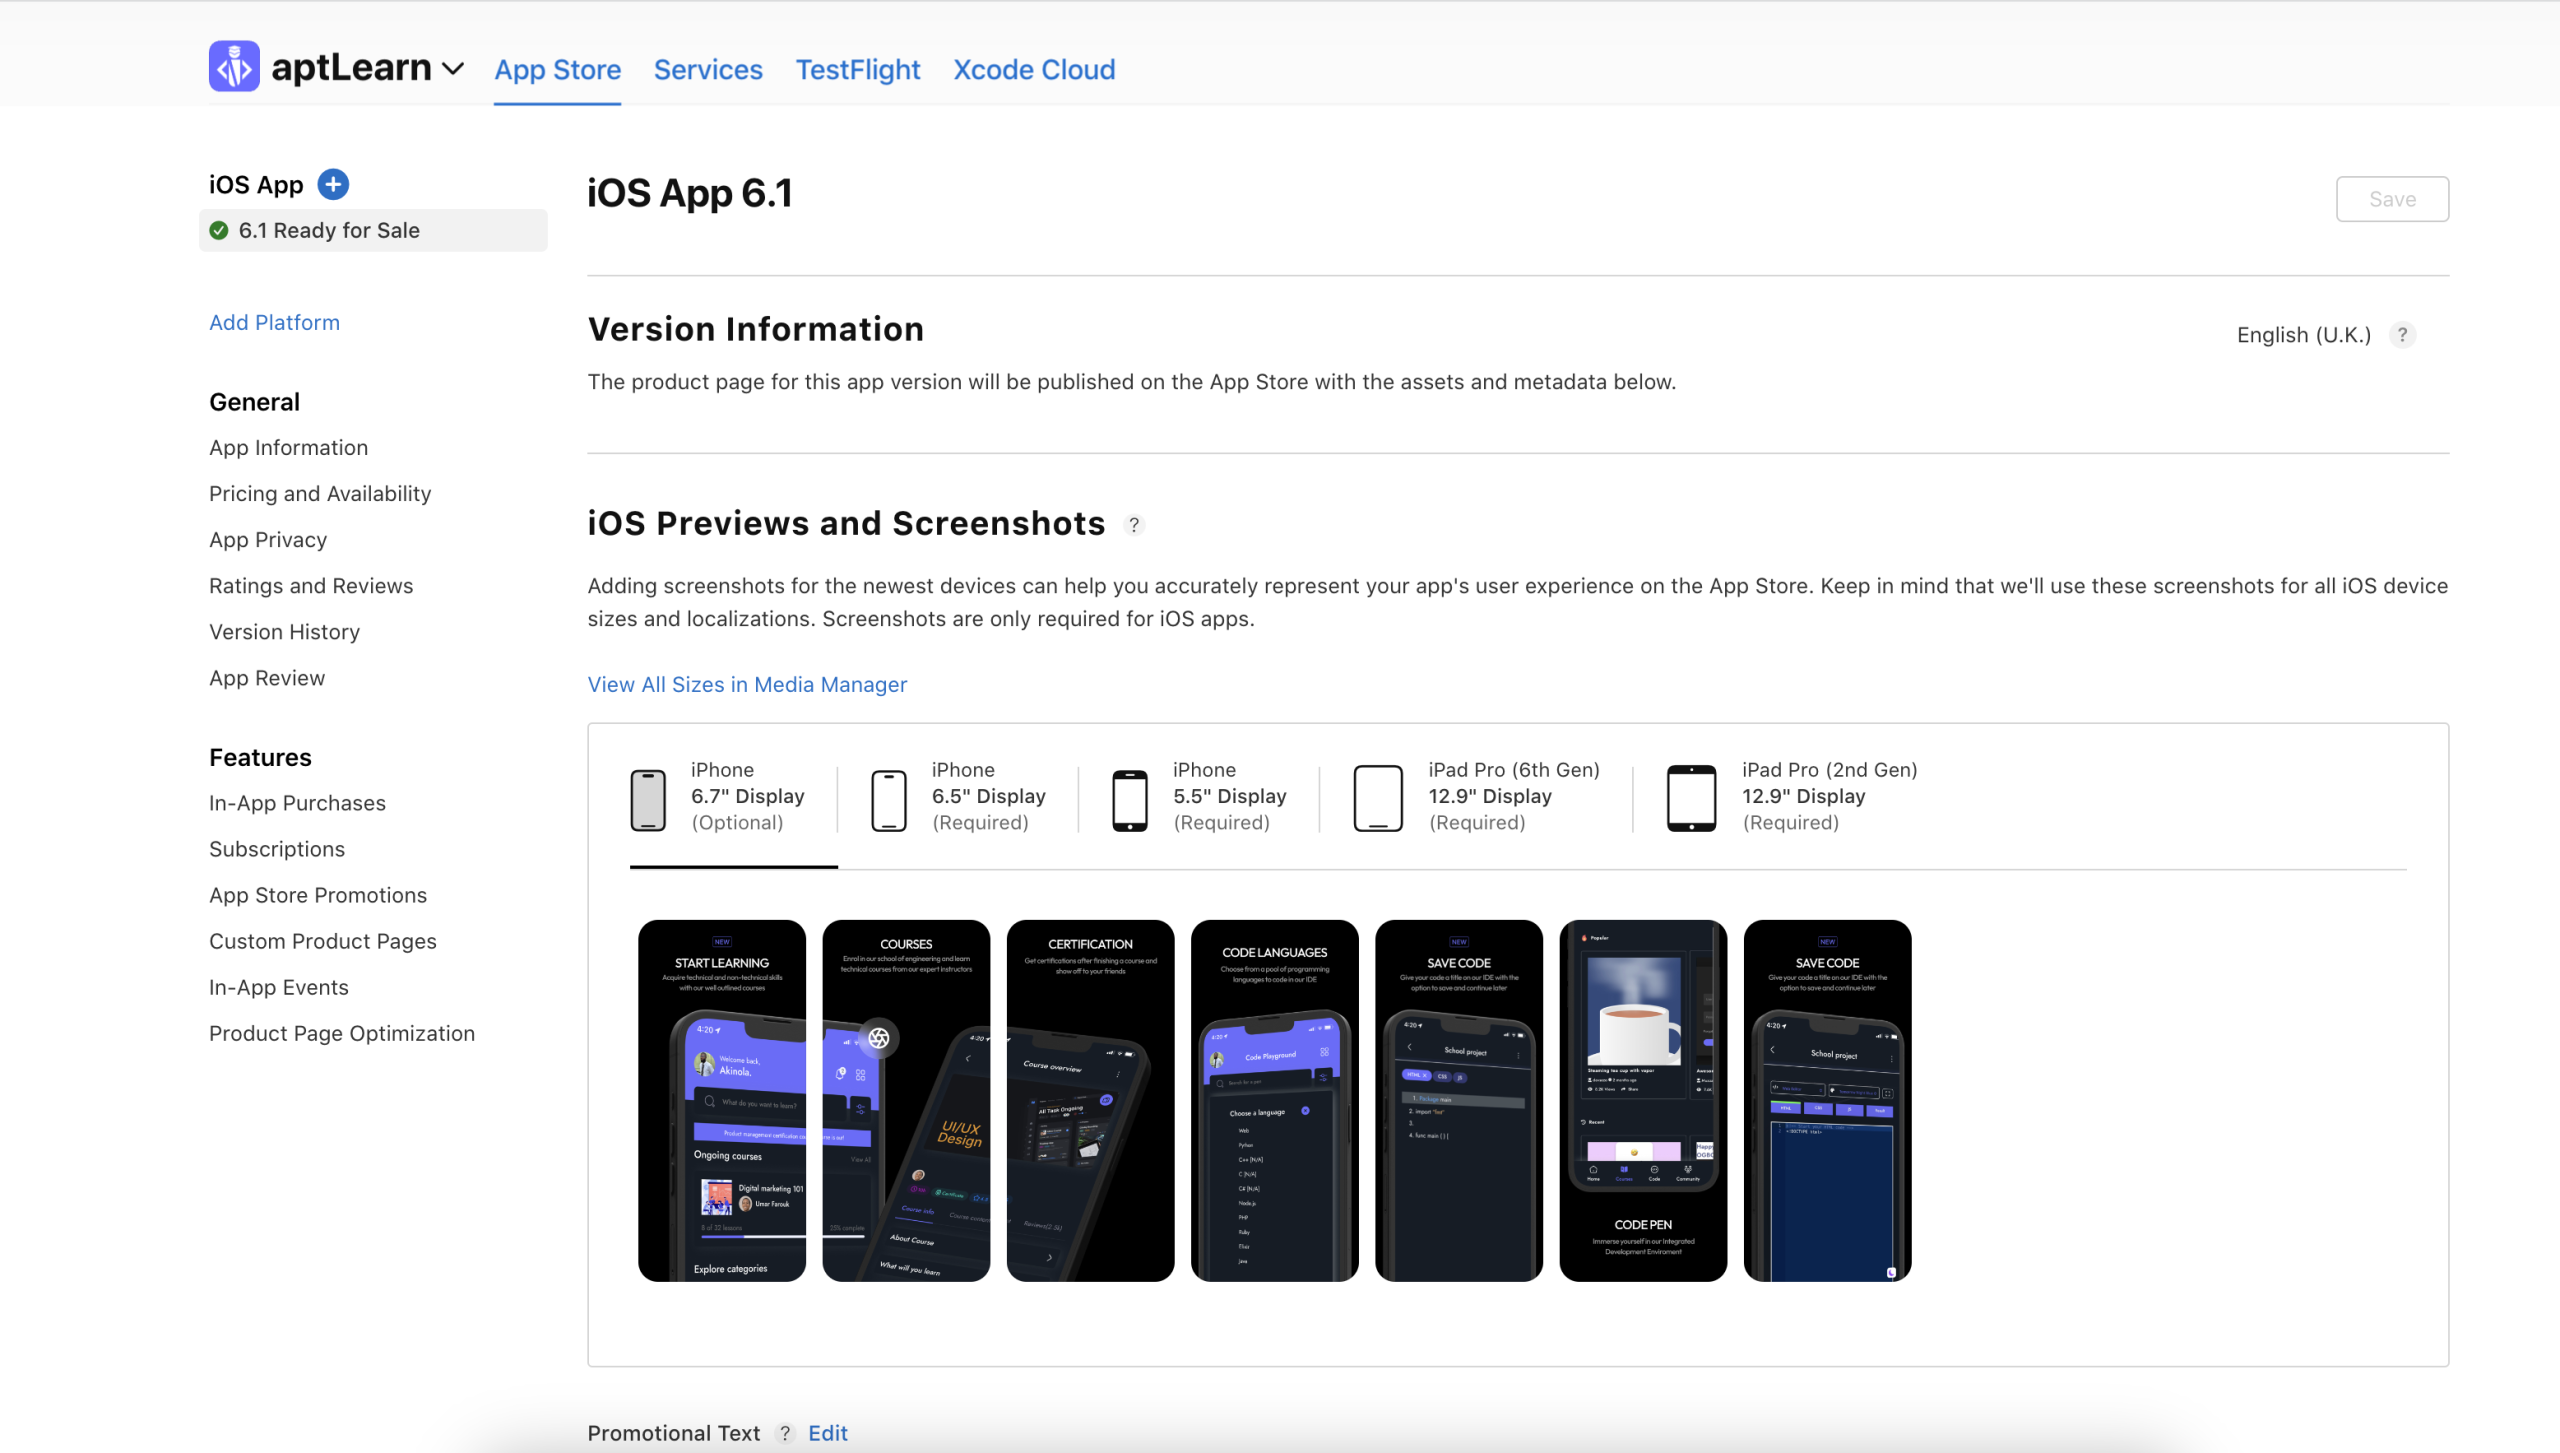
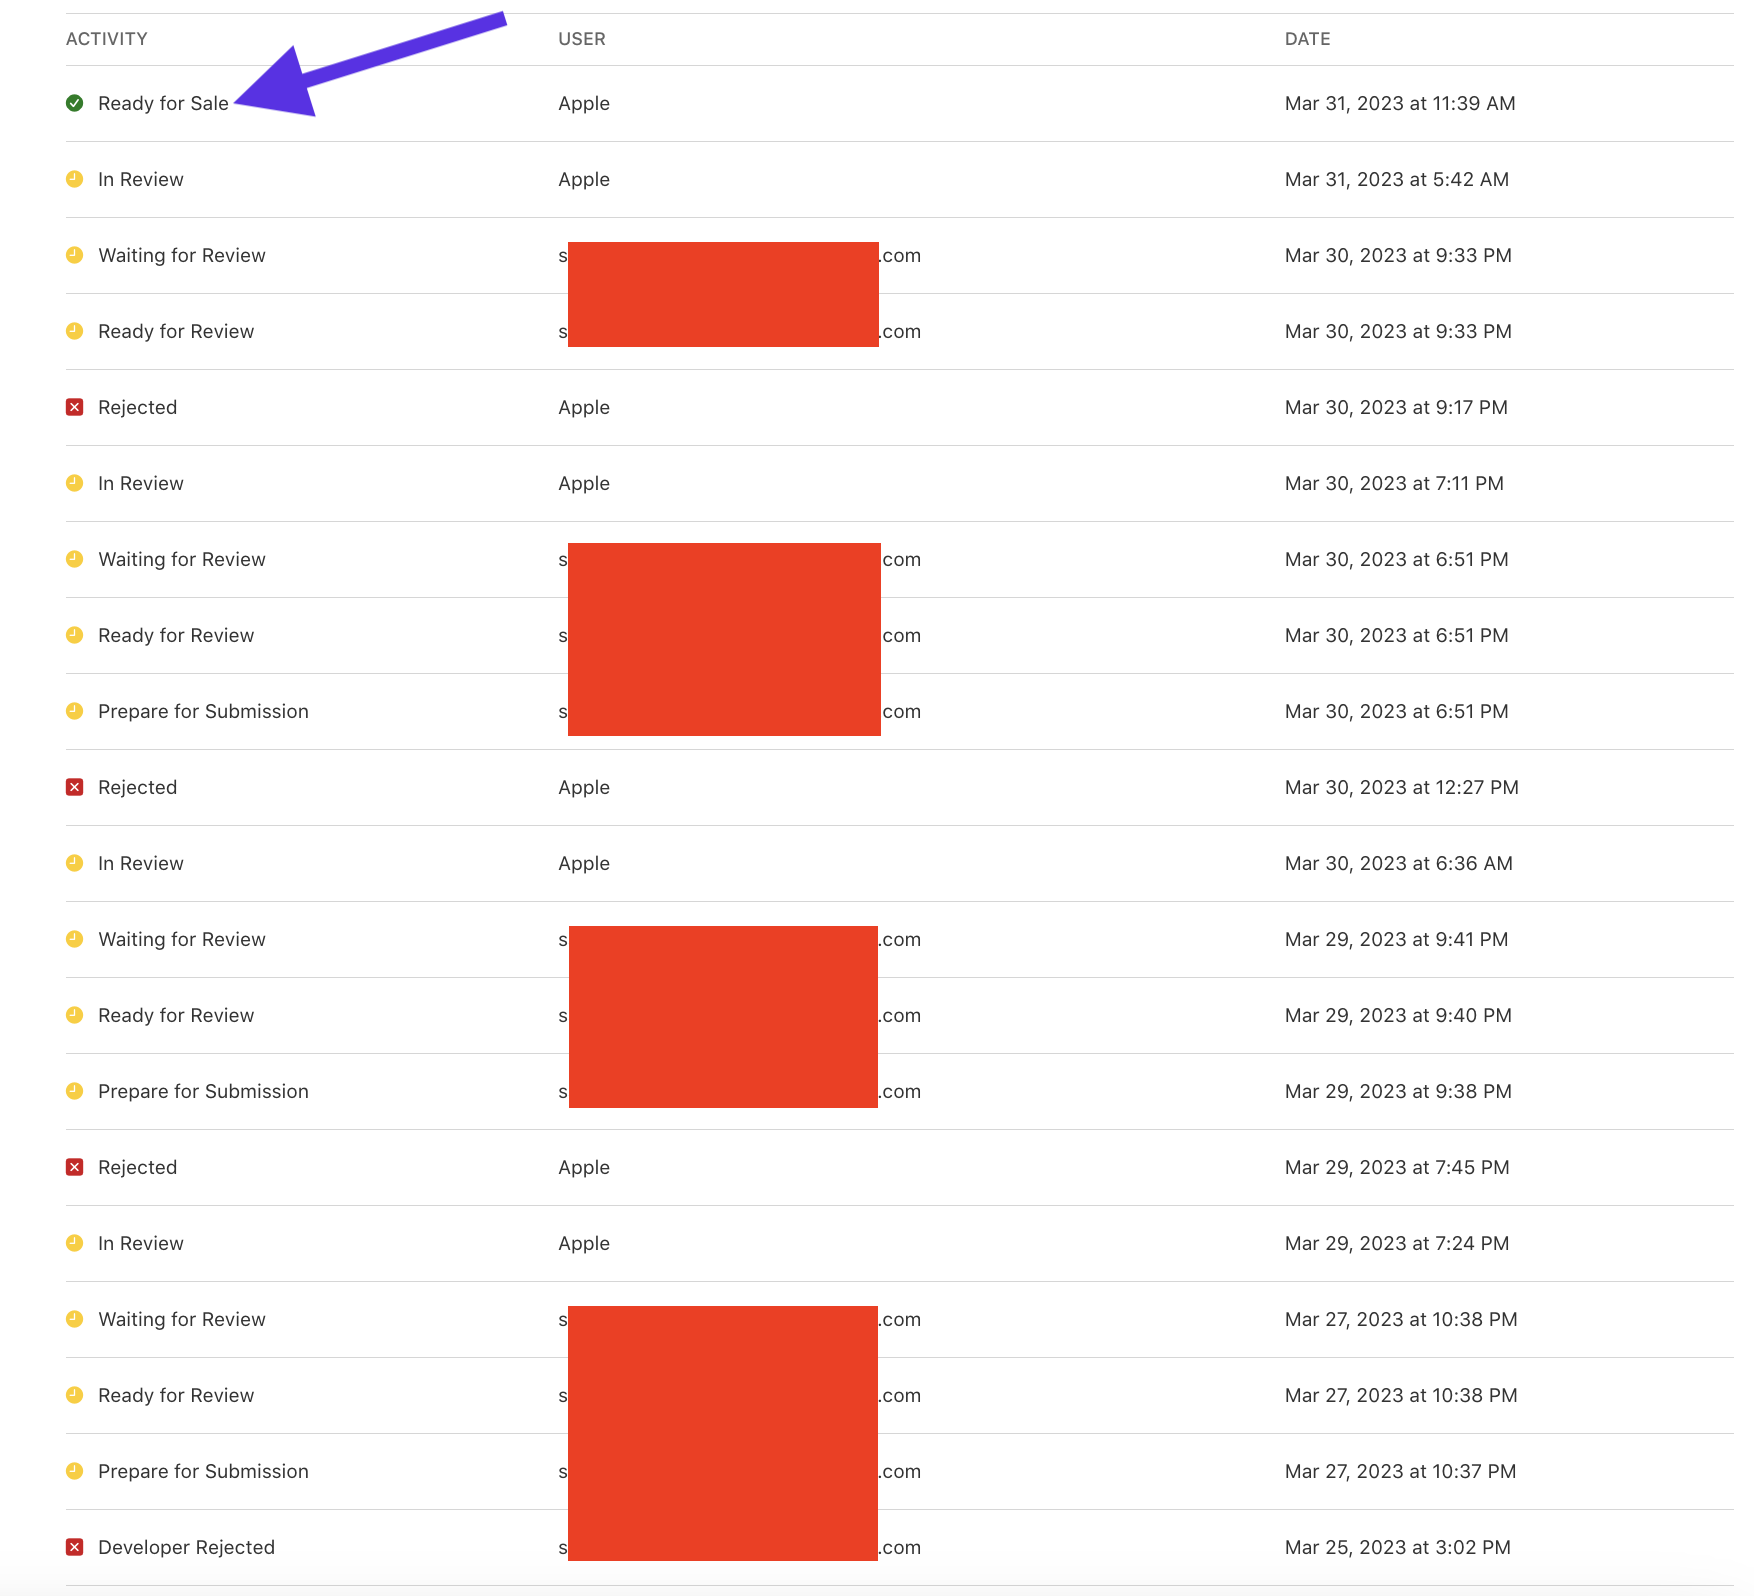
Of course, we do not joke with any of our customers, not especially ones who have subscribed to our App Store Publishing services, to have us compile and publish the app they have created with our no code app builder to the app store. Even amid the obstacles and repeated rejections, our stoic developer team didn’t back down. Through consistent efforts and collaboration with Apple, we eventually got our customer’s app approved after the 28th submission. To further understand our diligence and commitment, please see below:
👉🏾 Many Swiftspeed users have also read: How do Free Apps Make Money in 2024? strategies Exposed
A Comprehensive Look at Statistics
Apple App Store has become one of the most vital platforms for developers to showcase their products and reach out to millions of potential users. However, as much as the App Store facilitates a thriving ecosystem of apps for consumers, a considerable number of apps also face the dreaded rejection.
Apple is known for its stringent guidelines in ensuring app quality, security, and compatibility on its platform. According to Apple’s 2020 App Store report[1%5E], a staggering 60% of submissions were rejected or returned for review during the initial evaluation by the App Review team.
In 2019, Apple rejected 150,000 apps per week[2%5E], and they provided some insight into the common reasons for rejection:
- Incomplete Information (14%): A significant number of rejections resulted from developers providing inadequate information during the app submission process.
- Inappropriate Content (12%): This category includes a variety of content-related issues, such as pornography, bullying, racism, or any content that violates Apple’s guidelines.
- Poor Performance (10%): Many rejections resulted from apps performing poorly, crashing, or freezing during usage.
- Privacy Policy Violations (9%): Apple prioritizes user privacy; hence, any apps that fail to meet its requirements, including lacking a clear privacy policy, face rejection.
perspectives on app store rejection
Developer’s Perspective
Many developers understandably hold a negative perspective toward Apple’s App Store rejection policies. Strict guidelines, capricious rejections, and a perceived lack of transparency have left many developers frustrated and feeling powerless[MacWorld]. This is especially strenuous for small developers with limited resources who rely heavily on their apps being approved to generate income.
Apple’s Perspective
On the other hand, Apple argues that its guidelines are in place to maintain a high quality of apps in the store[Apple News]. Apple’s commitment to user privacy, security, and a clutter-free experience is crucial in maintaining customer trust in the platform.
Consumers’ Perspective
From the consumers’ viewpoint, Apple’s guidelines can largely be seen as positive. Users enjoy a curated selection of apps that offer quality, functionality, and privacy assurances. However, it can also limit the customers’ selection, as a number of potentially useful apps fail to pass through the Apple App Store’s review process.
How To Avoid App Store Rejection for Developers
App Store guidelines are comprehensive, so understanding them, especially for beginner app creators, may not be a smooth sailing experience. It’s undoubtedly demoralizing when your hard work on an app meets rejection. Without further delay, let’s explore the frequent reasons behind App Store rejections. To increase the likelihood of your app’s approval, consider adhering to the guidelines provided below upon submitting your app to the App Store:
👉🏾 Other users are currently reading Complete List of Top Mobile App Stores in 2024.
1. Follow Platform Guidelines
When developing and submitting an app, it is crucial to carefully review and adhere to all guidelines set forth by the app store. Apple and Google want to ensure a certain standard of quality, security, functionality, and appropriateness within their app stores. Failing to follow the rules and recommendations will often lead to rejection.
Be sure to read through all of Apple’s App Store Review Guidelines if submitting an iOS app and Google’s Developer Program Policies if submitting an Android app. These cover the proper use of in-app purchases, advertising, user-generated content, violence, legal compliance, trademarks, and more. Stay up-to-date on any changes or newly published guidelines as well. The [latform guidelines are summarized below:
- Provide Accurate Metadata
The metadata you provide for your app listing is crucial for getting approved by the app stores. Take time to accurately fill out all the required fields, as incorrect or misleading information can lead to rejection.
The title is the first thing potential users will see, so ensure it accurately conveys the purpose of your app. Keep it short, descriptive and free of trademarked terms, price info, or irrelevant keywords; we wrote a comprehensive article on how to name your app.
Write a clear, succinct description of what your app does and highlight the key features. Include some basic keywords, but don’t just stuff it with keywords or repetitive phrases.
Upload high-quality, custom icons that represent your app and conform to the platform’s icon dimensions specifications. Icons should clearly convey the app’s purpose without containing text.
Providing polished, accurate metadata greatly improves your chances of app store approval, and ASO ( App Store Optimization) to get decent organic downloads during the early stages of your app. Take the time to get these details right before submitting.
- Provide High-Quality Screenshots
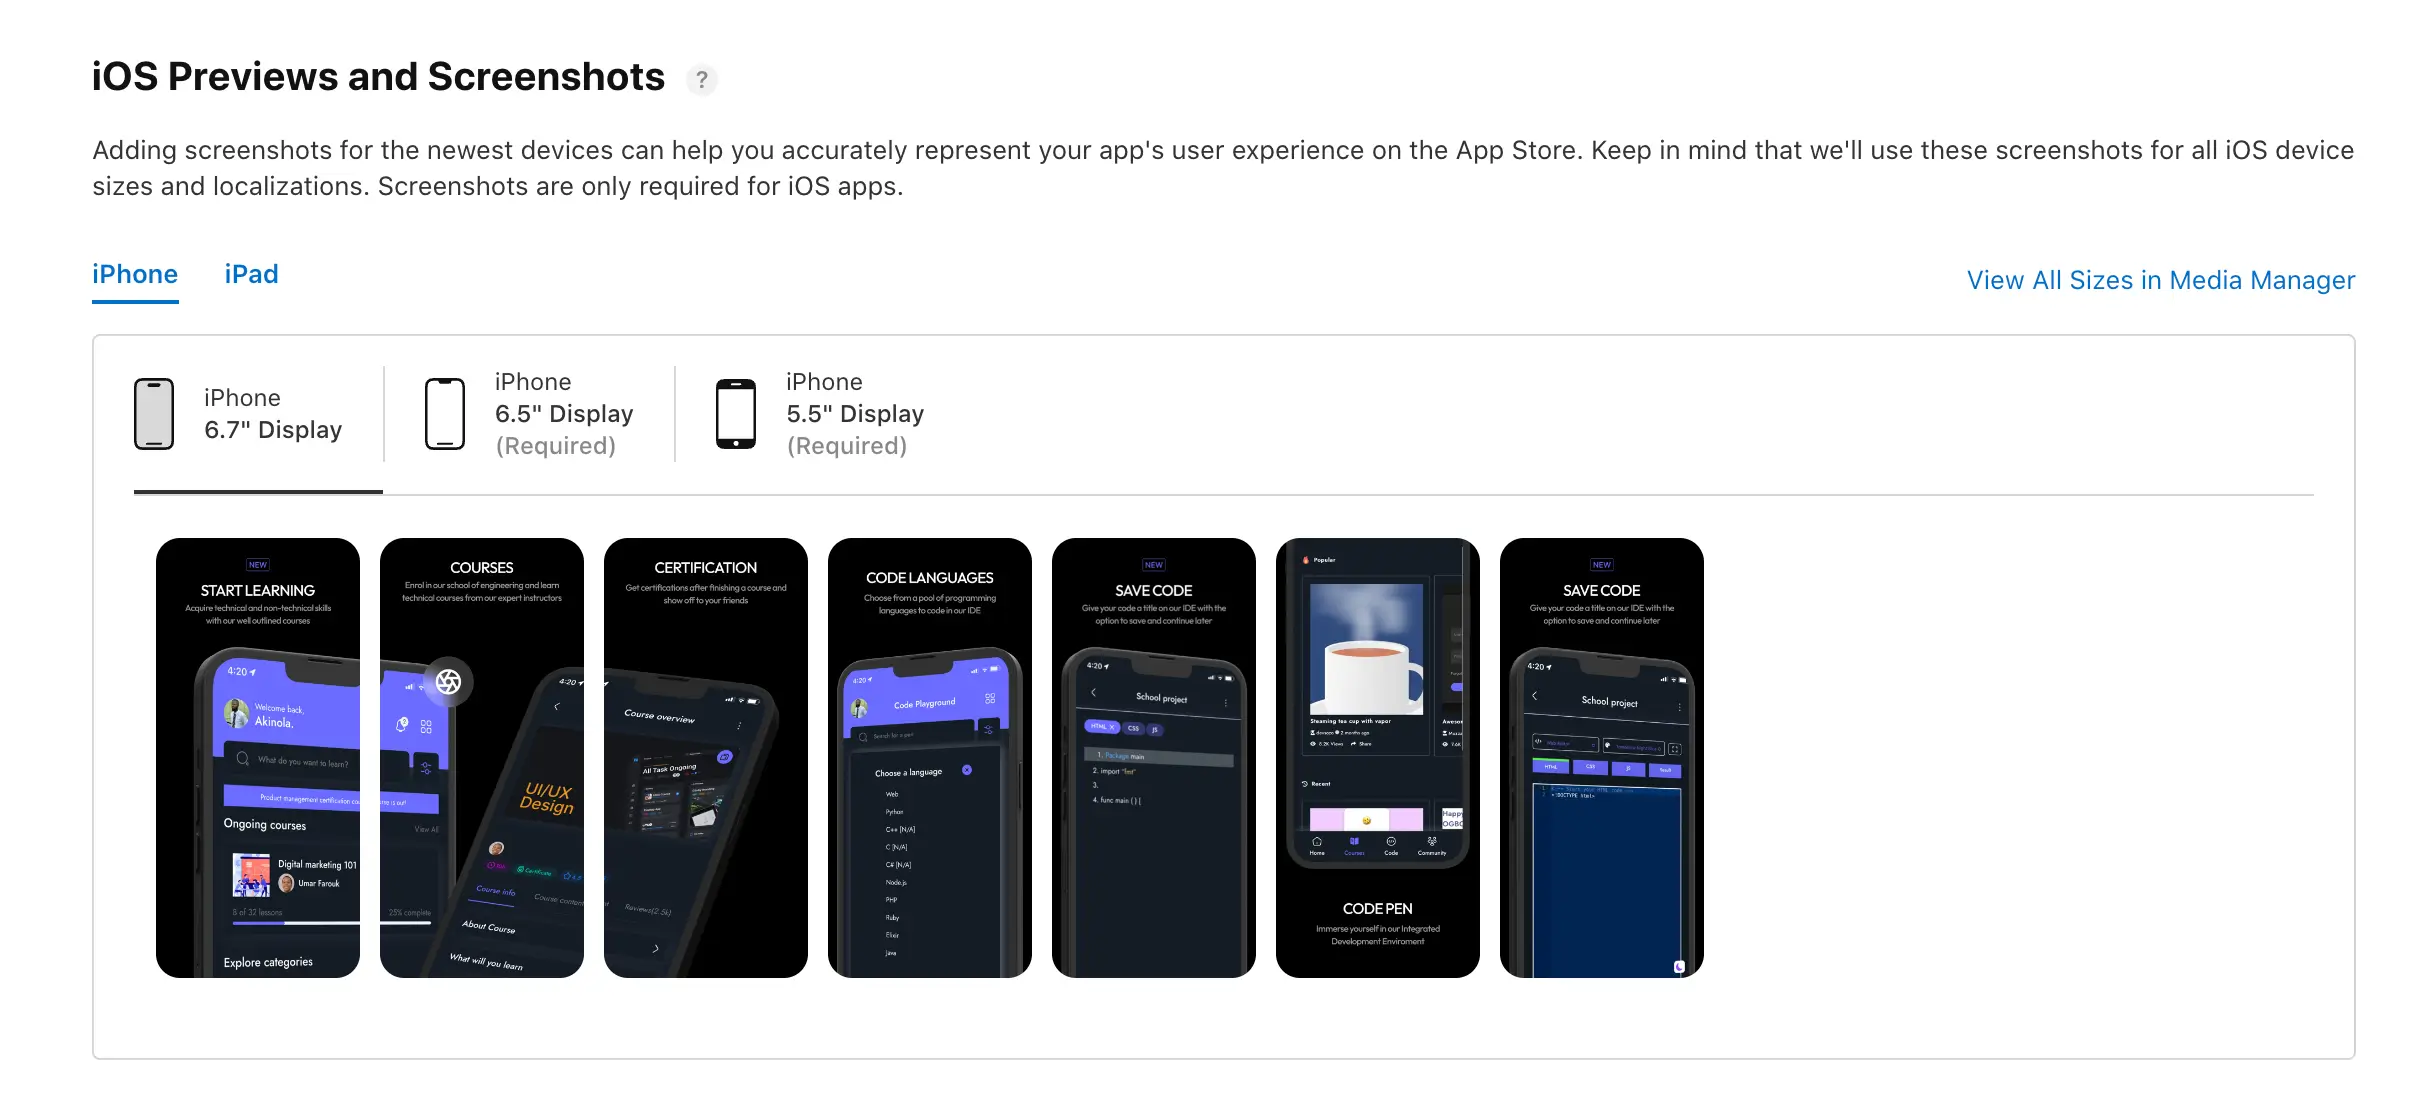
Screenshots should convey what your app does and why it’s worth downloading. Apple scrutinizes these images to ensure they accurately represent your app’s functionality. Misleading or low-quality screenshots can be a deal-breaker. So, invest time in creating screenshots that are not only visually appealing but also informative. Highlight key features and use text overlays to provide context where necessary.
If including a video demo, keep it short, focused on core functionality, and avoid long intro logos. Show authentic app usage.
We wrote a comprehensive guide on Designing App Store Screenshots that will help you to create not only beautiful and attractive screenshots of your app but also ones compliant with Store policy.
- Avoid Displaced Screen Orientation
Orientation matters, especially if your app is designed to work in both portrait and landscape modes. Apple expects a seamless transition between the two. Any hiccups, like layout breakages or unresponsive elements in your app design, will definitely lead to App Store rejection. If you use our app builder platform feature, you can easily fine-tune your app orientation on your advanced settings page.
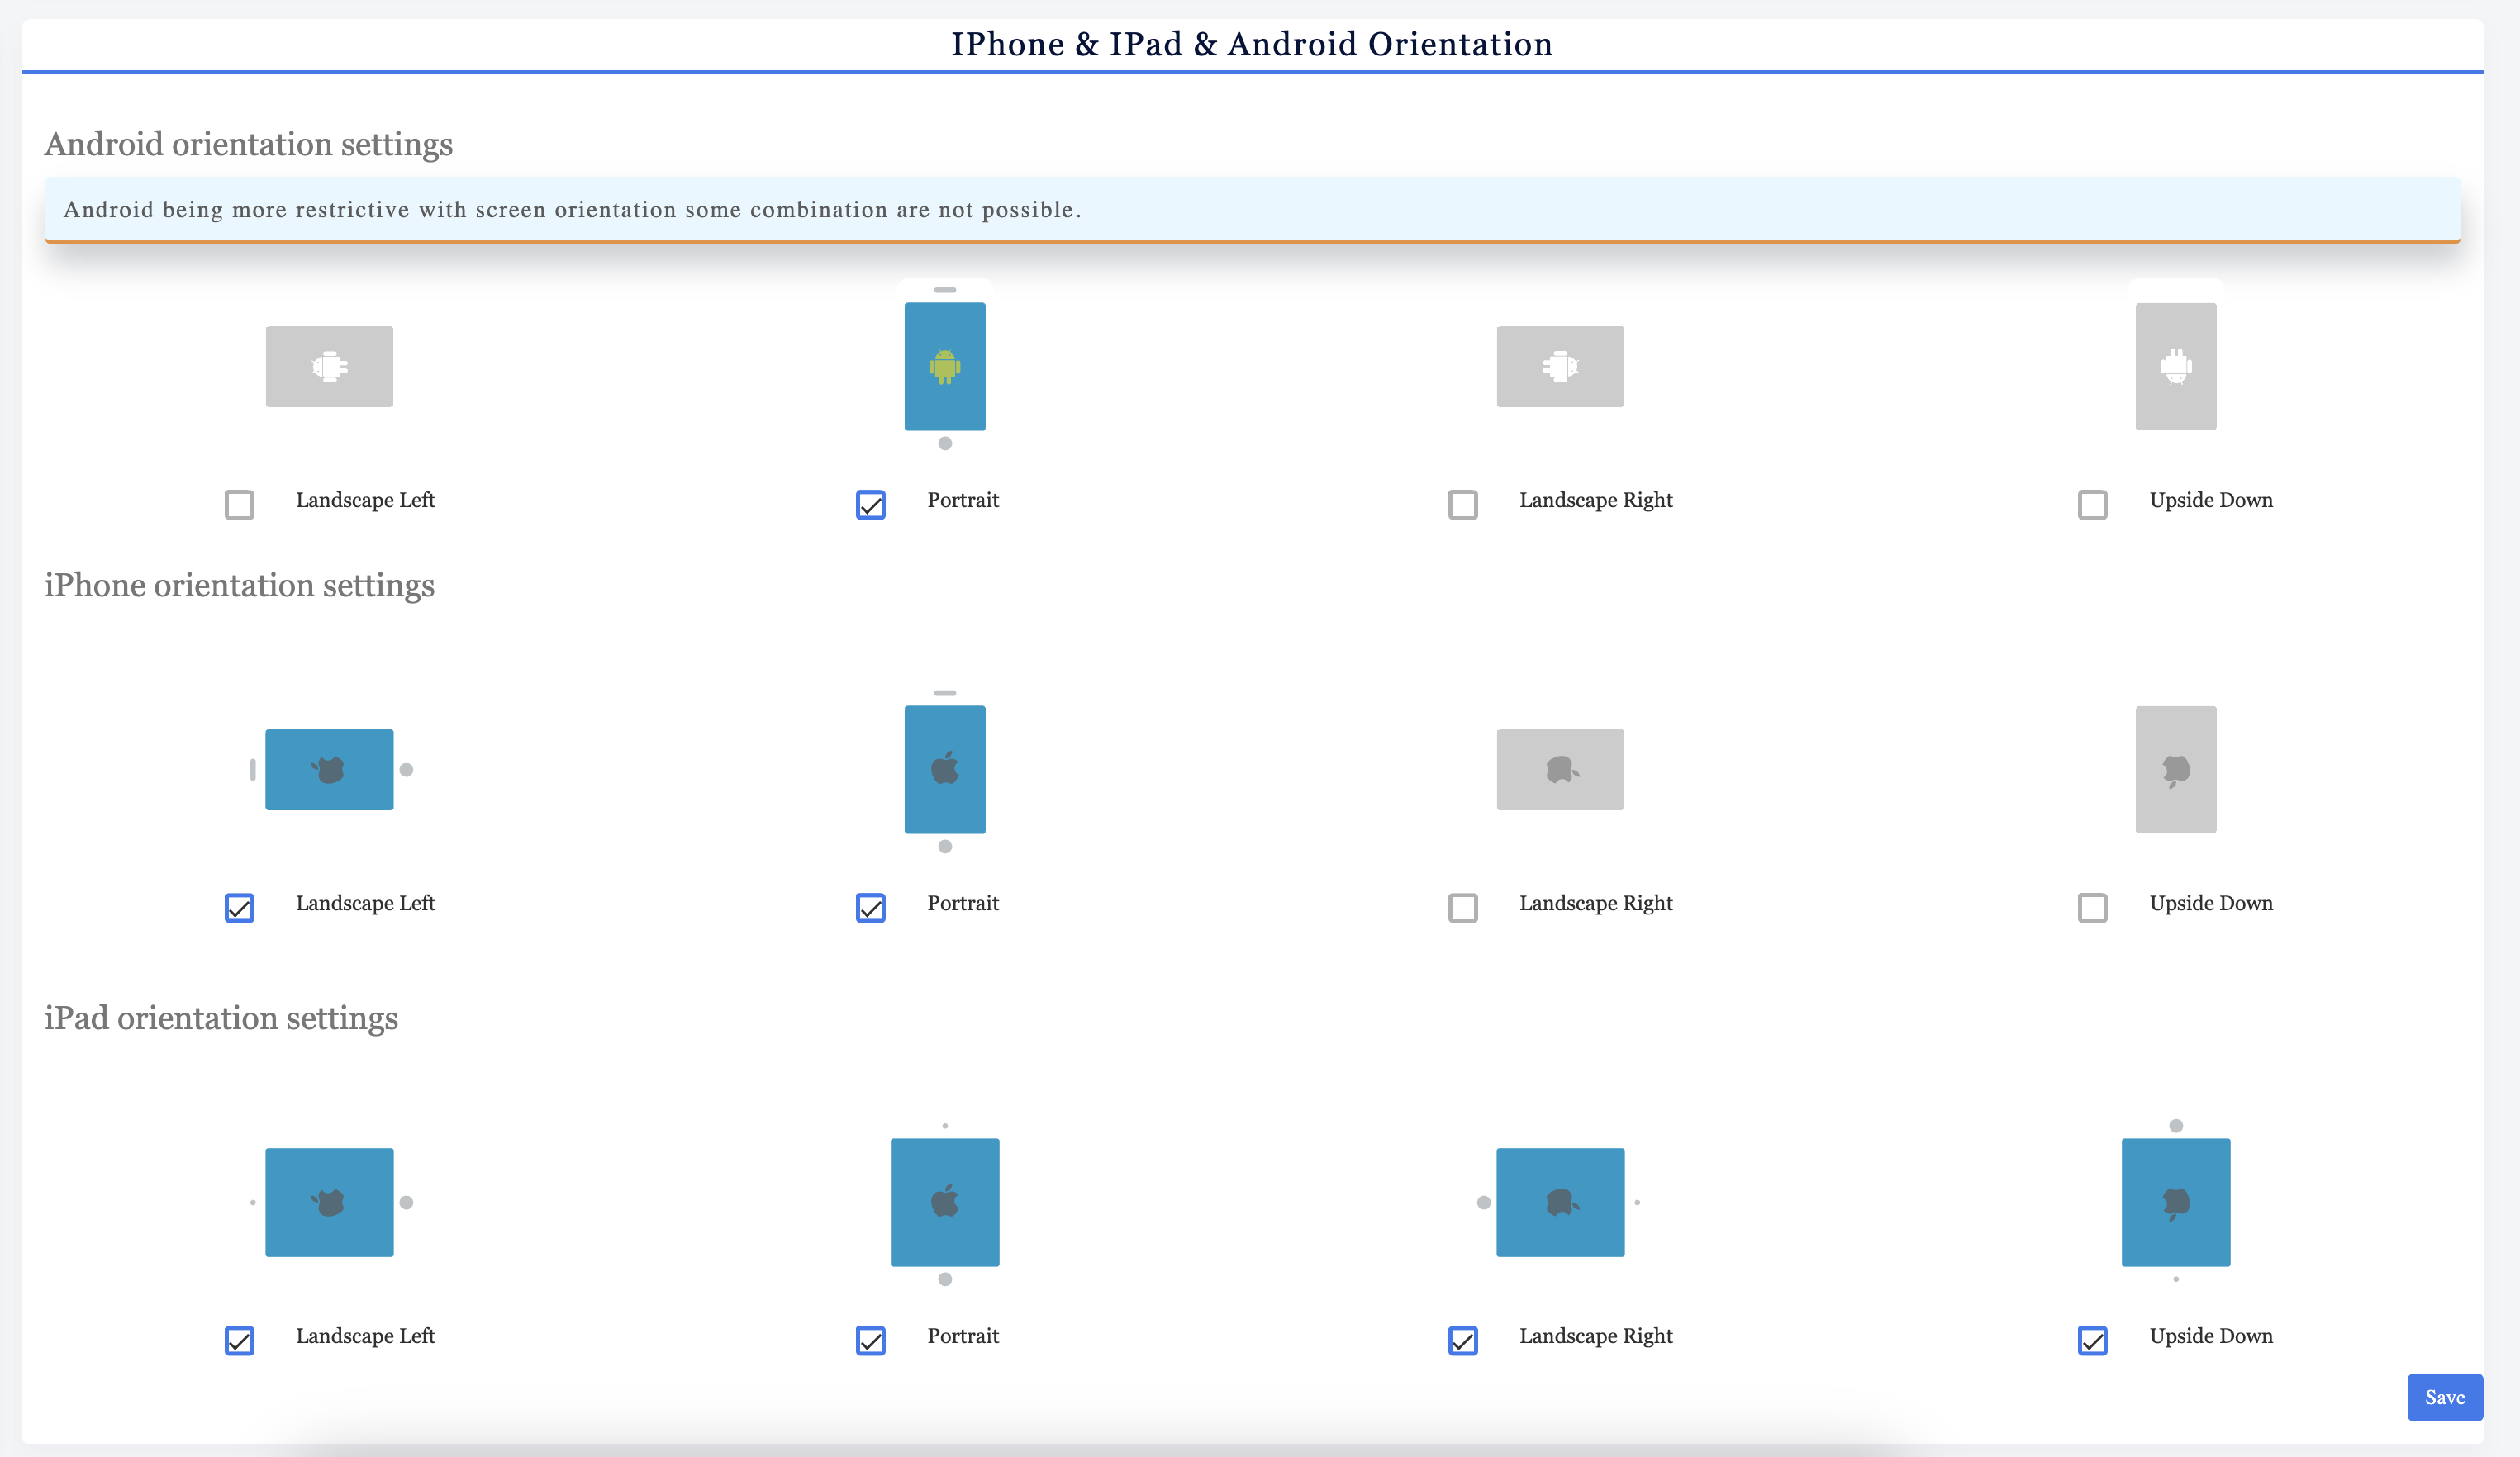
Test your app rigorously in both orientations to ensure a flawless user experience. Remember, it’s not just about looking good; it’s about functioning well in every possible scenario. We wrote a comprehensive guide on App Store Screen Resolution and Sizes that will help you avoid this problem.
- Fix Bugs and Crashes
An app that crashes is an instant reject; you can trust the App Store’s ever-angry app review team for that. Apple’s review process is thorough, and they will test your app’s stability across different devices and operating systems. Before submitting, conduct extensive testing to fix any bugs. Use beta testers to get real-world insights into how your app performs. The more stable your app is, the smoother your submission process will go.
- Take Note of Intellectual Property and Impersonation
Creating a clone of a popular app or using copyrighted content without permission is a quick way to get rejected. Your app needs to be original or have explicit permission to use copyrighted material. Apple takes intellectual property rights very seriously, so make sure you own or have the right to use everything in your app.
Copyright isn’t just about content; it extends to icons, images, and even the user interface. Using any copyrighted material without proper authorization will lead to your app being rejected. Always opt for original or appropriately licensed material. If you’re unsure about the copyright and intellectual property status of something you are about to use in your app, it’s better to leave it out.
- Explicit Content
Apple aims to maintain a family-friendly ecosystem. Any content that is sexually explicit and objectionable content, excessively violent, or otherwise inappropriate will be rejected. Ensure your app complies with Apple’s content guidelines. If your app is intended for a mature audience, make sure to set appropriate age restrictions.
- Incomplete Information
Your app’s description and metadata should provide all the information a user needs. If your app requires additional hardware or integrates with external services, this should be clearly stated. Incomplete or vague information can confuse users and is a common reason for App Store rejection.
- Misleading Metadata
Your app’s title, description, and keywords should align with what the app actually does. Any form of keyword stuffing, irrelevant terms, or misleading descriptions can result in your app being rejected. Be honest and transparent about your app’s functionality.
- Lack of a Privacy Policy
Data privacy is a hot topic, and Apple is at the forefront of user protection. If your app collects any form of user data, a robust and easily accessible privacy policy is mandatory. Failure to include one will result in your app being rejected.
2. Test Thoroughly Before Submitting
Before submitting your app to the App Store or Google Play, it is crucial that you thoroughly test it to identify and fix any bugs or issues.
- Test your app on real devices, not just simulators/emulators. Simulators can miss some bugs or performance issues that only show up on actual devices. You should test on both iOS and Android devices to cover the full range of screen sizes, performance levels, and OS versions your app will encounter.
- Run through every screen and feature, checking that they function correctly. Tap buttons, enter text in forms, scroll through lists, test with good and bad input values, turn the device to landscape mode, force close the app and restart, etc. Check that visual elements are displaying properly on all device sizes.
- If you use any third-party SDKs or APIs, test whether those integrations work. Switch the device into aeroplane mode to test offline functionality. Disable permissions to test how the app handles that. Sign in and out of social accounts. Run through all critical user flows.
- Load the app with large data sets if applicable. Check for memory leaks or slowdowns during extended usage.
- Have people outside the development team test on their own devices to catch issues you may not have thought of. Listen to feedback and squash bugs thoroughly before submitting.
Thorough testing like this takes significant time and effort, but it is necessary to avoid rejections from platform review teams for crashes, bugs, or broken experiences. Catching issues ahead of time also provides a smoother, frustration-free user experience once your app goes live.
3. Smooth User Experience and Nice Interface
A polished user interface and user experience are critical for app store approval. Make sure your app’s UI/UX follows best practices:
- Ensure intuitive, responsive design. The interface should be easy to navigate and use on all screen sizes. All buttons and touch targets should be appropriately sized.
- Optimize for accessibility. Your app should follow accessibility guidelines to support users with disabilities. Add alt text for images, make sure it works with screen readers, and include captions if needed.
- Check that all app flows make sense. Walk through all use cases to confirm the UI guides users properly through each process. Remove any confusing or dead-end paths.
- Confirm all UI elements are properly labeled. Buttons, menus, and other UI components should have clear, concise labels so users understand what each element does.
- Verify responsive behavior on all device sizes. Use developer tools to test your app on various phone and tablet sizes. Make sure layouts adapt well, and UI elements resize appropriately.
- Review with fresh eyes. Get others who aren’t familiar with your app to test it out. See if they can navigate the app intuitively without instructions.
- Fix any UI bugs or glitches. Resolve visual defects, erratic animations, layout issues, or unresponsive elements.
- Ensure high visual design quality. Polish the visuals to look professional. Follow platform interface guidelines for a native look and feel.
Putting care into your app’s user interface and overall user experience will help provide a smooth, intuitive app for users and meet platform approval requirements.
4. Choose Appropriate Categories
Selecting the right primary and secondary categories for your app is crucial for getting approved. The categories you choose should accurately reflect your app’s core functionality and content. Misrepresenting your app by selecting unrelated categories just to gain more visibility is a risky strategy that can get your app rejected.
Carefully read Apple’s and Google’s category definitions to find the ones that are the closest fit. For example, don’t categorize a simple puzzle game as Educational just because it helps flex mental muscles. And avoid overly broad or vague categories like Lifestyle or Utilities when more specific ones exist.
If your app spans multiple functions, select both a primary and secondary category. The primary category should represent the app’s main purpose, while the secondary adds helpful additional context.
Also, ensure your app actually adheres to each category’s content policies. For instance, selecting Medical requires compliance with regional telehealth laws. Kids category apps must limit data collection and follow child safety rules.
Spending time to categorize your app accurately shows that you respect each store’s submission guidelines. Choosing fitting categories demonstrates an understanding of your target users and positions your app for success.
5. Monitor Third-Party SDKs
Third-party SDKs can be a source of app rejections if they behave unexpectedly or violate app store policies. When integrating any third-party code into your app, it’s important to keep a close eye on SDK updates and monitor their reputation.
Some tips for managing third-party SDKs:
- Review SDK release notes such as API level requirements and install updates as soon as possible. Updates often contain bug fixes or changes to comply with new regulations. Outdated SDKs are more likely to cause issues.
- Pay attention to privacy concerns or violations associated with any SDKs. For example, some SDKs have been found collecting data without consent. Using questionable SDKs could lead to a rejection.
- For advertising and analytics SDKs, ensure they follow the platform’s latest guidelines around user tracking and opt-ins. Requirements in this area are frequently updated.
- Be cautious with new or untested SDKs. It’s safer to use established SDKs from reputable companies that are widely adopted by other apps.
- Test any newly integrated SDKs thoroughly before submitting your app update. Monitor network requests to confirm the SDK behaves as expected.
By keeping third-party code up-to-date and sticking to reputable SDKs, you can avoid many rejections related to unexpected or inappropriate SDK behavior. Stay vigilant in monitoring SDKs even after approval, as maintaining compliance is an ongoing process.
Dealing with the complex App Store approval process might seem overwhelming, but you don’t have to face it alone. Swiftspeed App Creator is here to help! We provide a platform that not only helps you build an app but also optimizes it for the App Store approval process. Designed to align with Apple’s strict guidelines, we offer various customizable templates and features to improve user experience while adhering to the rules.
With Swiftspeed, you’ll have access to bug-testing utilities and a vast collection of UI elements. This ensures your app is innovative, compliant, and ready to impress in the App Store.
But Swiftspeed’s support doesn’t end at app creation. Our comprehensive guides and resources, like this article, are tailored to help you understand the intricacies of the App Store’s approval process. We’re committed to not just helping you create an app but also guiding you through the journey of making it a success on the App Store. With Swiftspeed, you’re not just building an app; you’re building a future that’s free from the worries of App Store rejection.
Wrapping Up
Getting your app approved and published on the app stores is a crucial step for any developer. While it may seem daunting, carefully following the guidelines and best practices outlined above will help increase your chances of a smooth review process.
To summarize, always thoroughly test your app before submission to catch any bugs or issues early. Closely adhere to each platform’s design principles and guidelines. Include all required metadata accurately and completely. Leverage beta testing to identify problems. Carefully vet any third-party SDKs or APIs. Localize properly for target markets.
A few final tips:
- Read the app store review guidelines fully and review any updates. Follow them closely.
- Don’t try to sneak things past reviewers. Be transparent and explain the necessary capabilities.
- Be responsive to reviewer feedback and questions. Quickly resolve any issues raised.
- Seek clarification if rejection reasons are unclear. Don’t re-submit without understanding why.
- Keep iterating to improve stability, performance, security, and design.
- Stay patient and persistent. The process may take some refinement to get right.
With diligence and care in meeting all requirements, your app can pass review the first time. Follow these best practices to avoid rejection and have a smooth launch!

