Appointments and Scheduling Feature
What is the Appointments feature?
The Appointments feature turns your mobile app into a complete scheduling tool. It is one flexible feature with three structures you choose from, so the same feature can power very different apps without any code.
- Full Appointment - customers browse your services and book an open time slot. Ideal for salons, clinics, consultants, barbers, trainers, lawyers, repair and home services.
- Calendly - you publish your weekly availability and customers self-book any open time. Ideal for one-on-one meetings, intro calls and consultations.
- Calendar Alarm - each user connects their own Google Calendar and gets an alarm a chosen number of minutes before every event, with a custom chime. Ideal for a personal alarm-clock or reminder app.
You pick the structure on the Design tab, and the editor only shows the sections that apply to it. Choose Calendar Alarm and the Services, Bookings and Payments sections disappear, because a personal alarm clock does not need them.
Adding the feature to your app
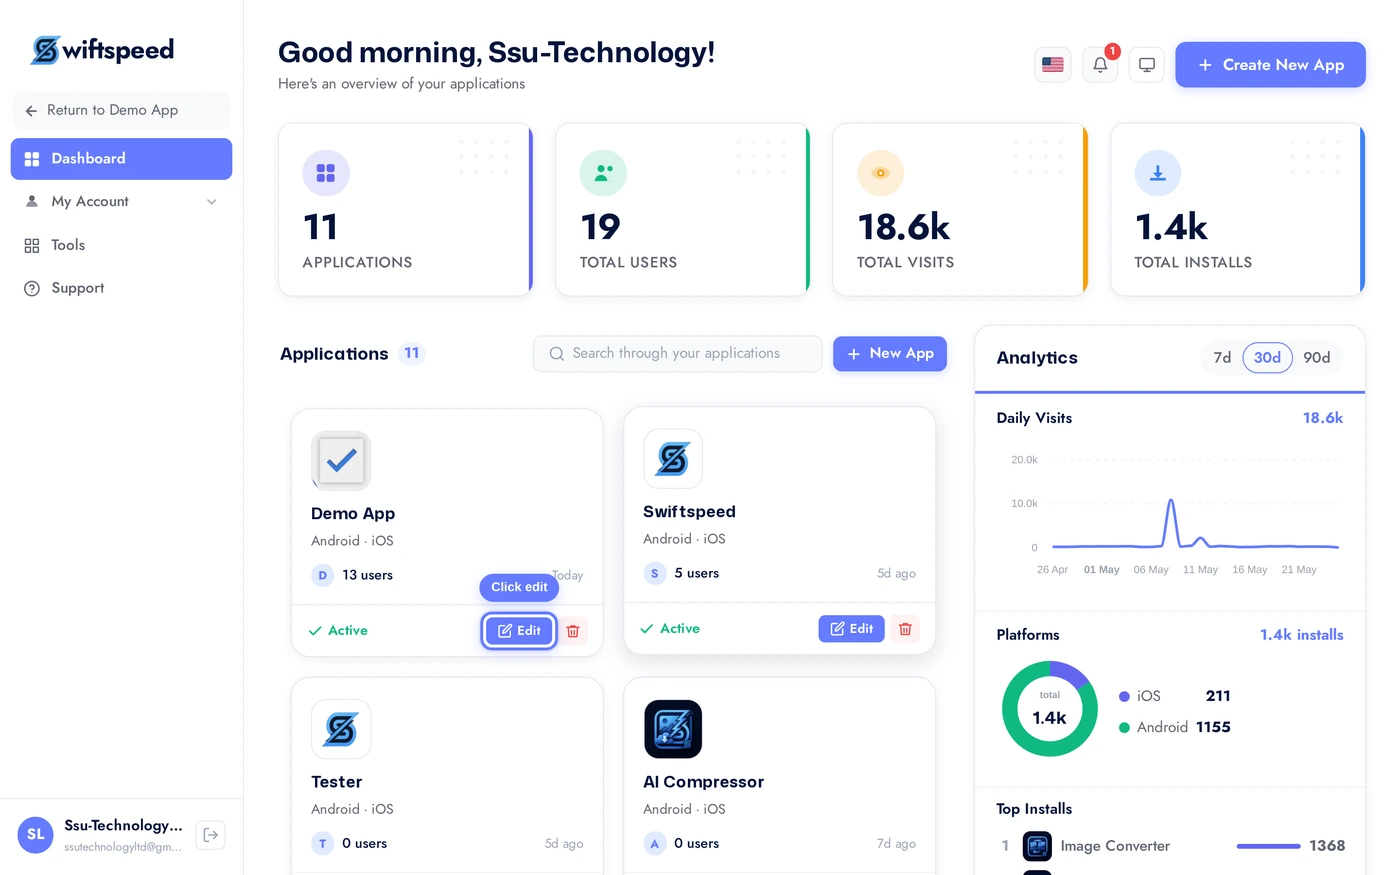
From your dashboard, click the edit pencil on the app you want to add scheduling to.
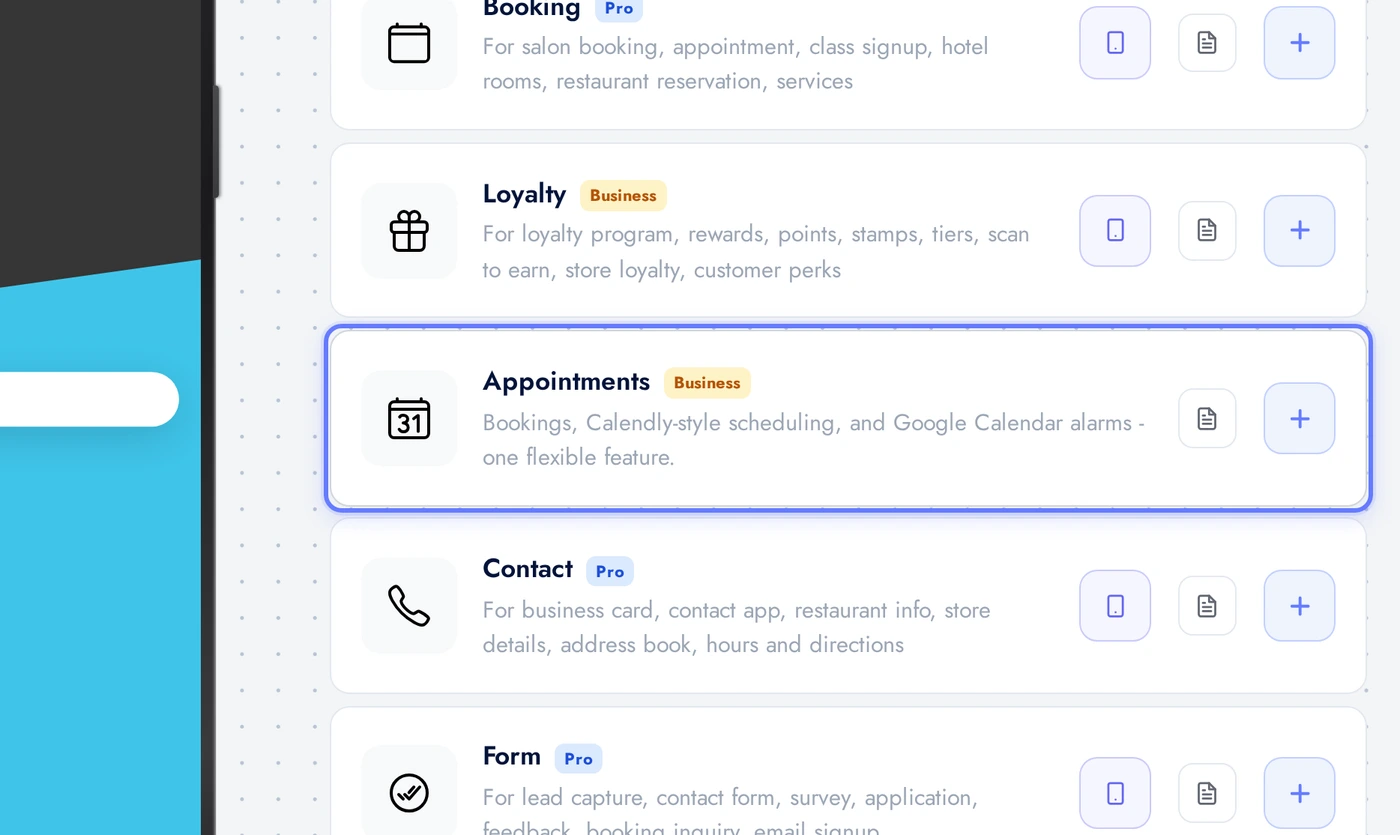
Open Features, find the Appointments card, and click the + to add it.
Choosing a structure and theme
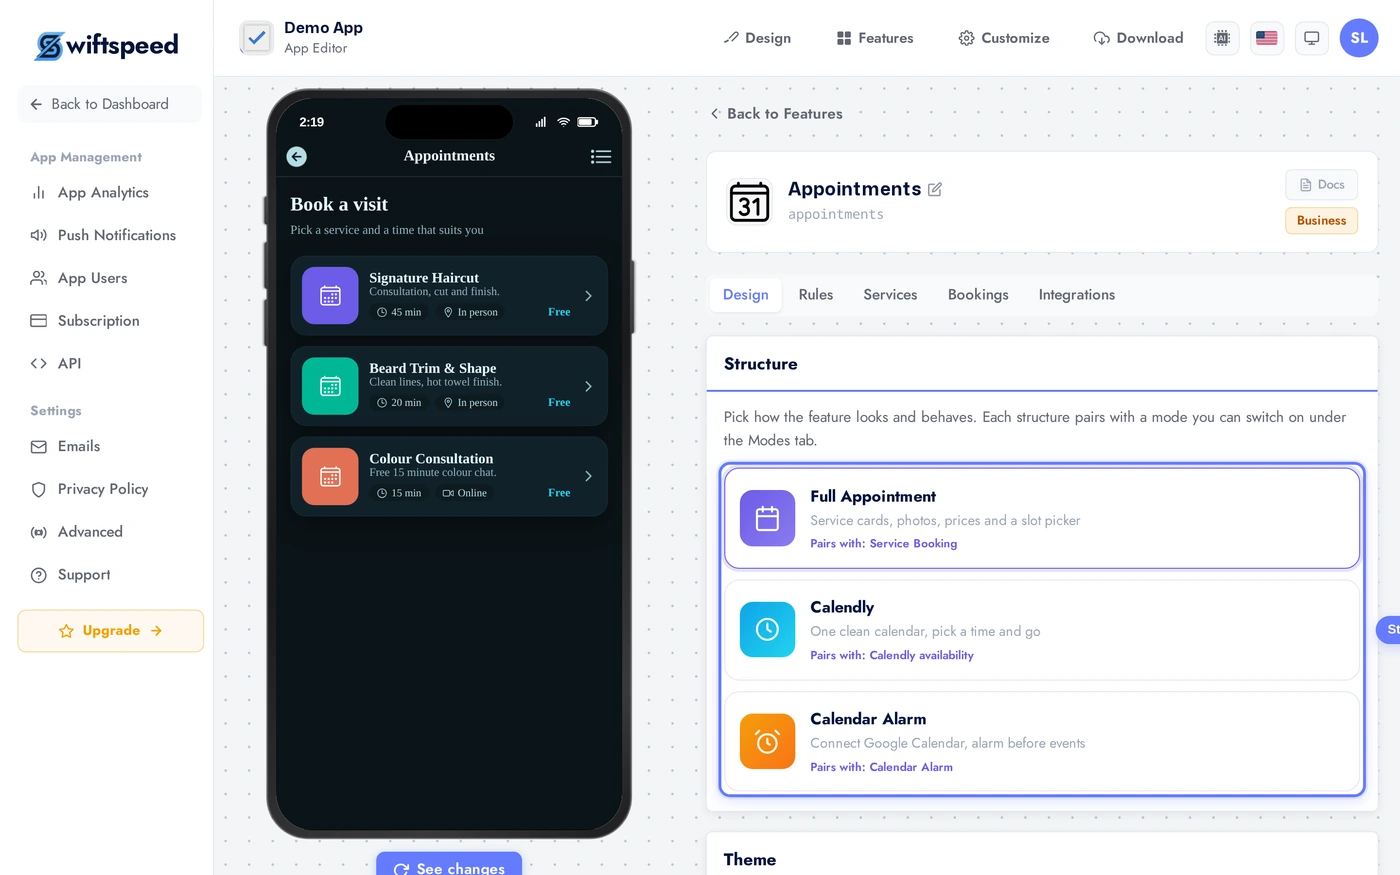
Open the feature in the editor and go to the Design tab. Pick one of the three structures, then a theme. There are six themes (Midnight, Aurora, Forest, Sand, Rose and Mono) and you can override any individual colour under Custom colours. Set your header title and subtitle here too.
The Design tab. Pick a structure (Full Appointment, Calendly, or Calendar Alarm), then a theme. The editor reshapes itself around the structure you choose.
Adding services
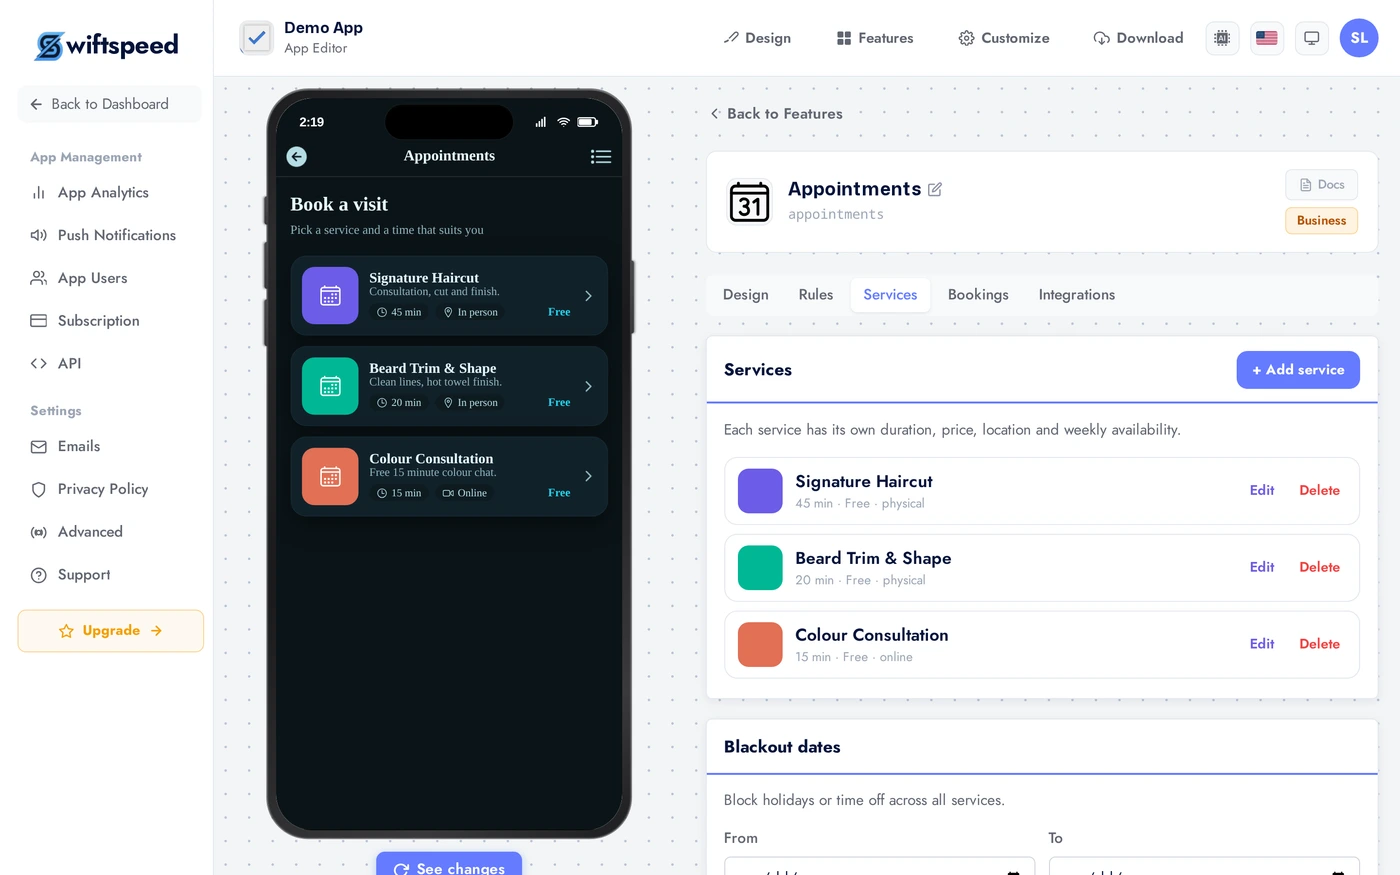
On the Services tab, add each service you offer. For every service you set:
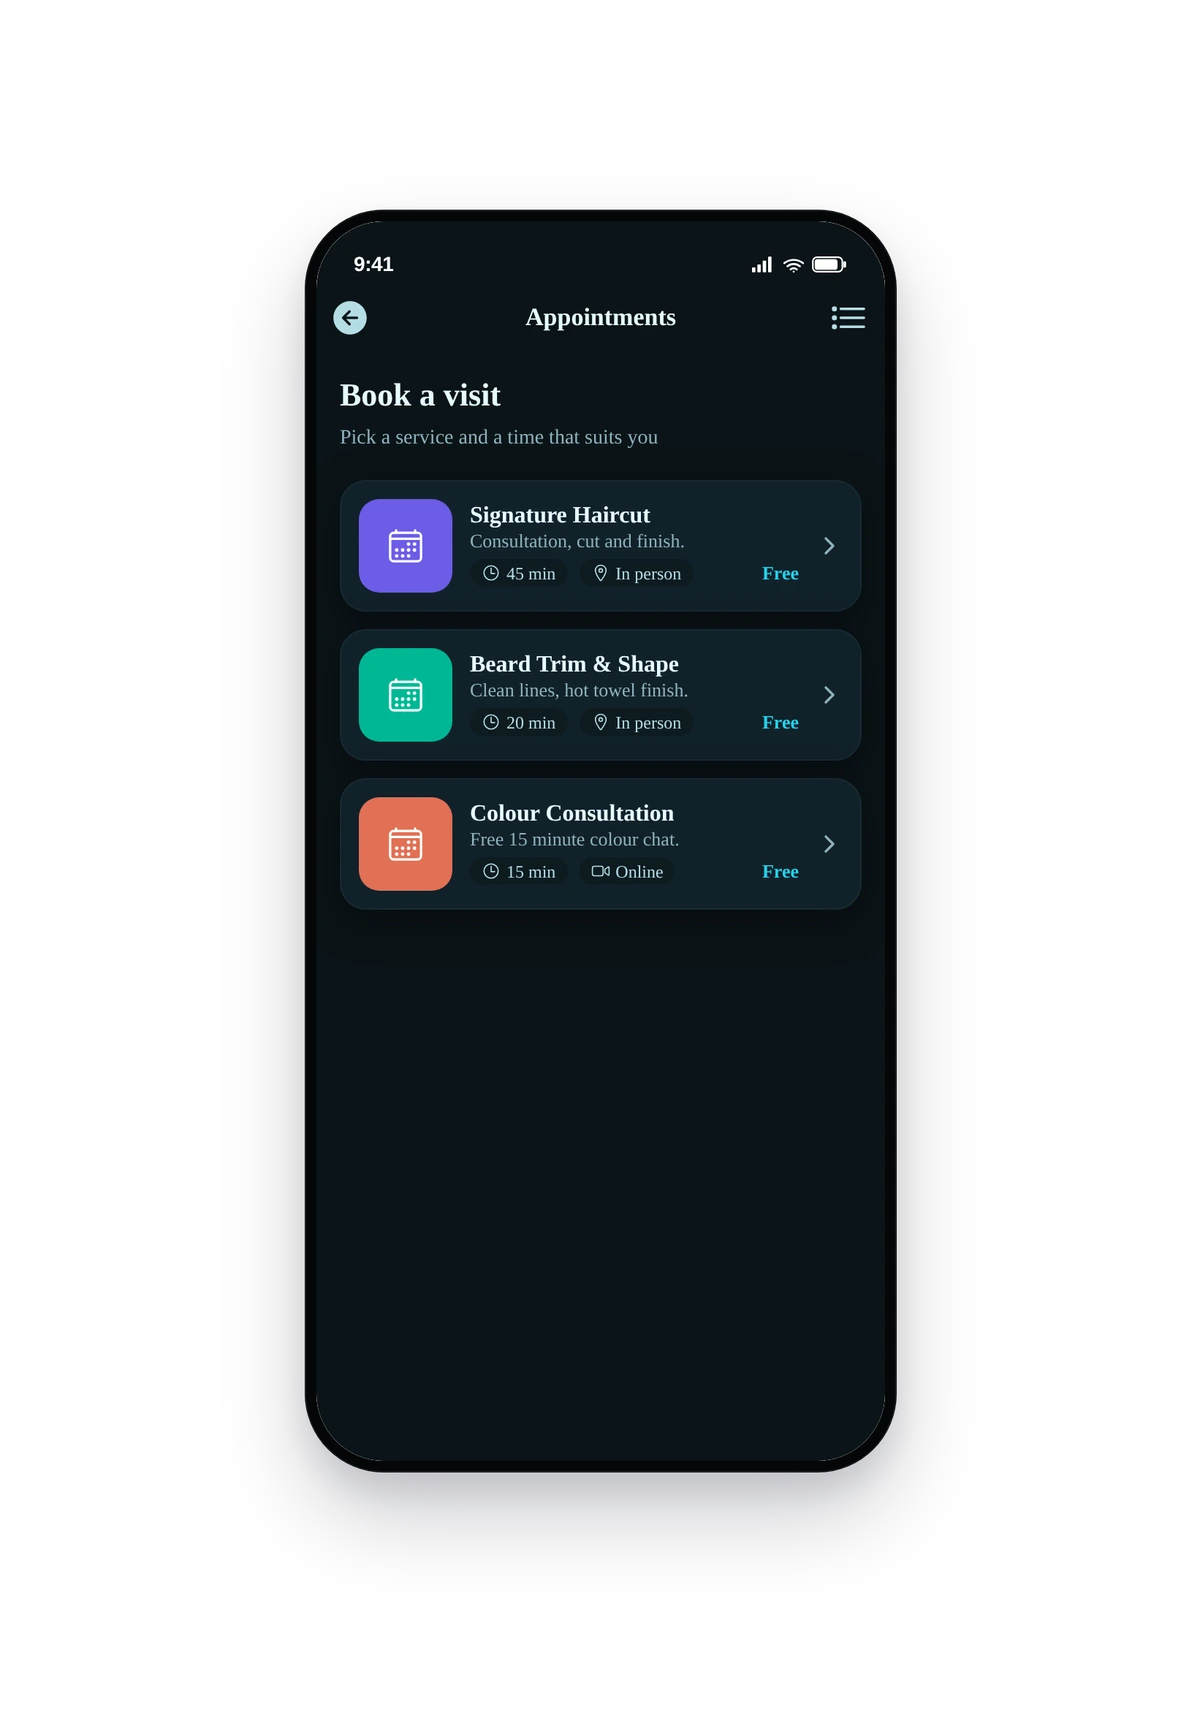
The Services tab. Each row is a bookable service with its duration, price, location and availability. Our demo has three: a haircut, a beard trim, and a colour consultation.
- Title, description and a photo.
- Duration in minutes and a price (or leave it free).
- Location: in person with an address, online with a meeting link, or phone.
- A daily limit, if you want to cap how many can be booked per day.
- Its own weekly availability, set right inside the service drawer.
In the Calendly structure, services act as booking types (for example a 15 minute intro and a 60 minute deep dive), and customers pick a time from the weekly availability you publish.
Setting availability and rules
Under Rules you control how booking behaves:
The Rules tab governs approvals, buffers, notice windows, slot interval and cancellation policy for the whole feature.
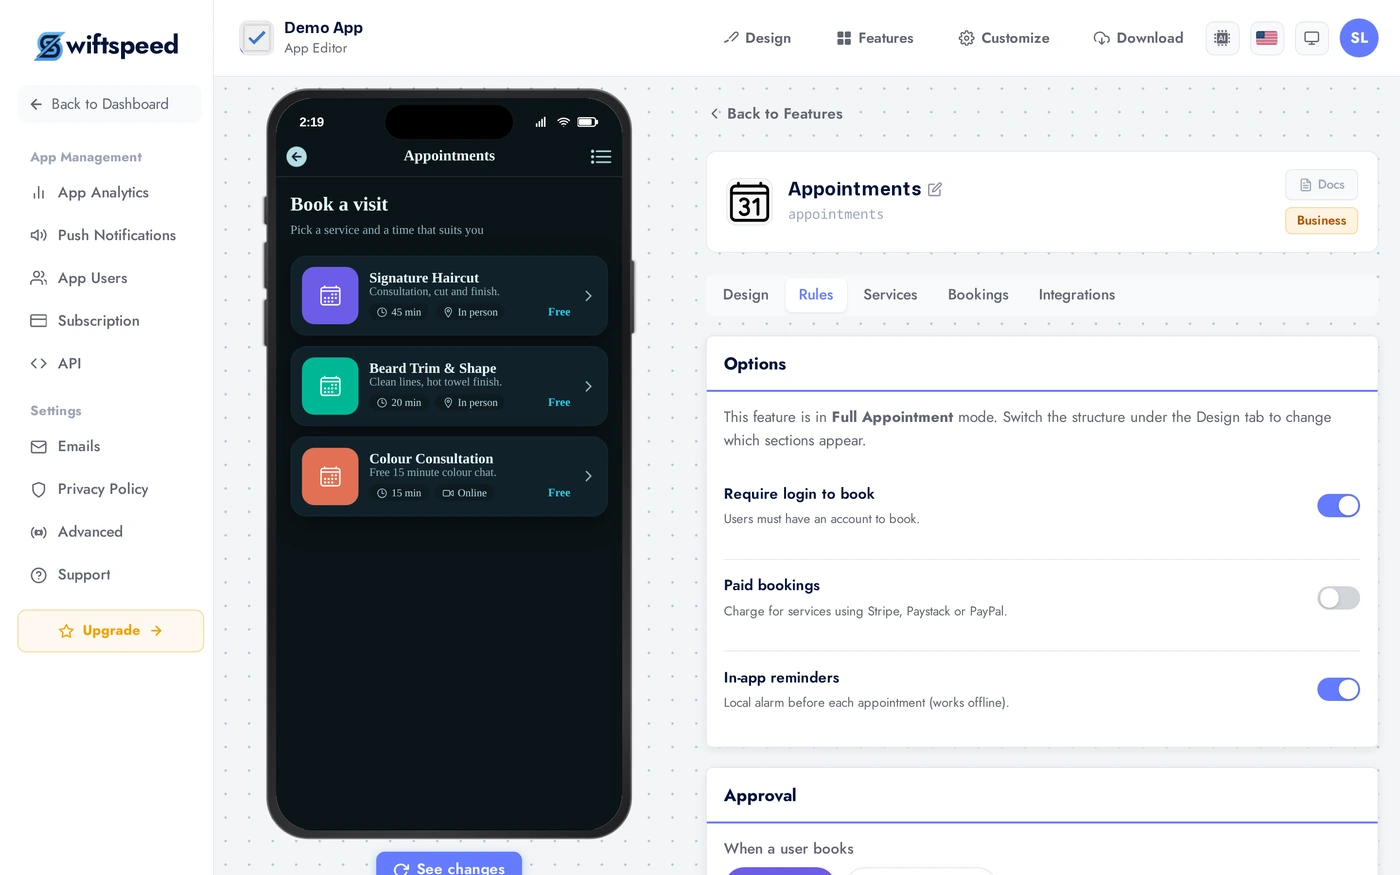
- Approval: auto-confirm every booking, or review each request yourself.
- Buffers before and after each appointment so you are never back to back.
- Minimum notice (how far ahead someone must book) and maximum advance (how far into the future bookings are allowed).
- Slot interval and an optional daily limit.
- Whether customers can cancel or reschedule, and how close to the appointment that is allowed.
For the Calendly structure, set your weekly availability on the Availability tab. You can also add blackout dates to block holidays or time off across all services.
Built-in scheduler or connect Calendly
The Calendly structure can run two ways, and you choose which one on the Services tab under Scheduler.
- Built-in (the default): scheduling runs entirely on Swiftspeed. You set your weekly availability and booking types in the editor, and bookings are managed in the app. No external account is needed.
- Connect Calendly: if you already use Calendly.com, connect your account and the app shows your real Calendly event types. Tapping one opens your Calendly booking page, prefilled with the user's name and email, and the user books on Calendly as normal. Their upcoming Calendly meetings then appear in the app, each with an alarm before it starts.
To connect Calendly you need a Calendly Personal Access Token. Calendly API access requires a paid Calendly plan (Standard or higher), so make sure your Calendly account is on a paid plan first.
In Calendly, click your avatar (bottom left), then Integrations and apps. Open API and webhooks, find Personal access tokens, and click Generate new token. Give it a name, create it, then copy the token straight away (Calendly only shows it once).
Back in the Swiftspeed editor, open the Appointments feature, go to the Services tab, and under Scheduler choose Connect Calendly. Paste the token and save. The token is stored securely on our servers and is never sent to your app users.
Once connected, your real Calendly event types appear in the app. Tapping one opens your Calendly booking page prefilled with the user's name and email, and each user's upcoming Calendly meetings then show up in the app, each with an alarm before it starts.
Taking payments
Turn on Paid bookings under Rules, mark a service as paid and set its price. Under Integrations, choose Payments and connect Stripe, Paystack or PayPal. Customers pay during checkout and the appointment is confirmed once payment succeeds. Free and paid services can live side by side.
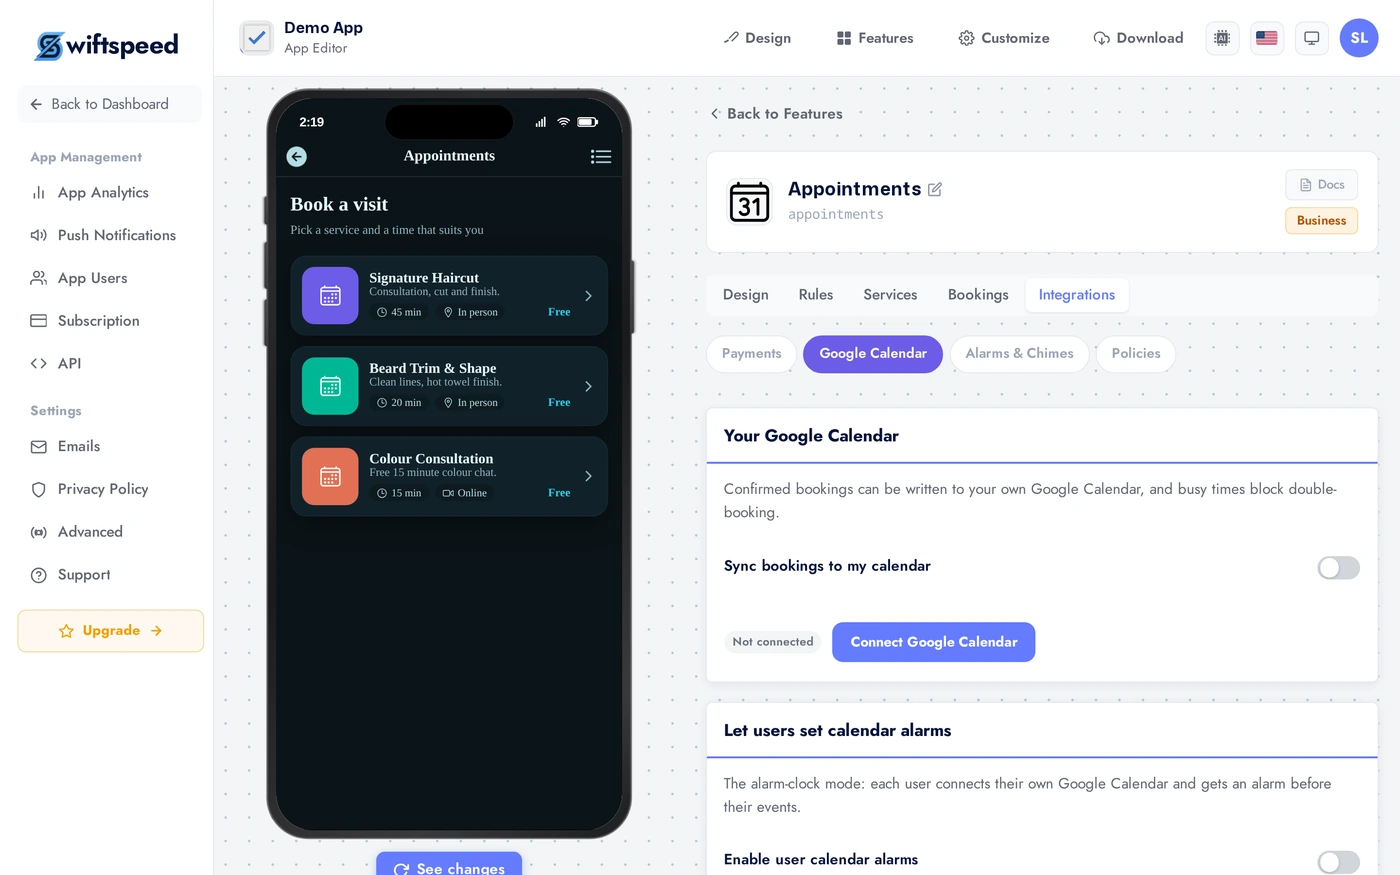
The Integrations tab is home to Payments, Google Calendar sync, and Alarms and Chimes.
Google Calendar sync
The Appointments feature connects to Google Calendar in two independent ways, each controlled by its own toggle under Integrations.
- Your calendar (the owner): connect your own Google Calendar so every confirmed booking is written to it automatically, and your existing busy times block double-booking.
- Your users calendars: let each customer connect their own Google Calendar. The app reads their upcoming events so it can set alarms before them. This is the heart of the Calendar Alarm structure.
By default the Google sign-in screen shows the Swiftspeed brand. If you would rather show your own brand, paste your own Google client ID and secret under the Branding section.
Showing your own brand on Google sign-in (advanced)
When a user connects Google Calendar, Google shows its own permission screen. By default it displays the Swiftspeed name, because Swiftspeed supplies verified Google credentials for everyone, with no setup on your part. Most apps should leave this as is.
If you would rather that permission screen show your own brand, supply your own Google credentials. In the editor open Integrations, then Google Calendar, and expand the Branding section. You will need a Google account and about ten minutes.
- Go to console.cloud.google.com and create a project, or pick an existing one.
- Open APIs and Services, then Library, and enable the Google Calendar API.
- Open the OAuth consent screen, choose External, and fill in your app name, logo, support email, your privacy policy URL and your terms of service URL. Under Authorized domains, add
swiftspeed.app. - Add the scopes you need:
calendar.readonlyfor end-user alarms, andcalendar.eventsas well if confirmed bookings should be written to your own calendar. - Open Credentials, create an OAuth client ID, and choose Web application as the type.
- Under Authorized redirect URIs, add this exact address:
https://swiftspeed.app/api/v2/oauth/google/callback - Save, then copy the Client ID and Client secret and paste them into the Branding section in the editor.
Two things to know before choosing this route. First, the redirect address above is on the swiftspeed.app domain because Swiftspeed handles the secure sign-in step for you; that is expected and required. Second, your own credentials begin unverified by Google, so users see a "Google hasn't verified this app" notice they can tap past, and up to 100 people can connect while it stays unverified. Getting your own credentials fully verified is involved, so unless you specifically need your own brand on the permission screen, we recommend leaving the Branding fields blank and using Swiftspeed's verified sign-in.
Alarms and custom chimes
Every appointment and every linked calendar event can trigger a real alarm on the device, even offline. Under Integrations choose Alarms and Chimes to set:
- The default lead time (for example 30 minutes before, or any number you choose).
- The chime, its length and volume.
- Whether users can override the lead time and chime per event.
Reminders are cancelled automatically when a booking is cancelled, and rescheduled when a booking moves. On Android the alarm fires at the exact time; on iOS it uses the standard notification sound rules.
The customer view
Here is the seeded demo rendered inside a real phone: a salon with three services, ready to book.
The native scheduling screen. Customers pick a service, see open time slots, and confirm. Your own services and theme replace the demo content.
Managing bookings
The Bookings tab is your dashboard. Search and filter by status, sort the list, and confirm, complete, cancel or mark a no-show. You can act on several at once with the bulk actions. New bookings email you automatically, and customers receive a confirmation by email too.