Events and Tickets Feature
What is the Events and Tickets Feature?
The Events and Tickets feature turns your mobile app into a full event-ticketing marketplace. You publish events, set ticket tiers and capacity, accept payments, and validate tickets at the door with a built-in QR scanner. Suitable for promoters, venues, training studios, religious organisations, conferences, and any business that runs paid or free events.
Supports paid and free events, online and in-person, one-off and recurring. Built-in support for Apple Wallet, Google Pay, refund windows, waitlists, reviews, attendee forms, host signup with approval workflow, and a 10 percent default platform fee on paid sales (configurable).
Adding the Events and Tickets Feature to Your App
In the App editor, click Features in the top bar.
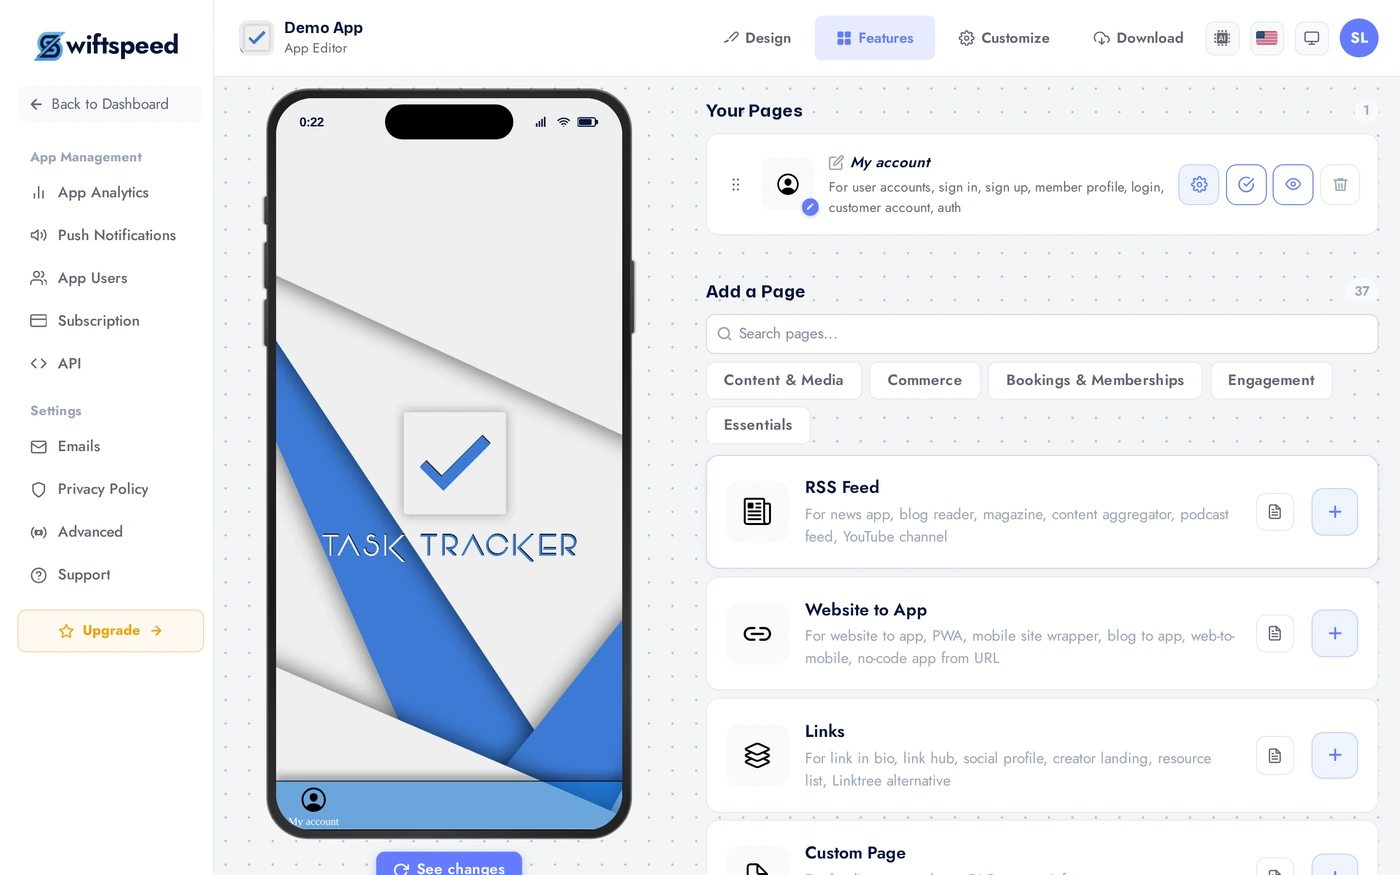
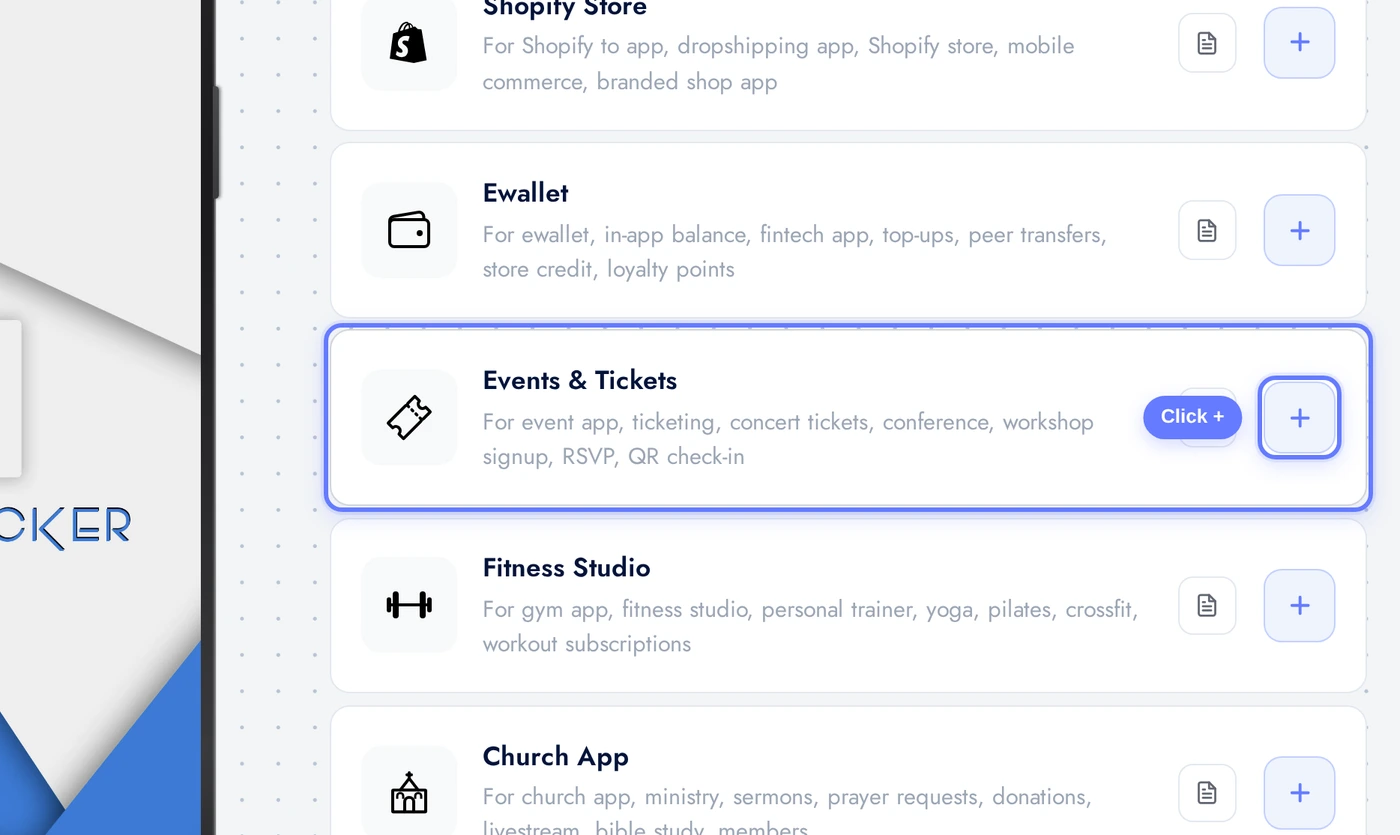
Find the Events & Tickets card and click the + button.
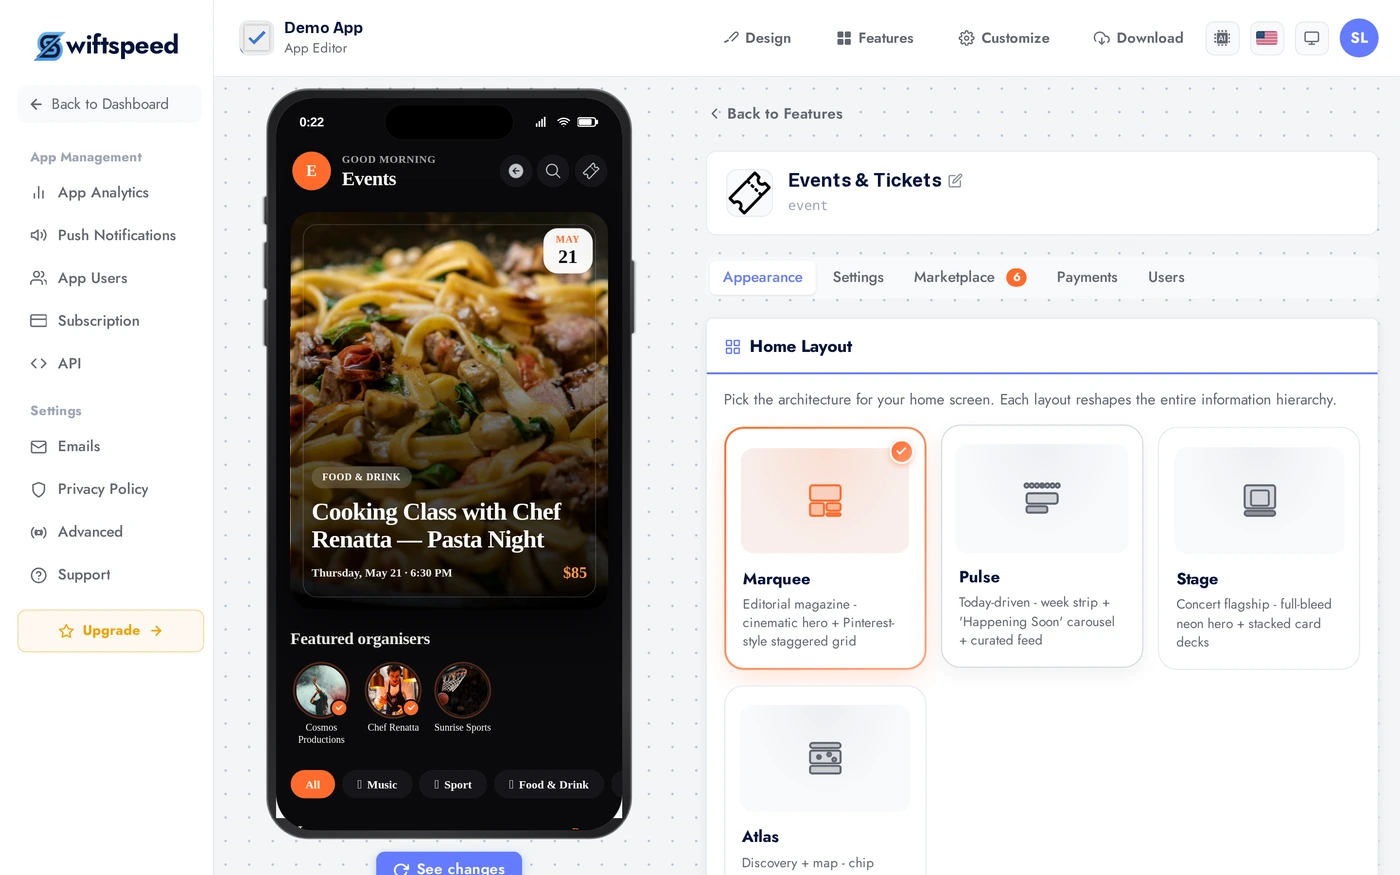
Appearance Tab: Layout and Theme
Four layouts: Marquee (hero carousel, image-heavy), Pulse (feed-style, default), Stage (poster grid, suits concerts and entertainment), Atlas (map-based, suits city-wide event guides). Pick what matches the volume and visual character of your events.
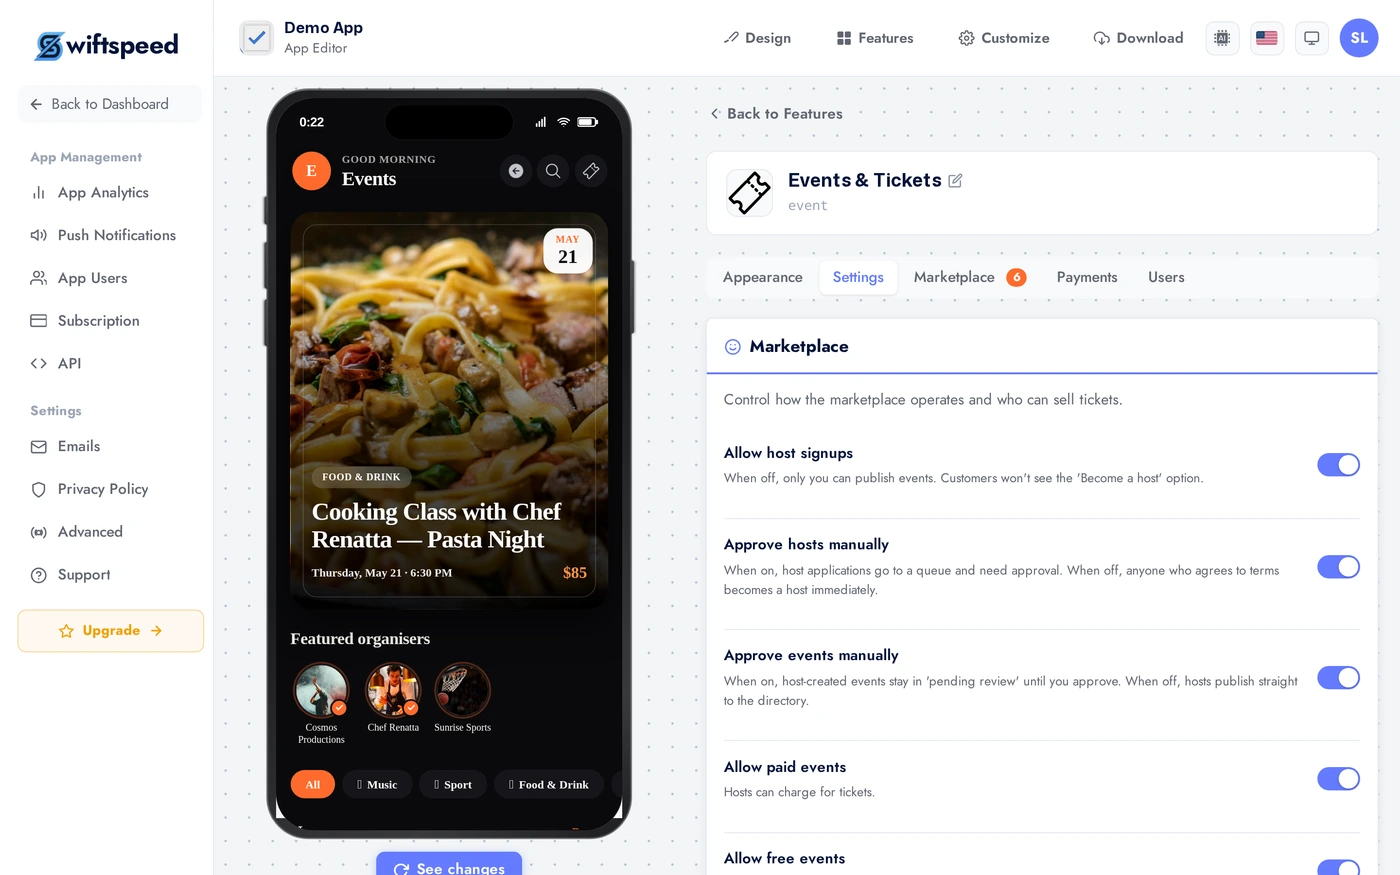
Settings Tab: Currency, Fees, Policies
Set the store name, currency (USD, EUR, NGN, etc.), time zone, and the platform fee percent (the cut your business takes on each paid ticket, default 10 percent). Below, toggle which event types you allow (paid, free, online, recurring), whether to require approval for host-submitted events, refund windows, Apple Wallet integration, attendee forms, waitlists, reviews, calendar attach, share, reminders (24h, 1h, day-of, post-event).
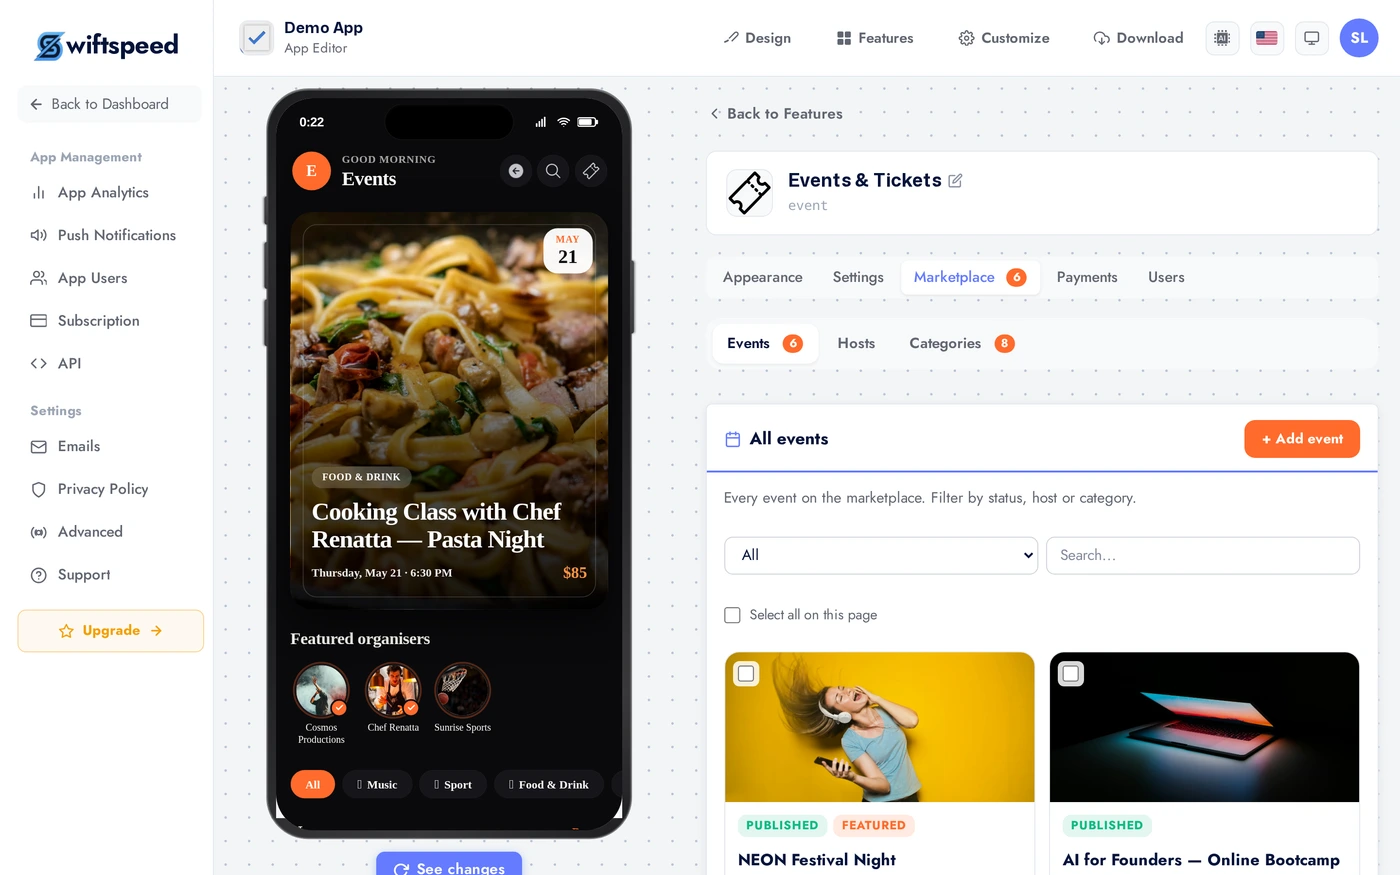
Marketplace Tab: Events List and Hosts
The Marketplace tab is where you publish events and manage hosts. Add an event: title, description, cover image, start and end times, venue (physical address or "Online" with URL revealed after purchase), ticket tiers (name, price, capacity), sale window. If host signup is enabled in Settings, this is also where you approve host-submitted events and review host profiles.
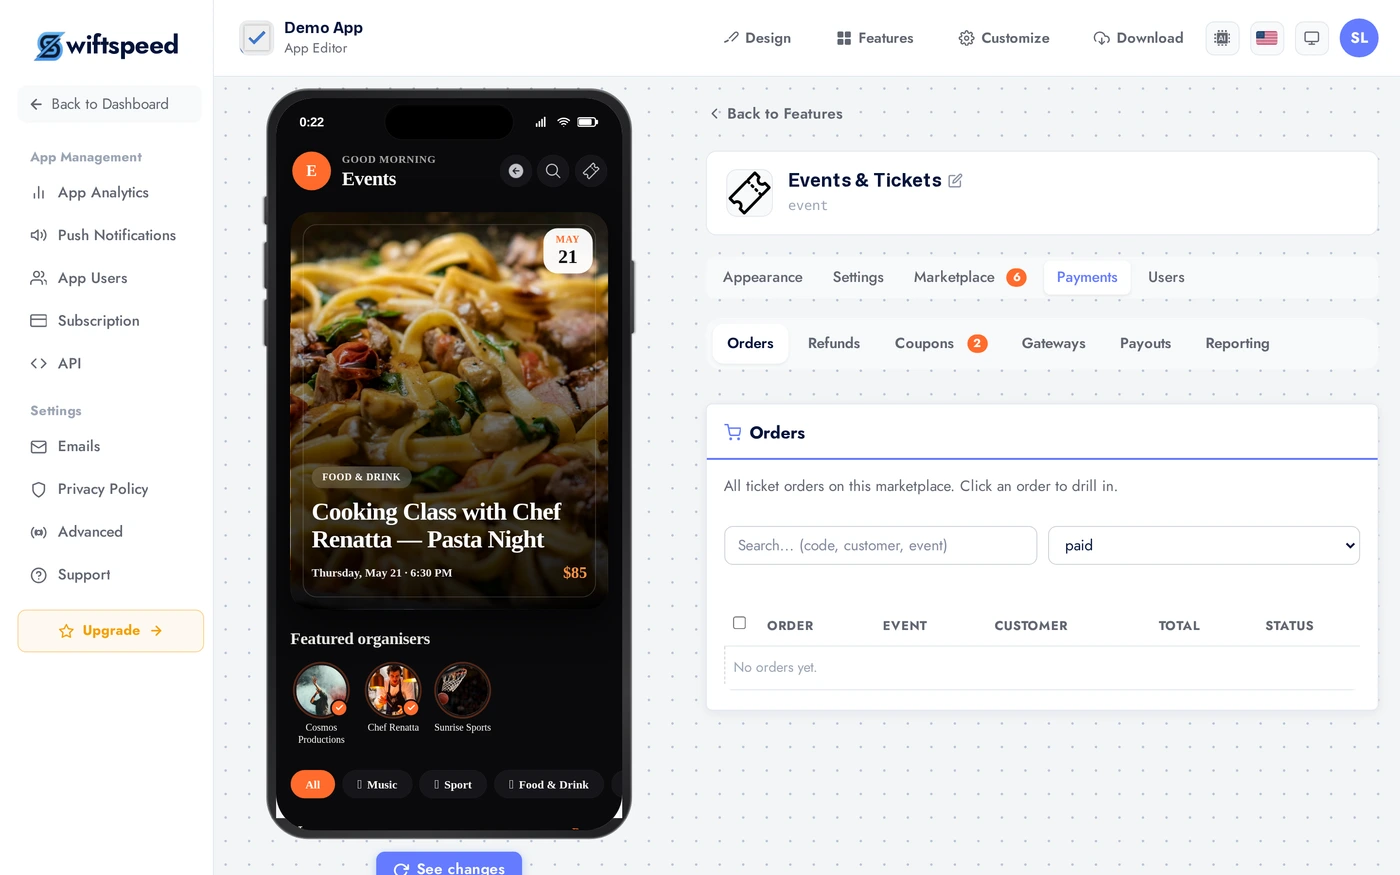
Payments Tab: Stripe and Paystack
Connect Stripe (cards globally) or Paystack (cards + bank transfers in Africa). Paid events require at least one processor to be connected. The platform fee from the Settings tab is automatically deducted on each sale. Hosts get paid out on a schedule you set.
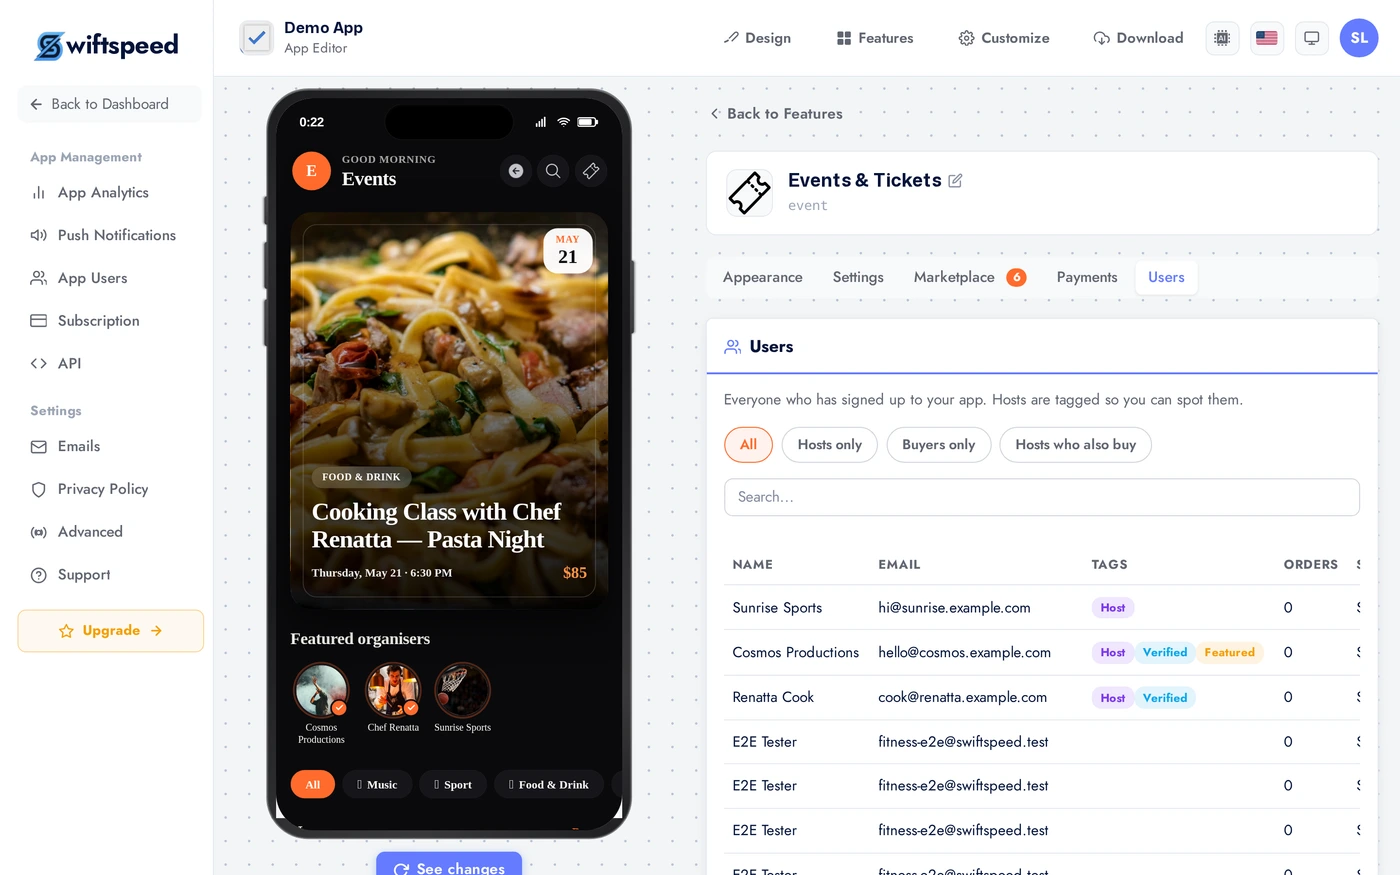
Users Tab: Ticket Buyers and Door Scan
See every ticket sold: who bought, which tier, which event, scanned status, refund status. Filter by event or date, export to CSV. The Scan tickets button opens the door scanner inside the live app on your phone for door staff to validate QR codes at the venue (one tap per attendee).
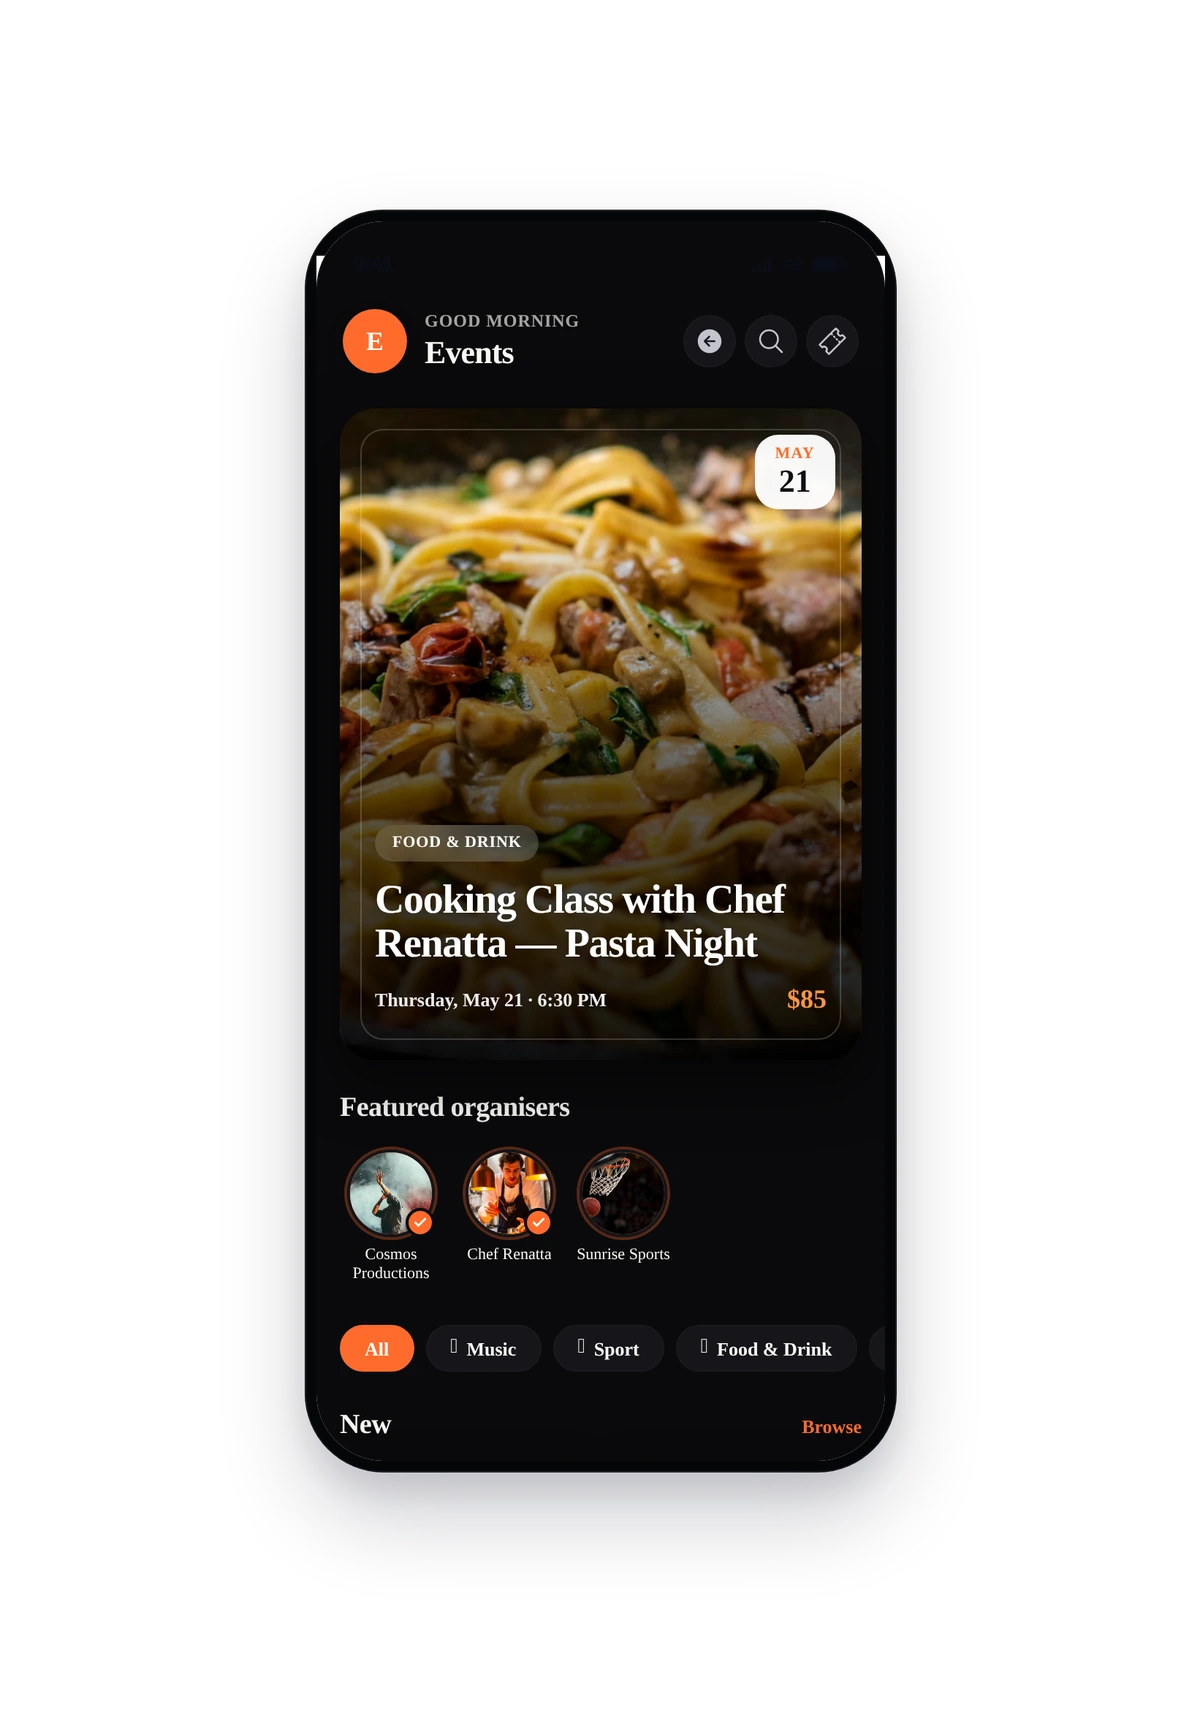
Live Preview
This is the actual native UI. The layout, theme, and toggle choices you made are all live. End-users browse events, tap to view details, purchase a ticket, and the QR code lands in their Apple Wallet or in-app ticket vault.
Tips
- Tier names matter for conversion. "General Admission", "VIP", "Backstage Pass", "Early Bird" pull stronger than generic Tier 1/2/3.
- Set the sale-close time when you publish. Without one, tickets keep selling after doors open.
- Require host approval if you have host signup on. Hands-off is fine for invitation-only platforms, but anything public needs moderation.
- A 48-hour refund window is the standard. Tighter (24h) annoys buyers; looser (1 week) costs you on no-shows.
- Apple Wallet and Google Pay integration is huge for in-person events. Buyers can show the ticket from their lock screen without opening your app at the door.
- For recurring weekly events, duplicate rather than recur. Each instance gets its own ticket pool, which simplifies accounting.
Removing the Feature
Back on Features, find the Events & Tickets row, click the red trash icon, confirm. Previously sold tickets remain in your records and remain valid; new sales stop.
