AI Image Resizer Feature
What is the AI Image Resizer?
The AI Image Resizer is a Swiftspeed feature that adds an image resizing screen to your mobile app. End-users upload a photo, tap a preset (Instagram Square, YouTube thumbnail, Pinterest pin, LinkedIn banner) or enter custom width and height, and get back a perfectly sized image without distortion.
The AI does smart subject-aware cropping so the important part of the photo stays centred when the aspect ratio changes. Useful for creators, marketers, e-commerce stores, and anyone managing multi-platform social posting.
Adding the Image Resizer to Your App
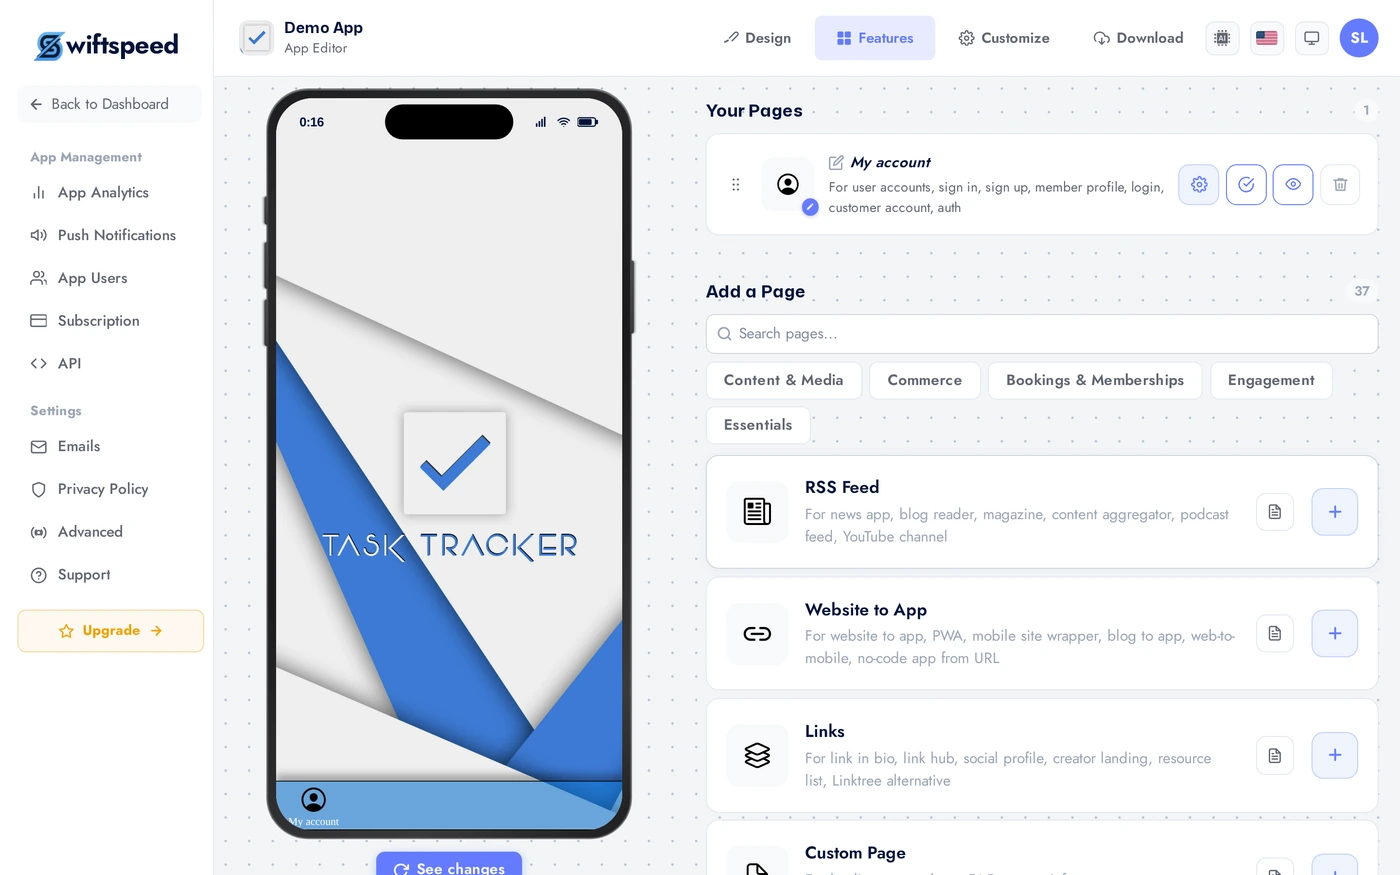
Same three-step flow as every Swiftspeed feature: open the app, go to Features, click add.
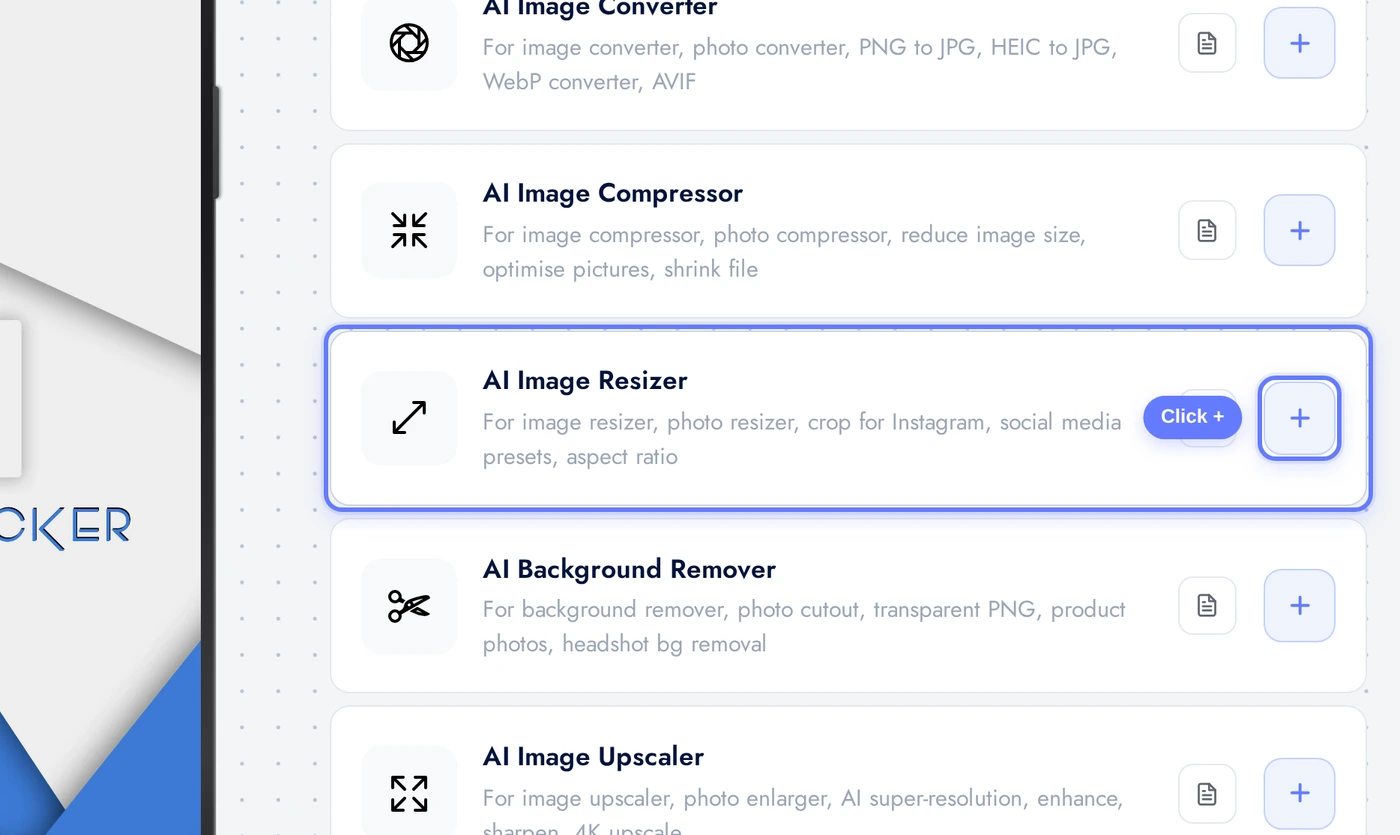
In the App editor, click Features in the top bar. Browse to the AI Tools category or search for "Resizer".
Find the AI Image Resizer card. Click the + button to add it. The feature appears in your app and the editor takes you straight to its configuration.
The Appearance Tab
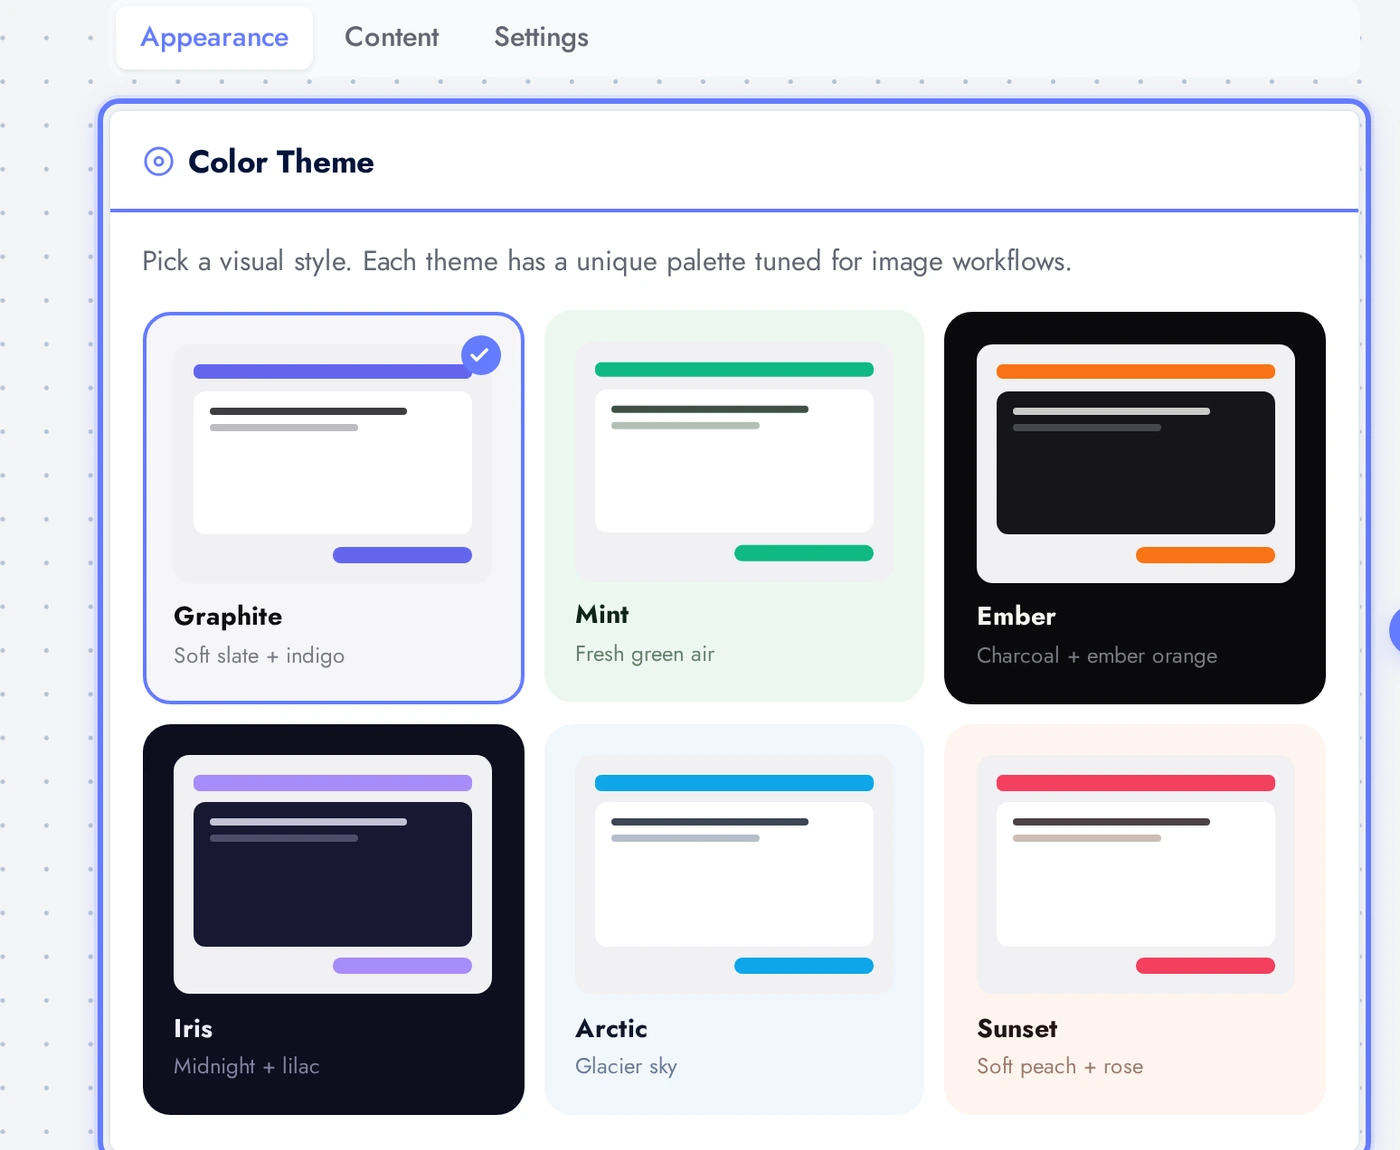
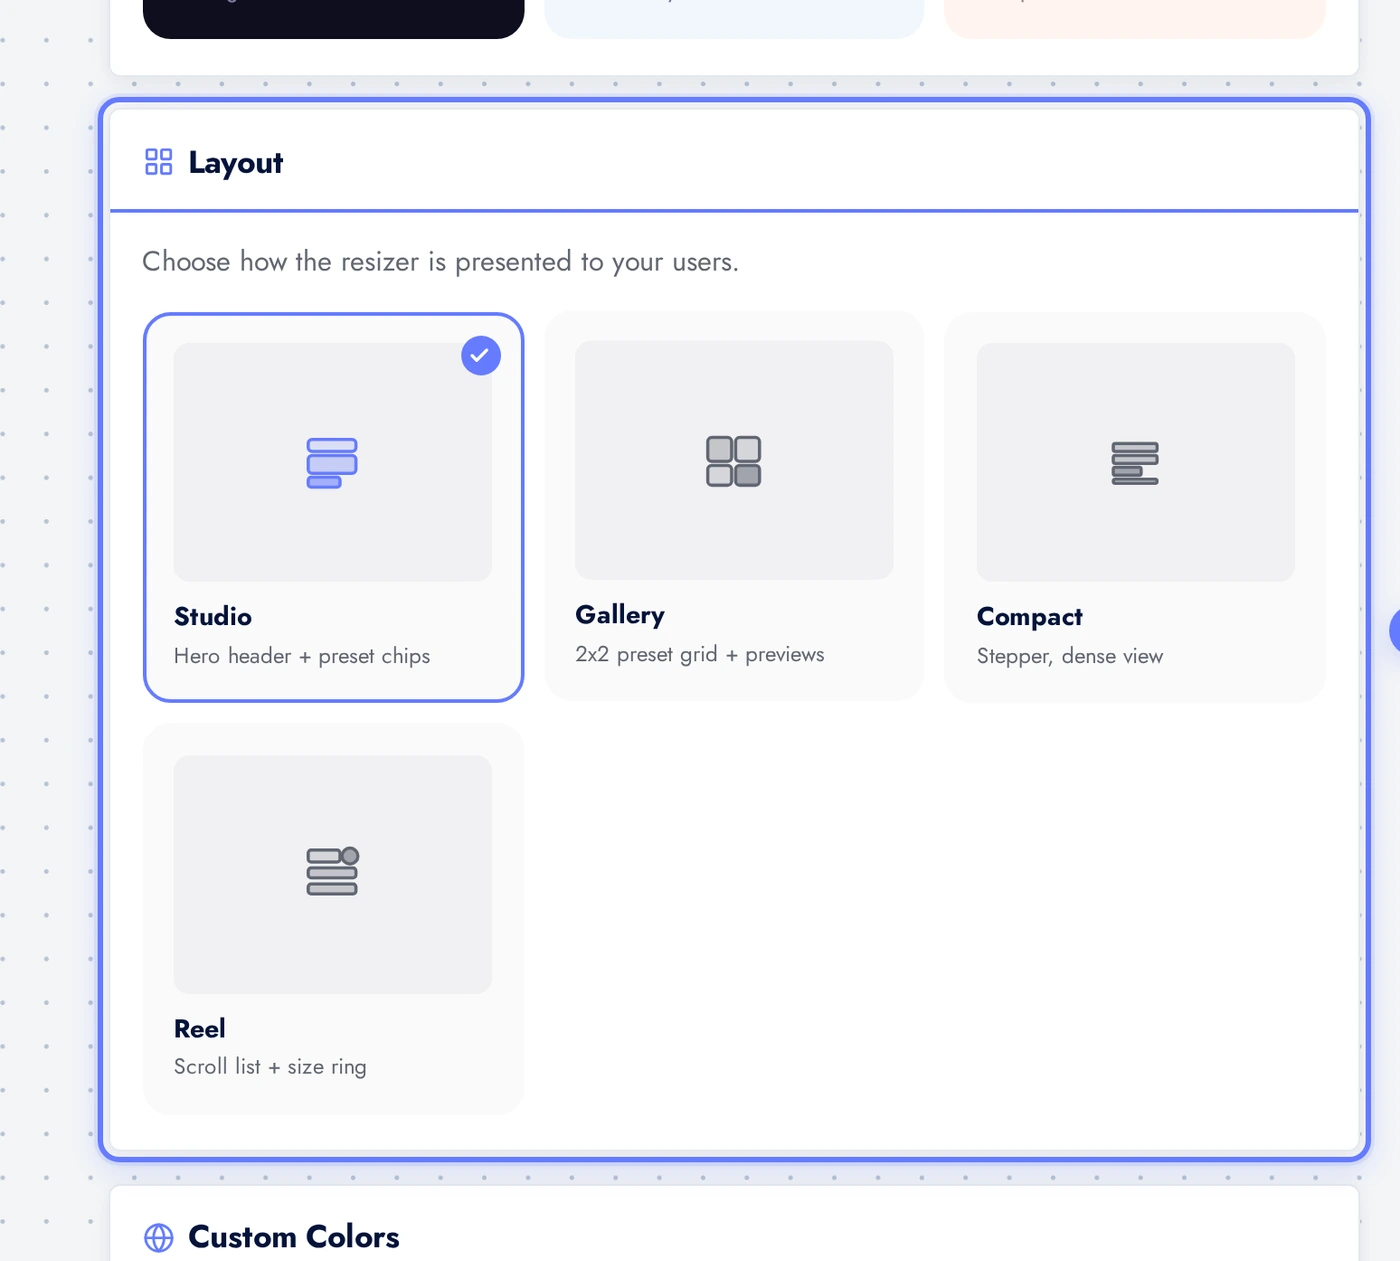
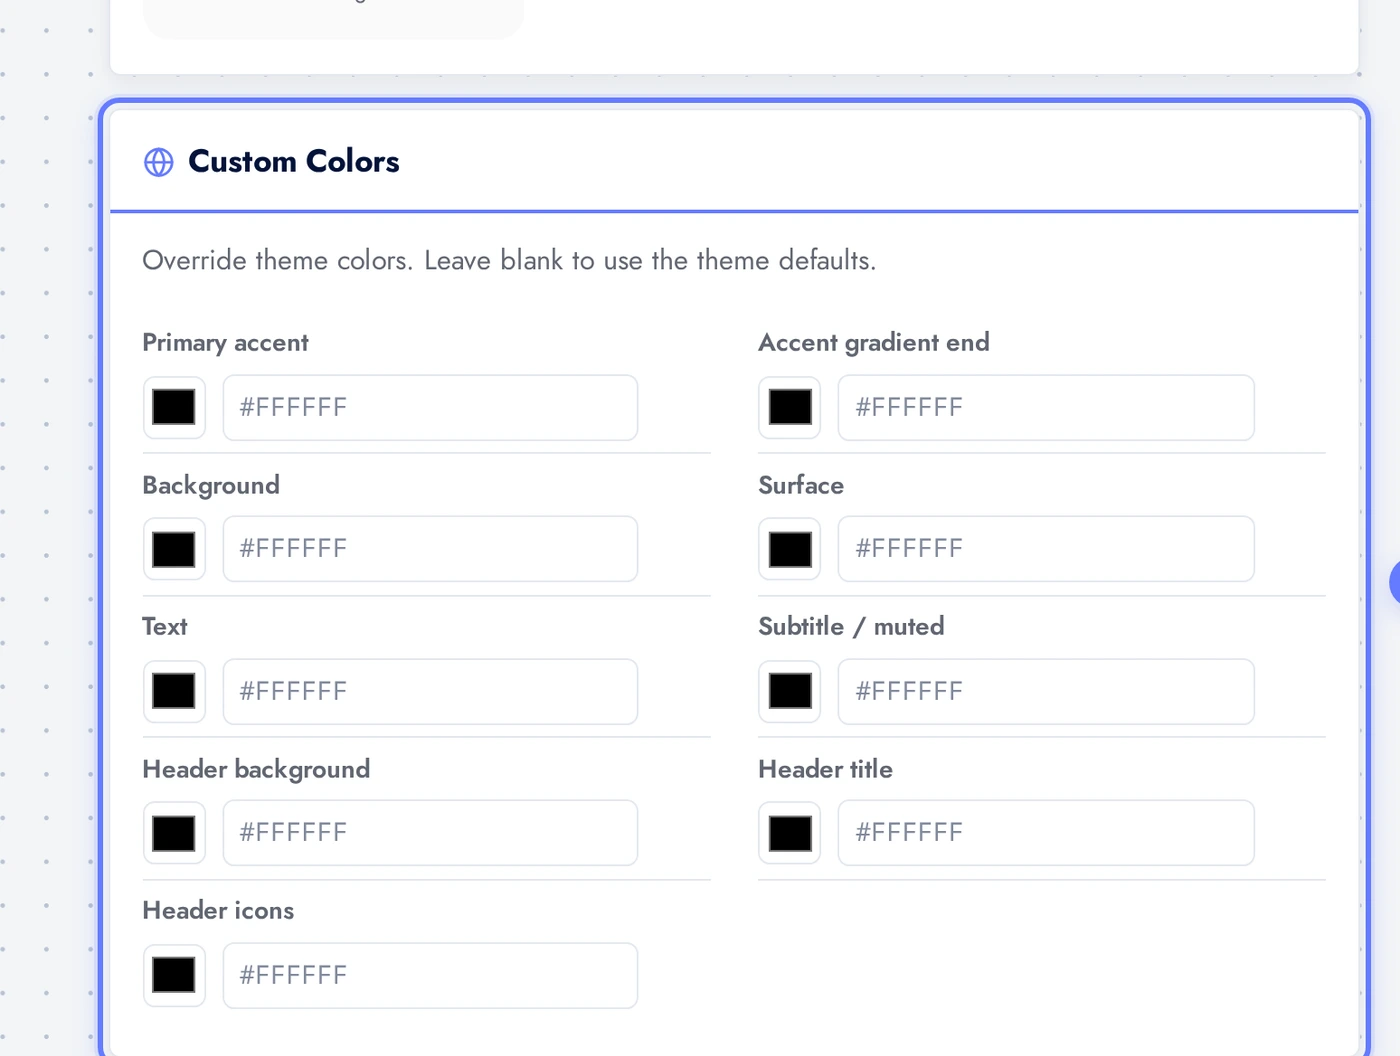
The Appearance tab controls how the resizer screen looks. Three controls: theme, layout, custom colors.
Six pre-tuned themes. Click any card to apply, the preview updates immediately without a rebuild. Pair the theme to the rest of your app so the resizer feels native rather than like a third-party tool.
Four layouts to choose from: Studio (hero header plus preset chips), Gallery (2x2 preset grid with preview tiles), Compact (dense stacked rows), and Reel (vertical scroll list). Studio is the most intuitive for first-time users; Reel suits batch workflows.
Override individual colors from the theme. Most apps only tweak the accent color to match brand exactly; the rest of the theme stays consistent.
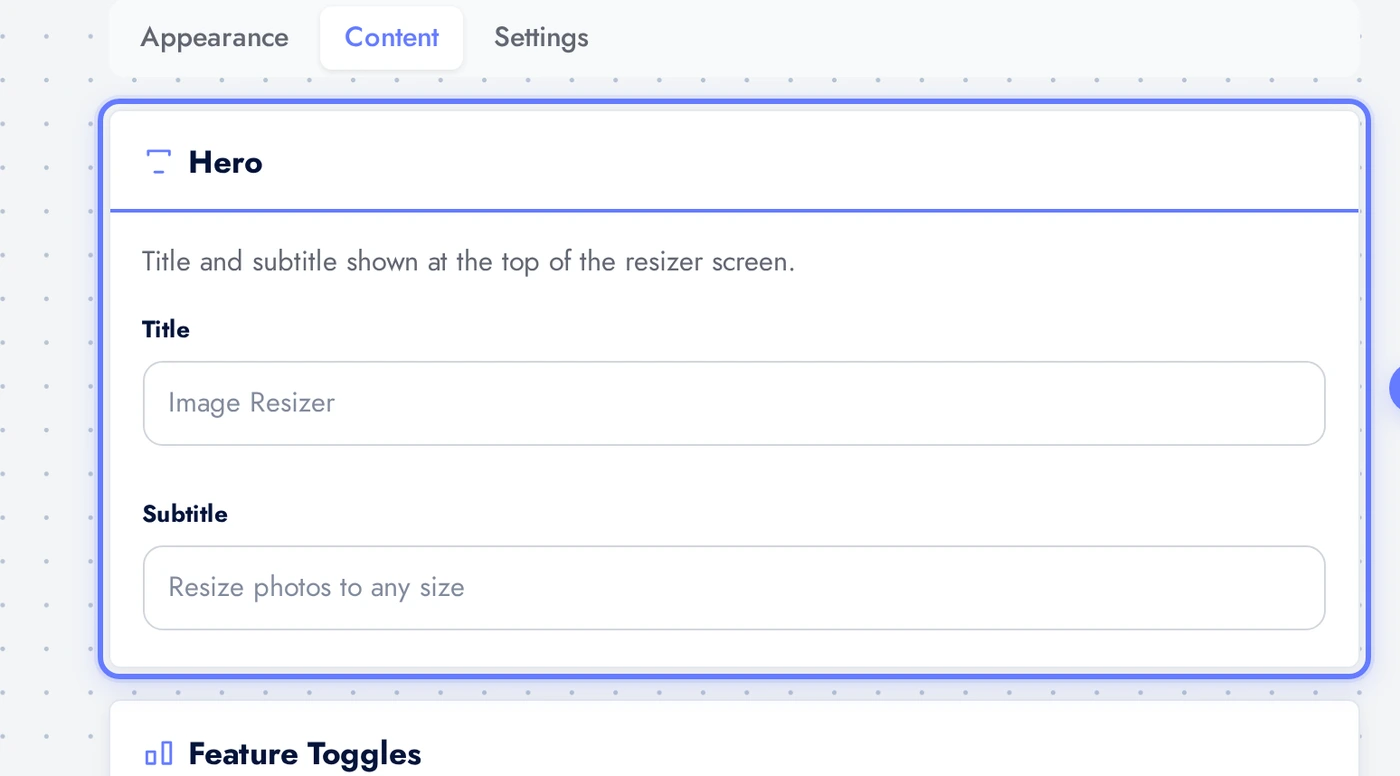
The Content Tab
The Content tab is where you set hero copy, decide which UI elements appear, and which presets are visible.
The Hero card holds the title and subtitle at the top of the resizer screen. Defaults are sensible but customise to match your audience and tone.
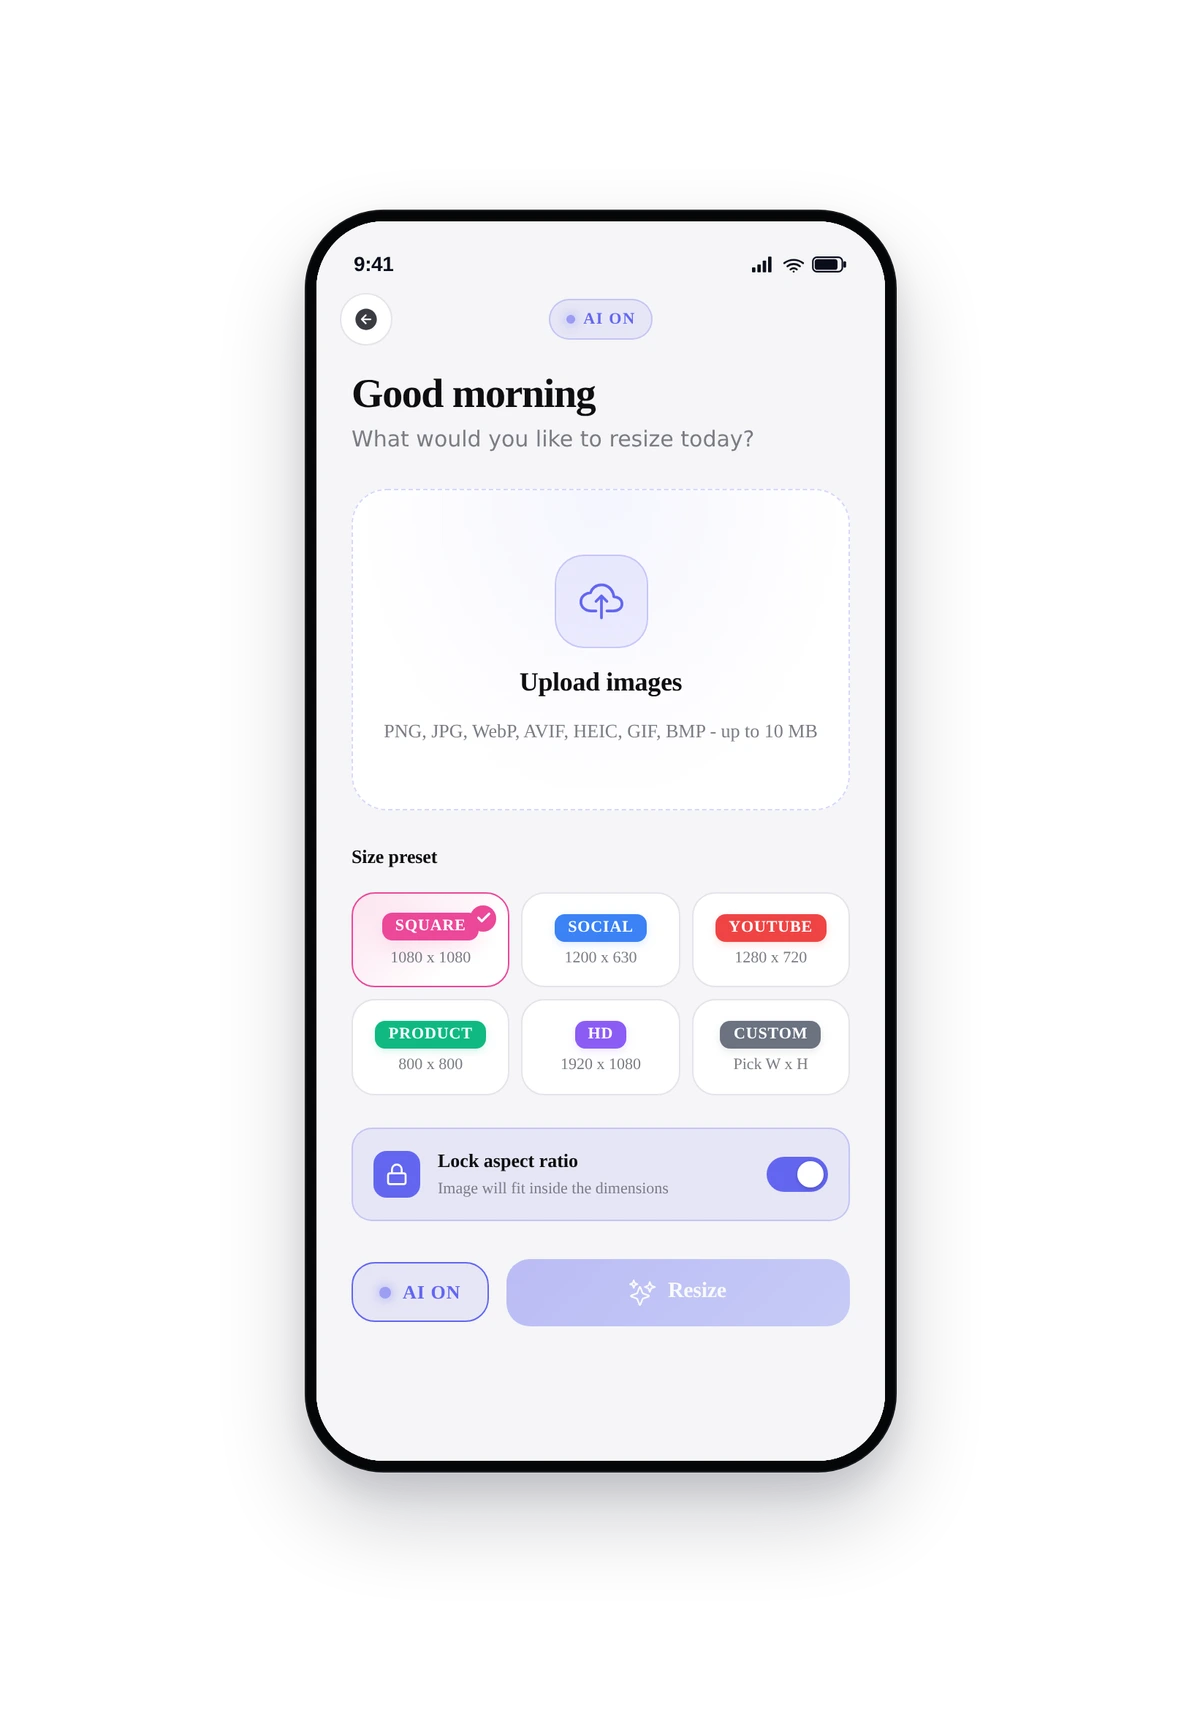
The Presets card decides which preset chips users see. Eight built-in presets: Square (1080x1080), Social (1200x630), YouTube (1280x720), Product (800x800), Twitter (1200x675), LinkedIn (1584x396), Pinterest (1000x1500), HD (1920x1080). Tap any tile to enable or disable it. At least one must stay enabled.
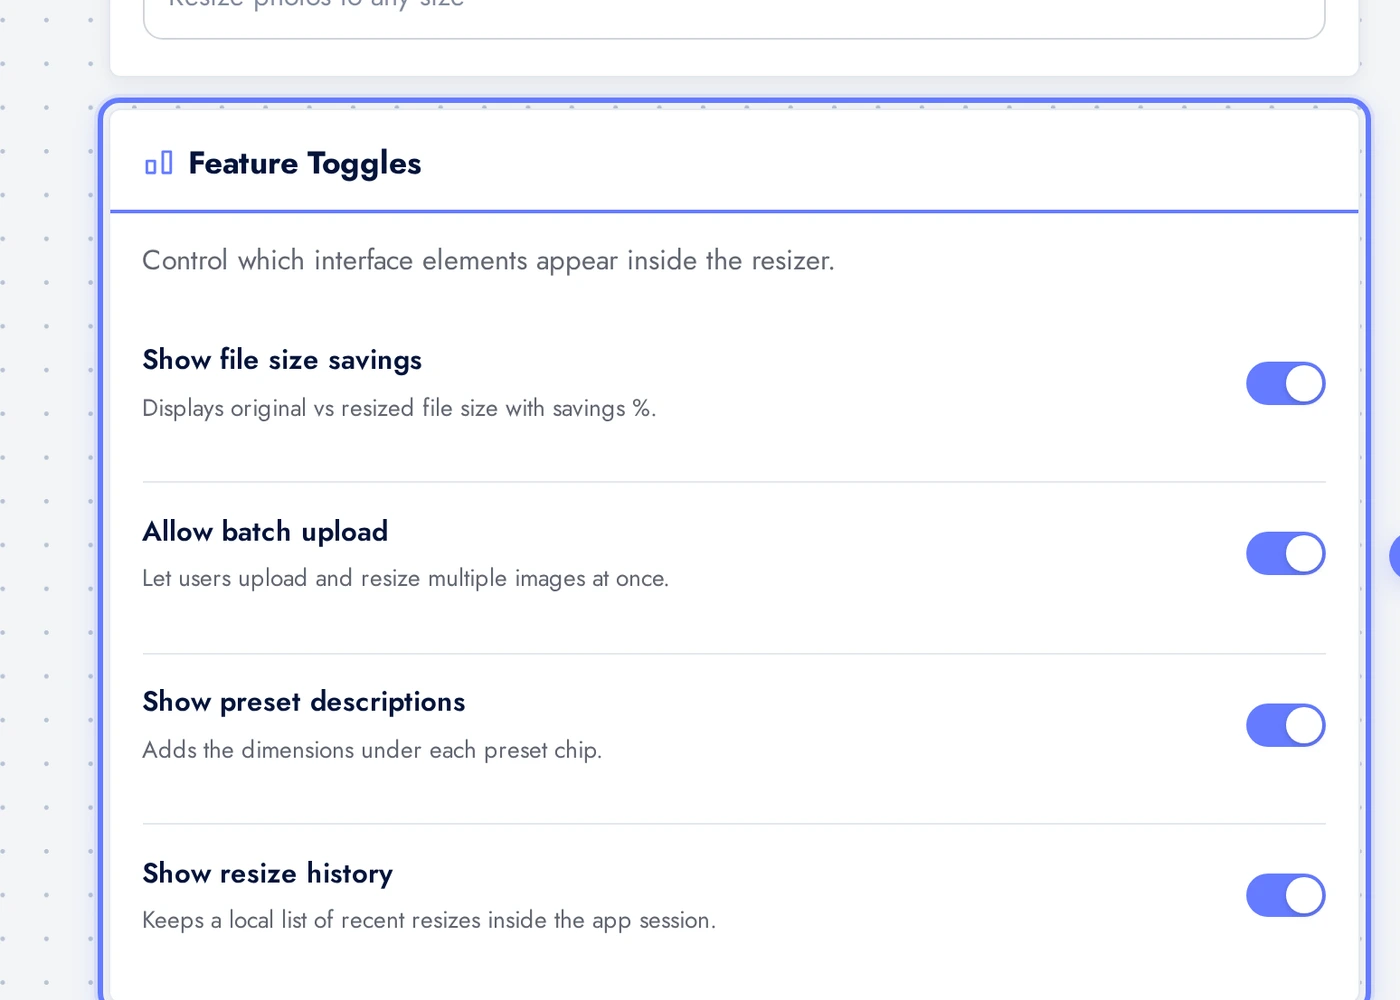
The Feature Toggles card controls which UI elements appear. Allow custom W x H adds a Custom chip that opens manual number inputs. Maintain aspect ratio by default fits the image inside the target without distortion. Show file size savings displays size delta on results. Allow batch upload lets users process multiple images at once. Show preset descriptions adds dimensions under each chip. Show resize history keeps a session log.

The Settings Tab
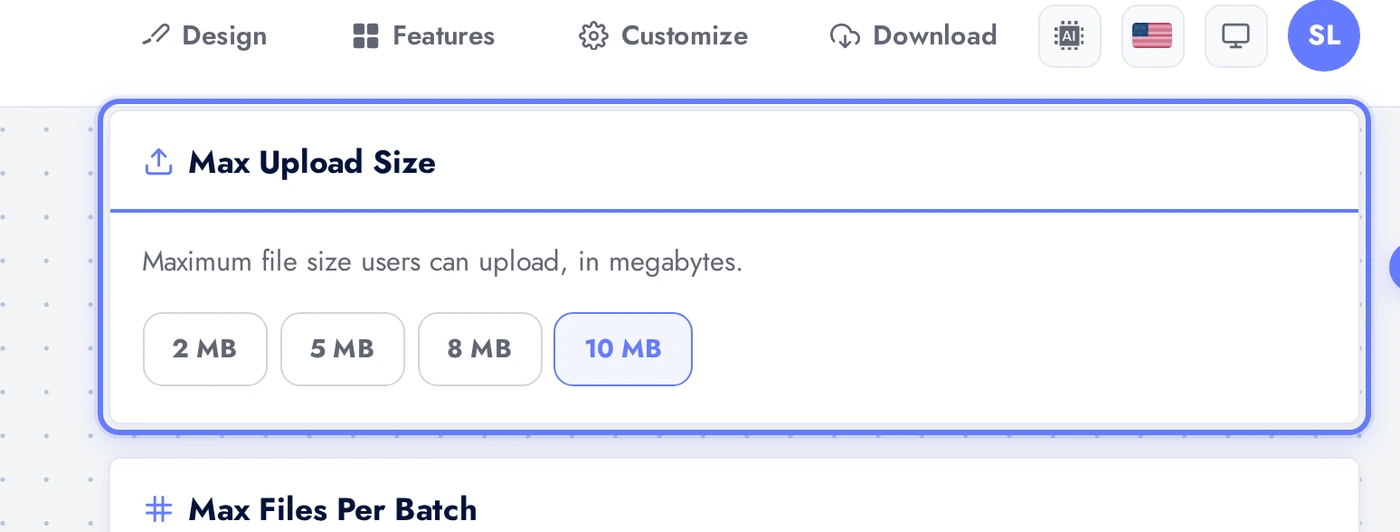
The Settings tab controls upload limits and the default preset.
The Max Upload Size decides the largest file users can submit. Pick from 2, 5, 8, or 10 MB. Larger limits use more bandwidth and slow processing. Default is 10 MB.
Live Preview
Here is the running resizer rendered inside a real phone frame:
This is the actual native UI, not a mockup. Users tap upload, pick a photo, tap a preset, and the AI resizes intelligently. The look depends on the theme, layout, and toggle choices you made.
Tips
- The AI keeps the subject centred when aspect ratios change. A horizontal photo resized to a square 1080x1080 will crop the sides intelligently rather than chopping the centre.
- Allow custom W x H is what creator audiences expect. Most designers know the exact dimensions they need. Turn it on for any creator-focused app.
- For e-commerce apps, default the preset to Product (800x800). That is the dimension most Shopify and WooCommerce storefronts expect for product thumbnails.
- Maintain aspect ratio off = distortion. Turn it off only when the user explicitly wants to stretch (rare). On is the safer default.
- For multi-platform creators, leave all eight presets visible. Hiding them feels like a missing feature; users like having the option even if they only use two regularly.
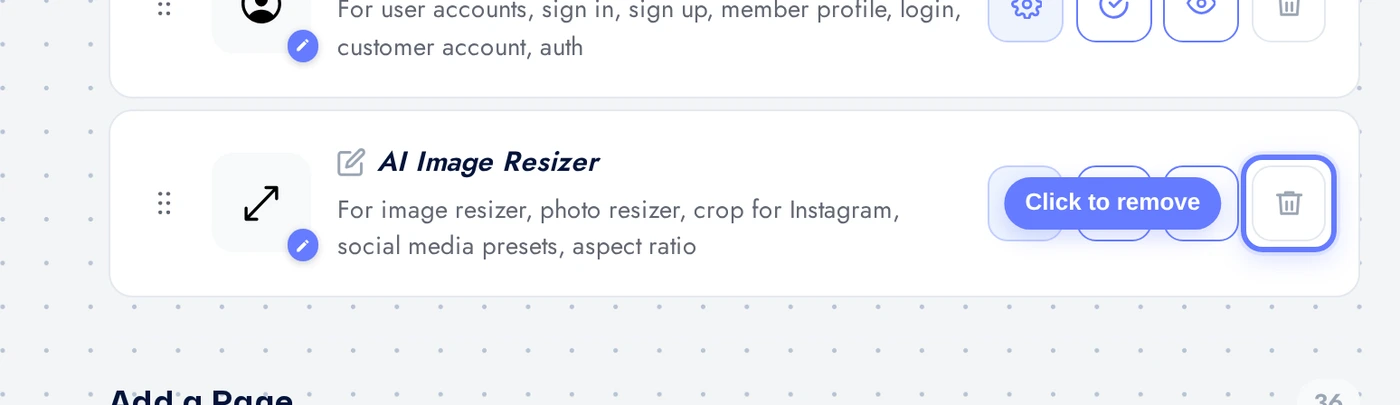
Removing the Feature
Back on Features, find the AI Image Resizer row, click the red trash icon, confirm in the dialog. The feature is gone from the app instantly.