AI App Builder to Build Android and iOS Apps.
Swiftspeed is a no-code AI app builder that helps businesses, startups, and agencies create Android and iOS apps without code.
AI APP BUILDER
Go From Idea to Fully Published App
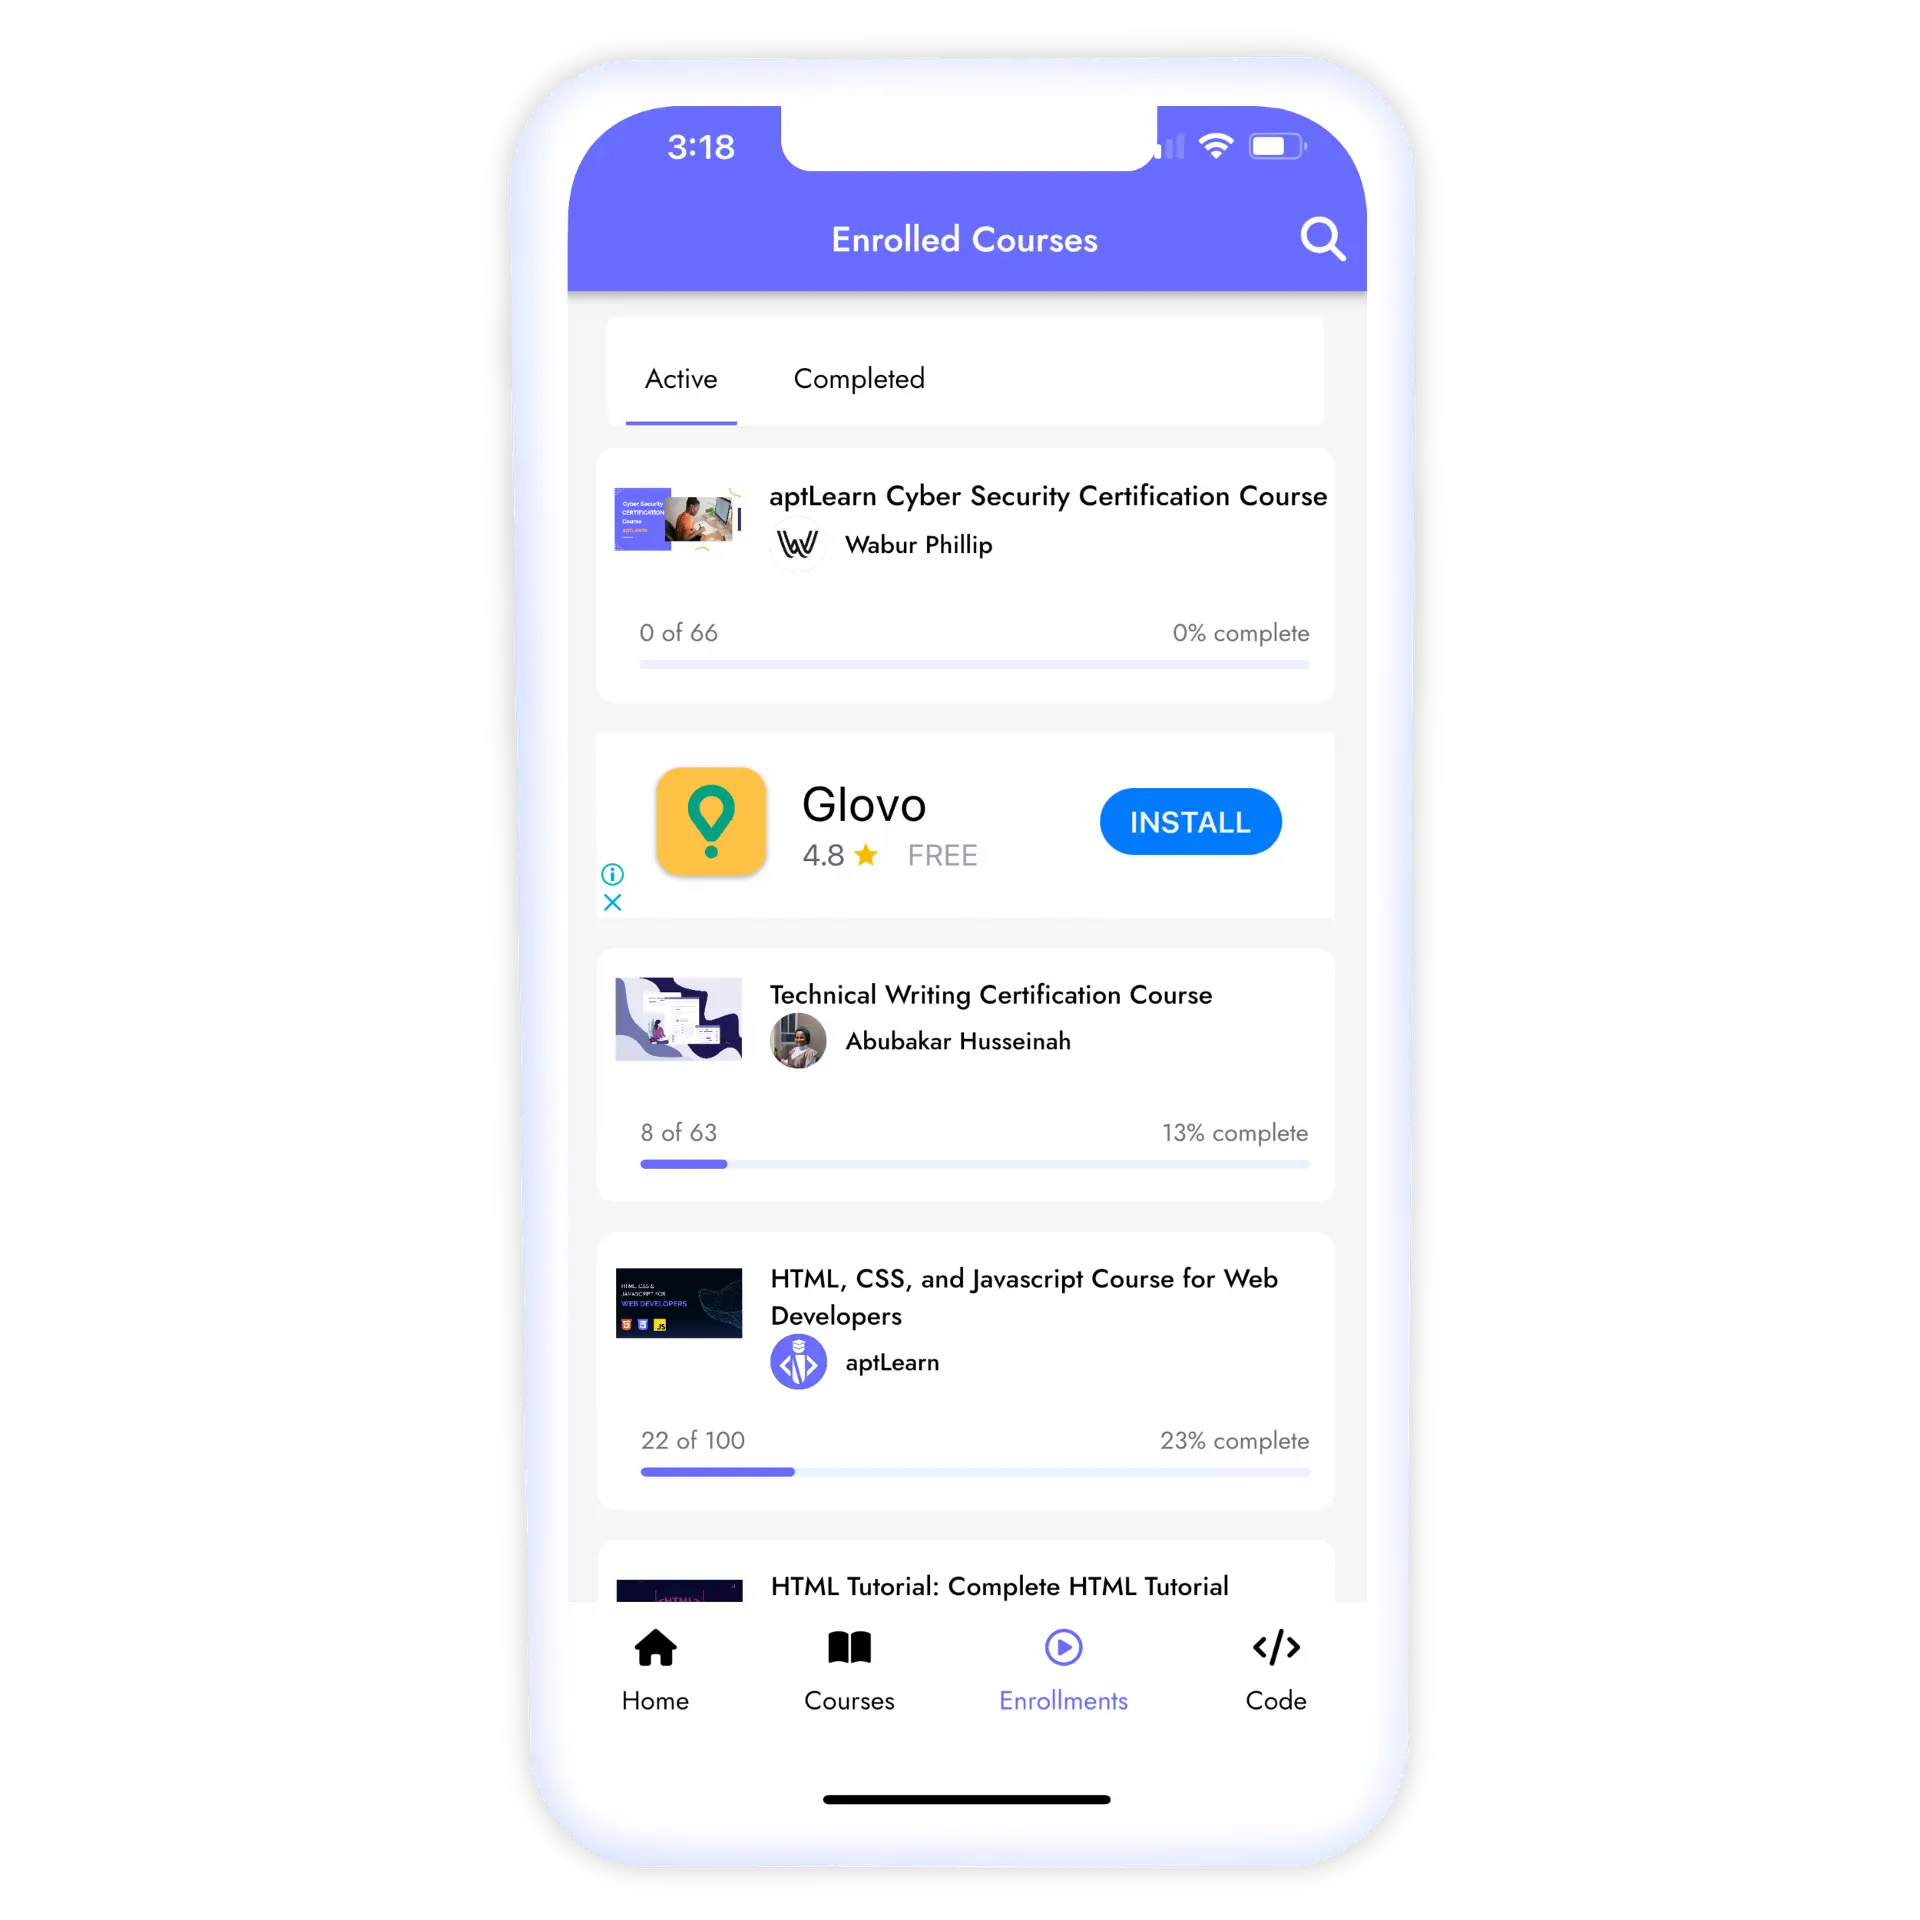
Swiftspeed is an AI app builder that helps businesses, startups, and agencies create Android and iOS apps without writing code. Build content apps, business tools, e-commerce apps, games, and more from a single platform.

Choose What You Want to Build
Start with a use case that fits your app idea. You can choose between business apps, content apps, games, e-commerce, or custom-built experiences. Our app statistics resource can help your decision making.
Customize Without Code
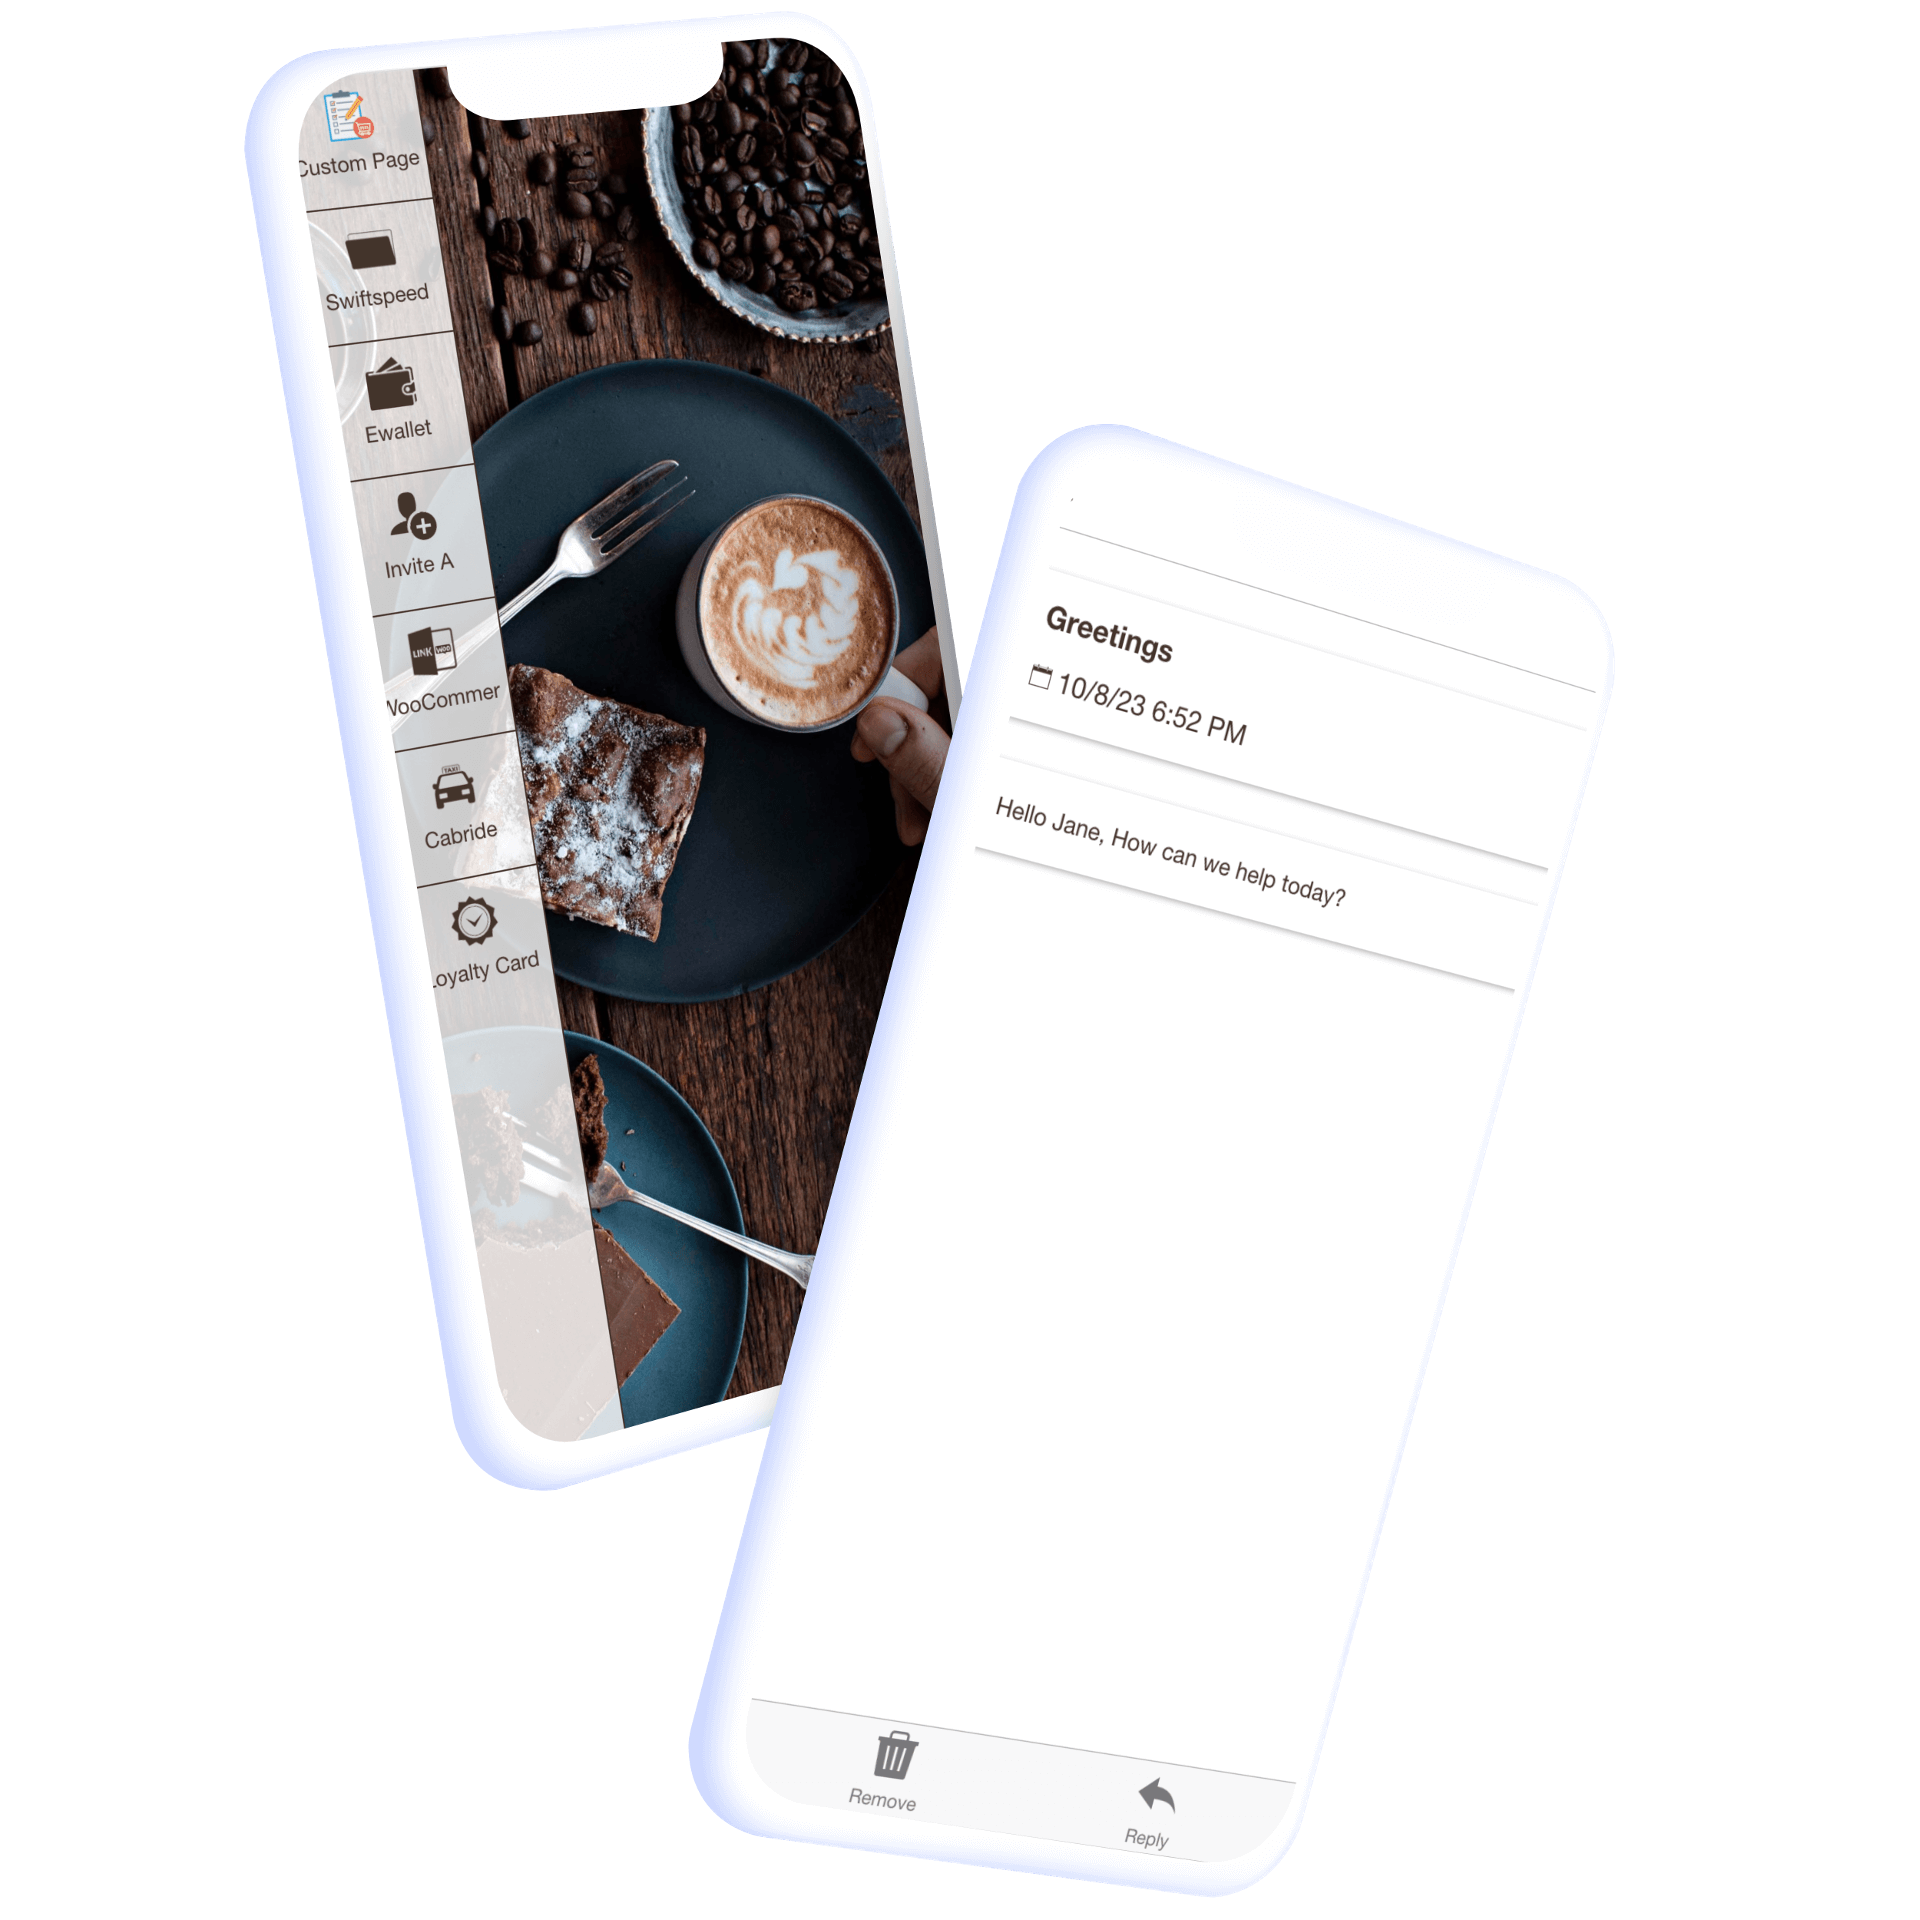
Design your app, organize content, add features, and control the user experience using Swiftspeed’s visual editor and embedded live preview to track your app development progress.
Publish and Manage Your App
Generate Android and iOS app builds, publish to app stores, and manage content, users, and updates from our editor, with changes applied instantly to your app.
Create An App for Business
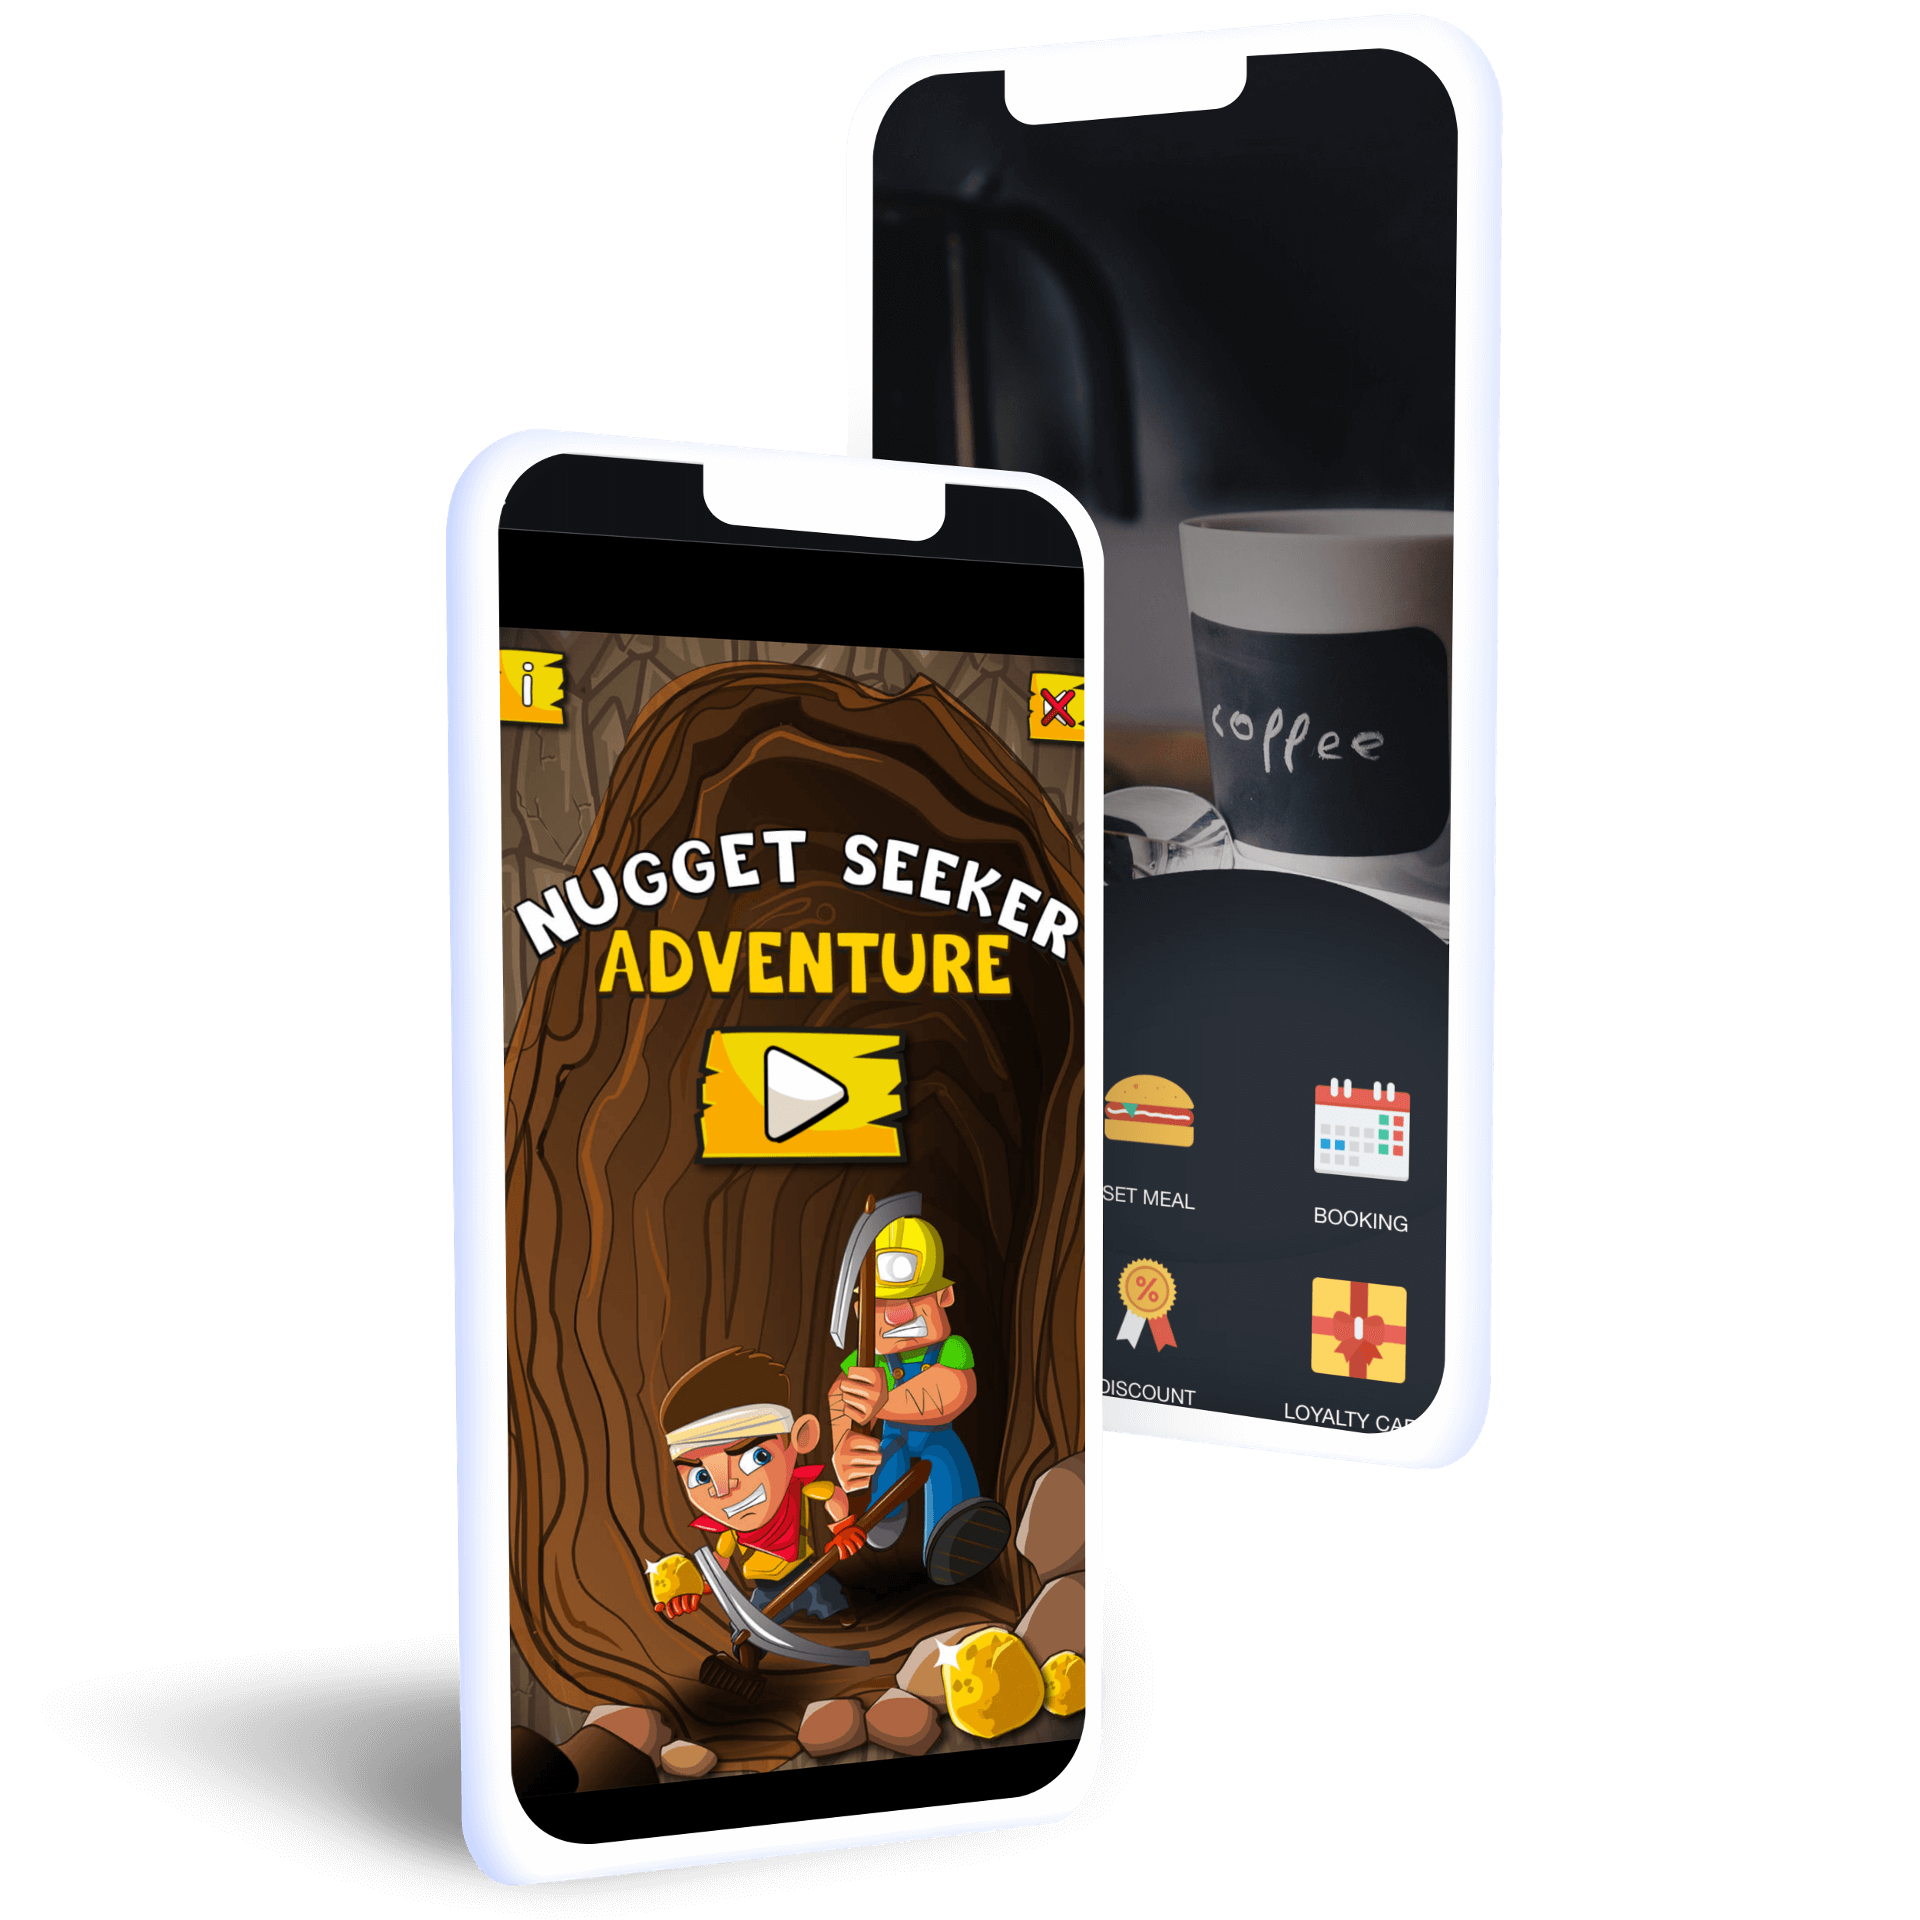
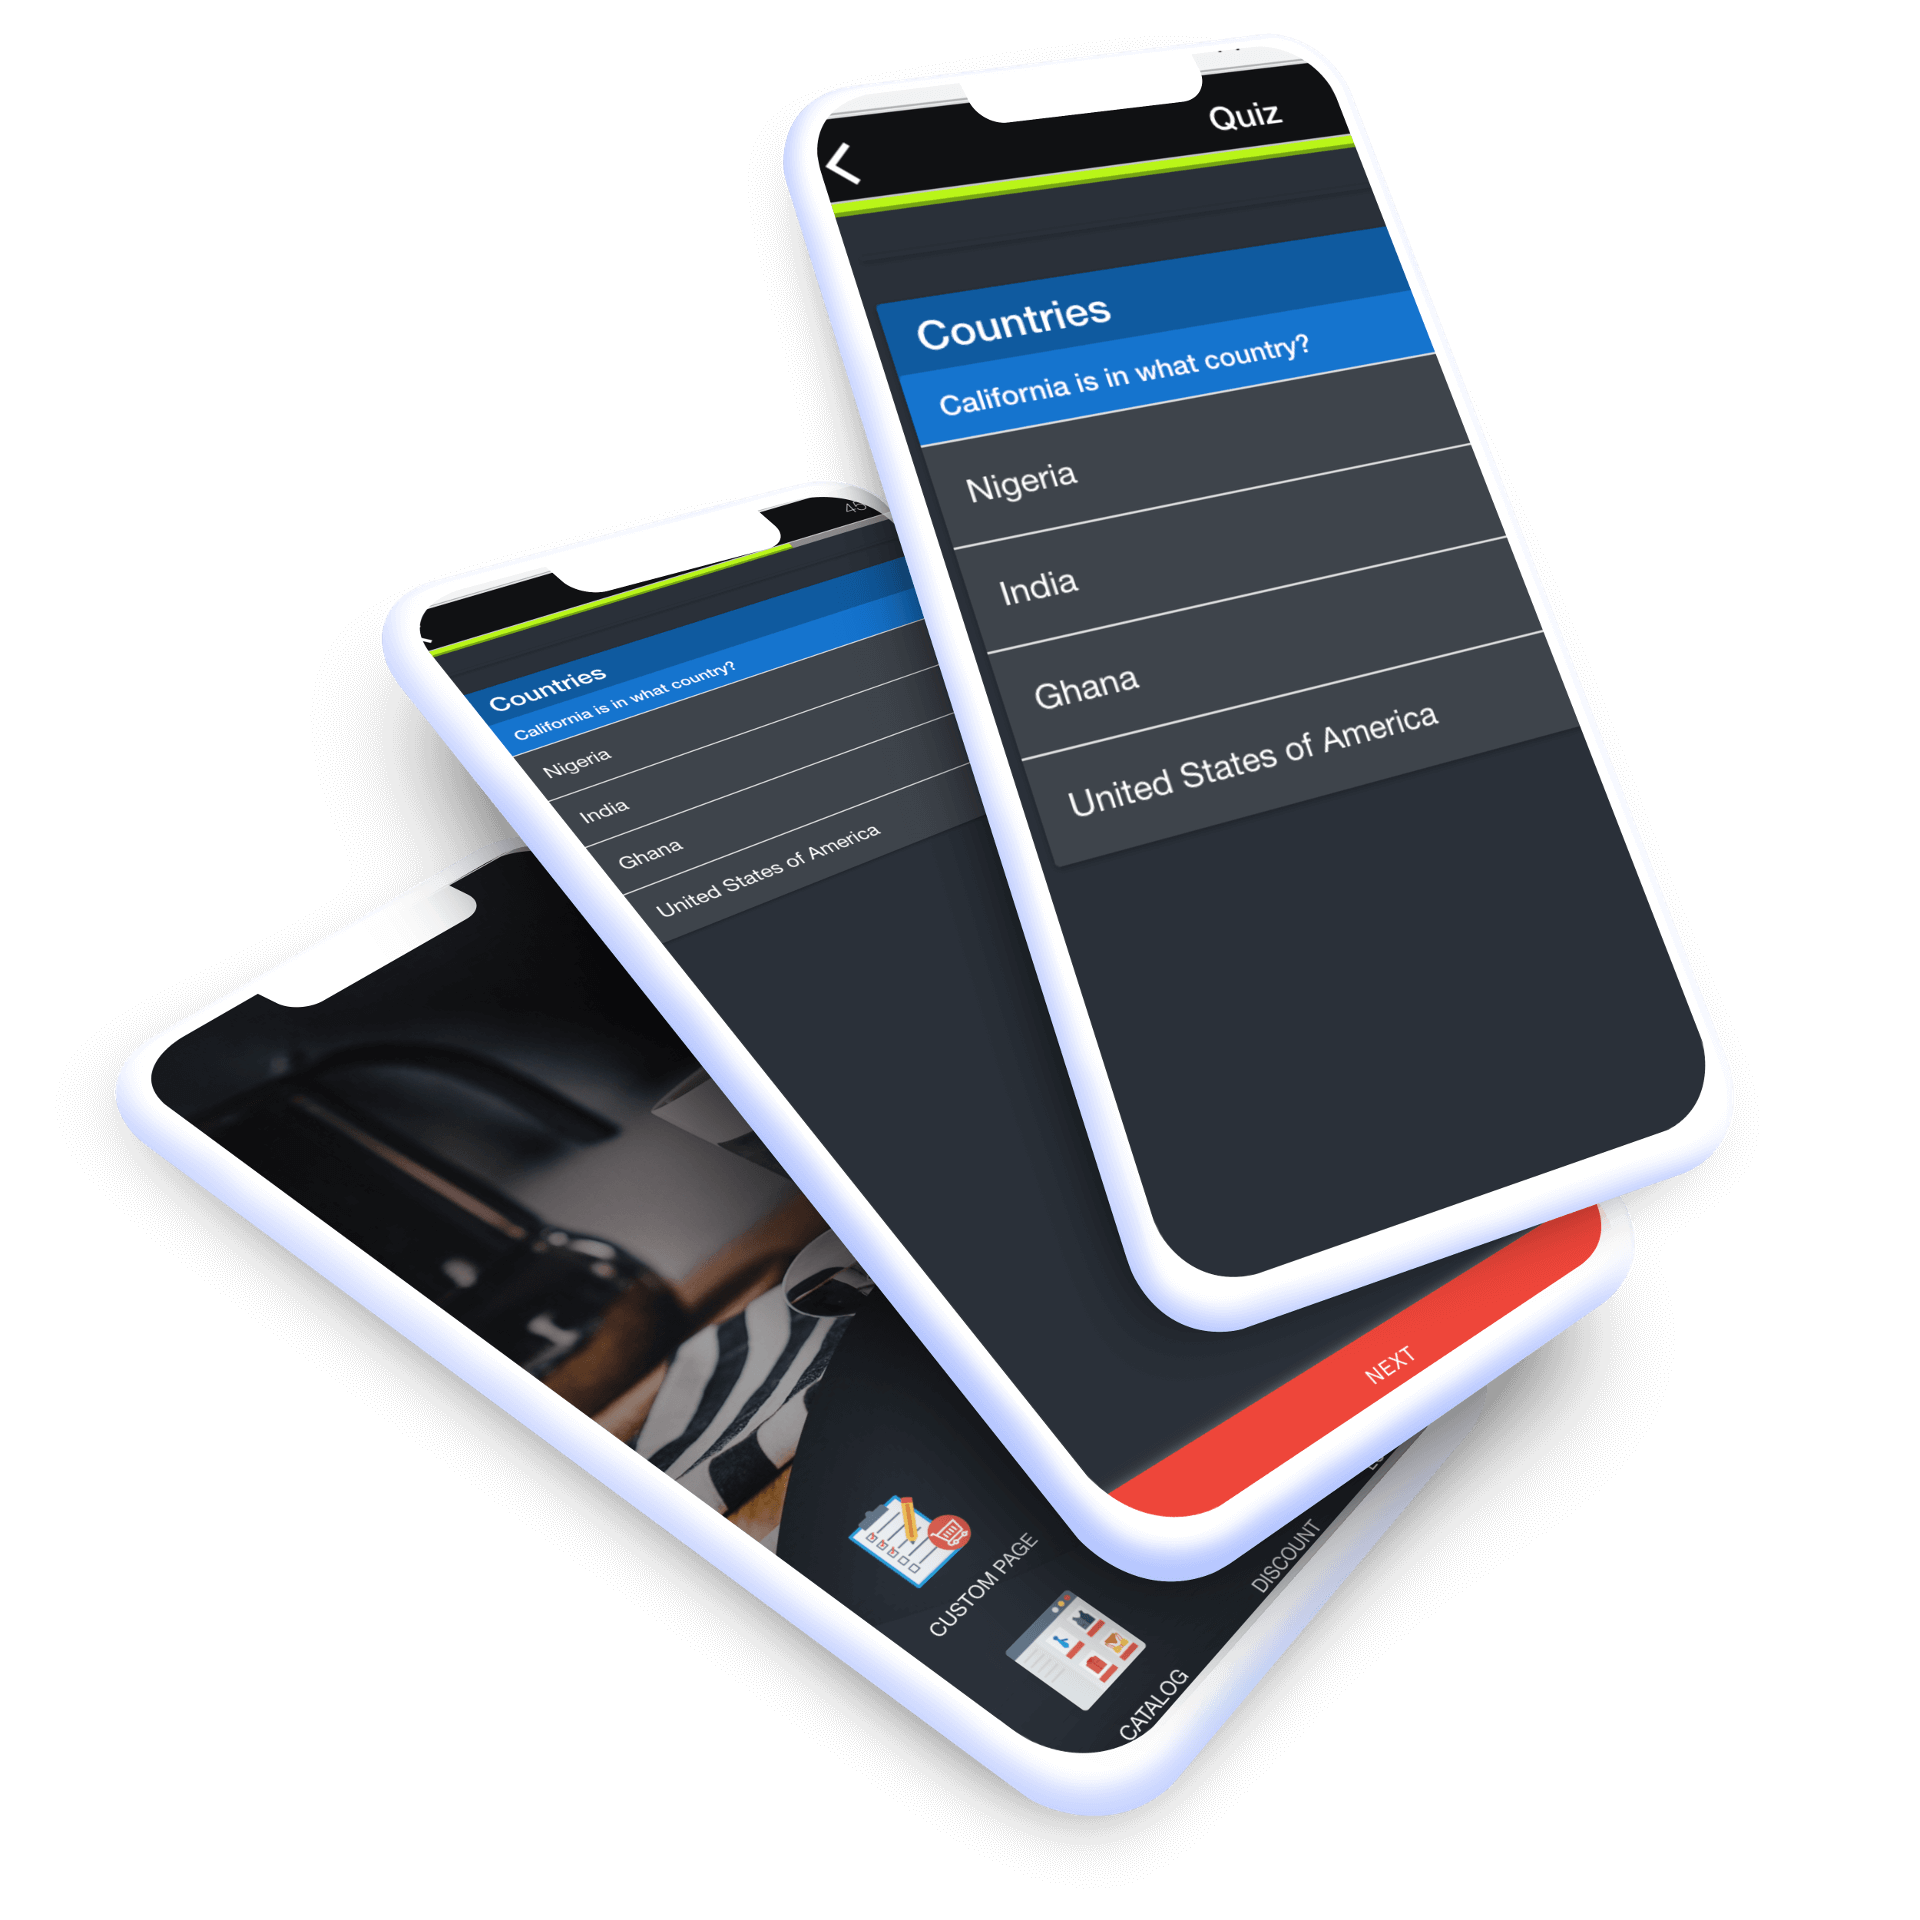
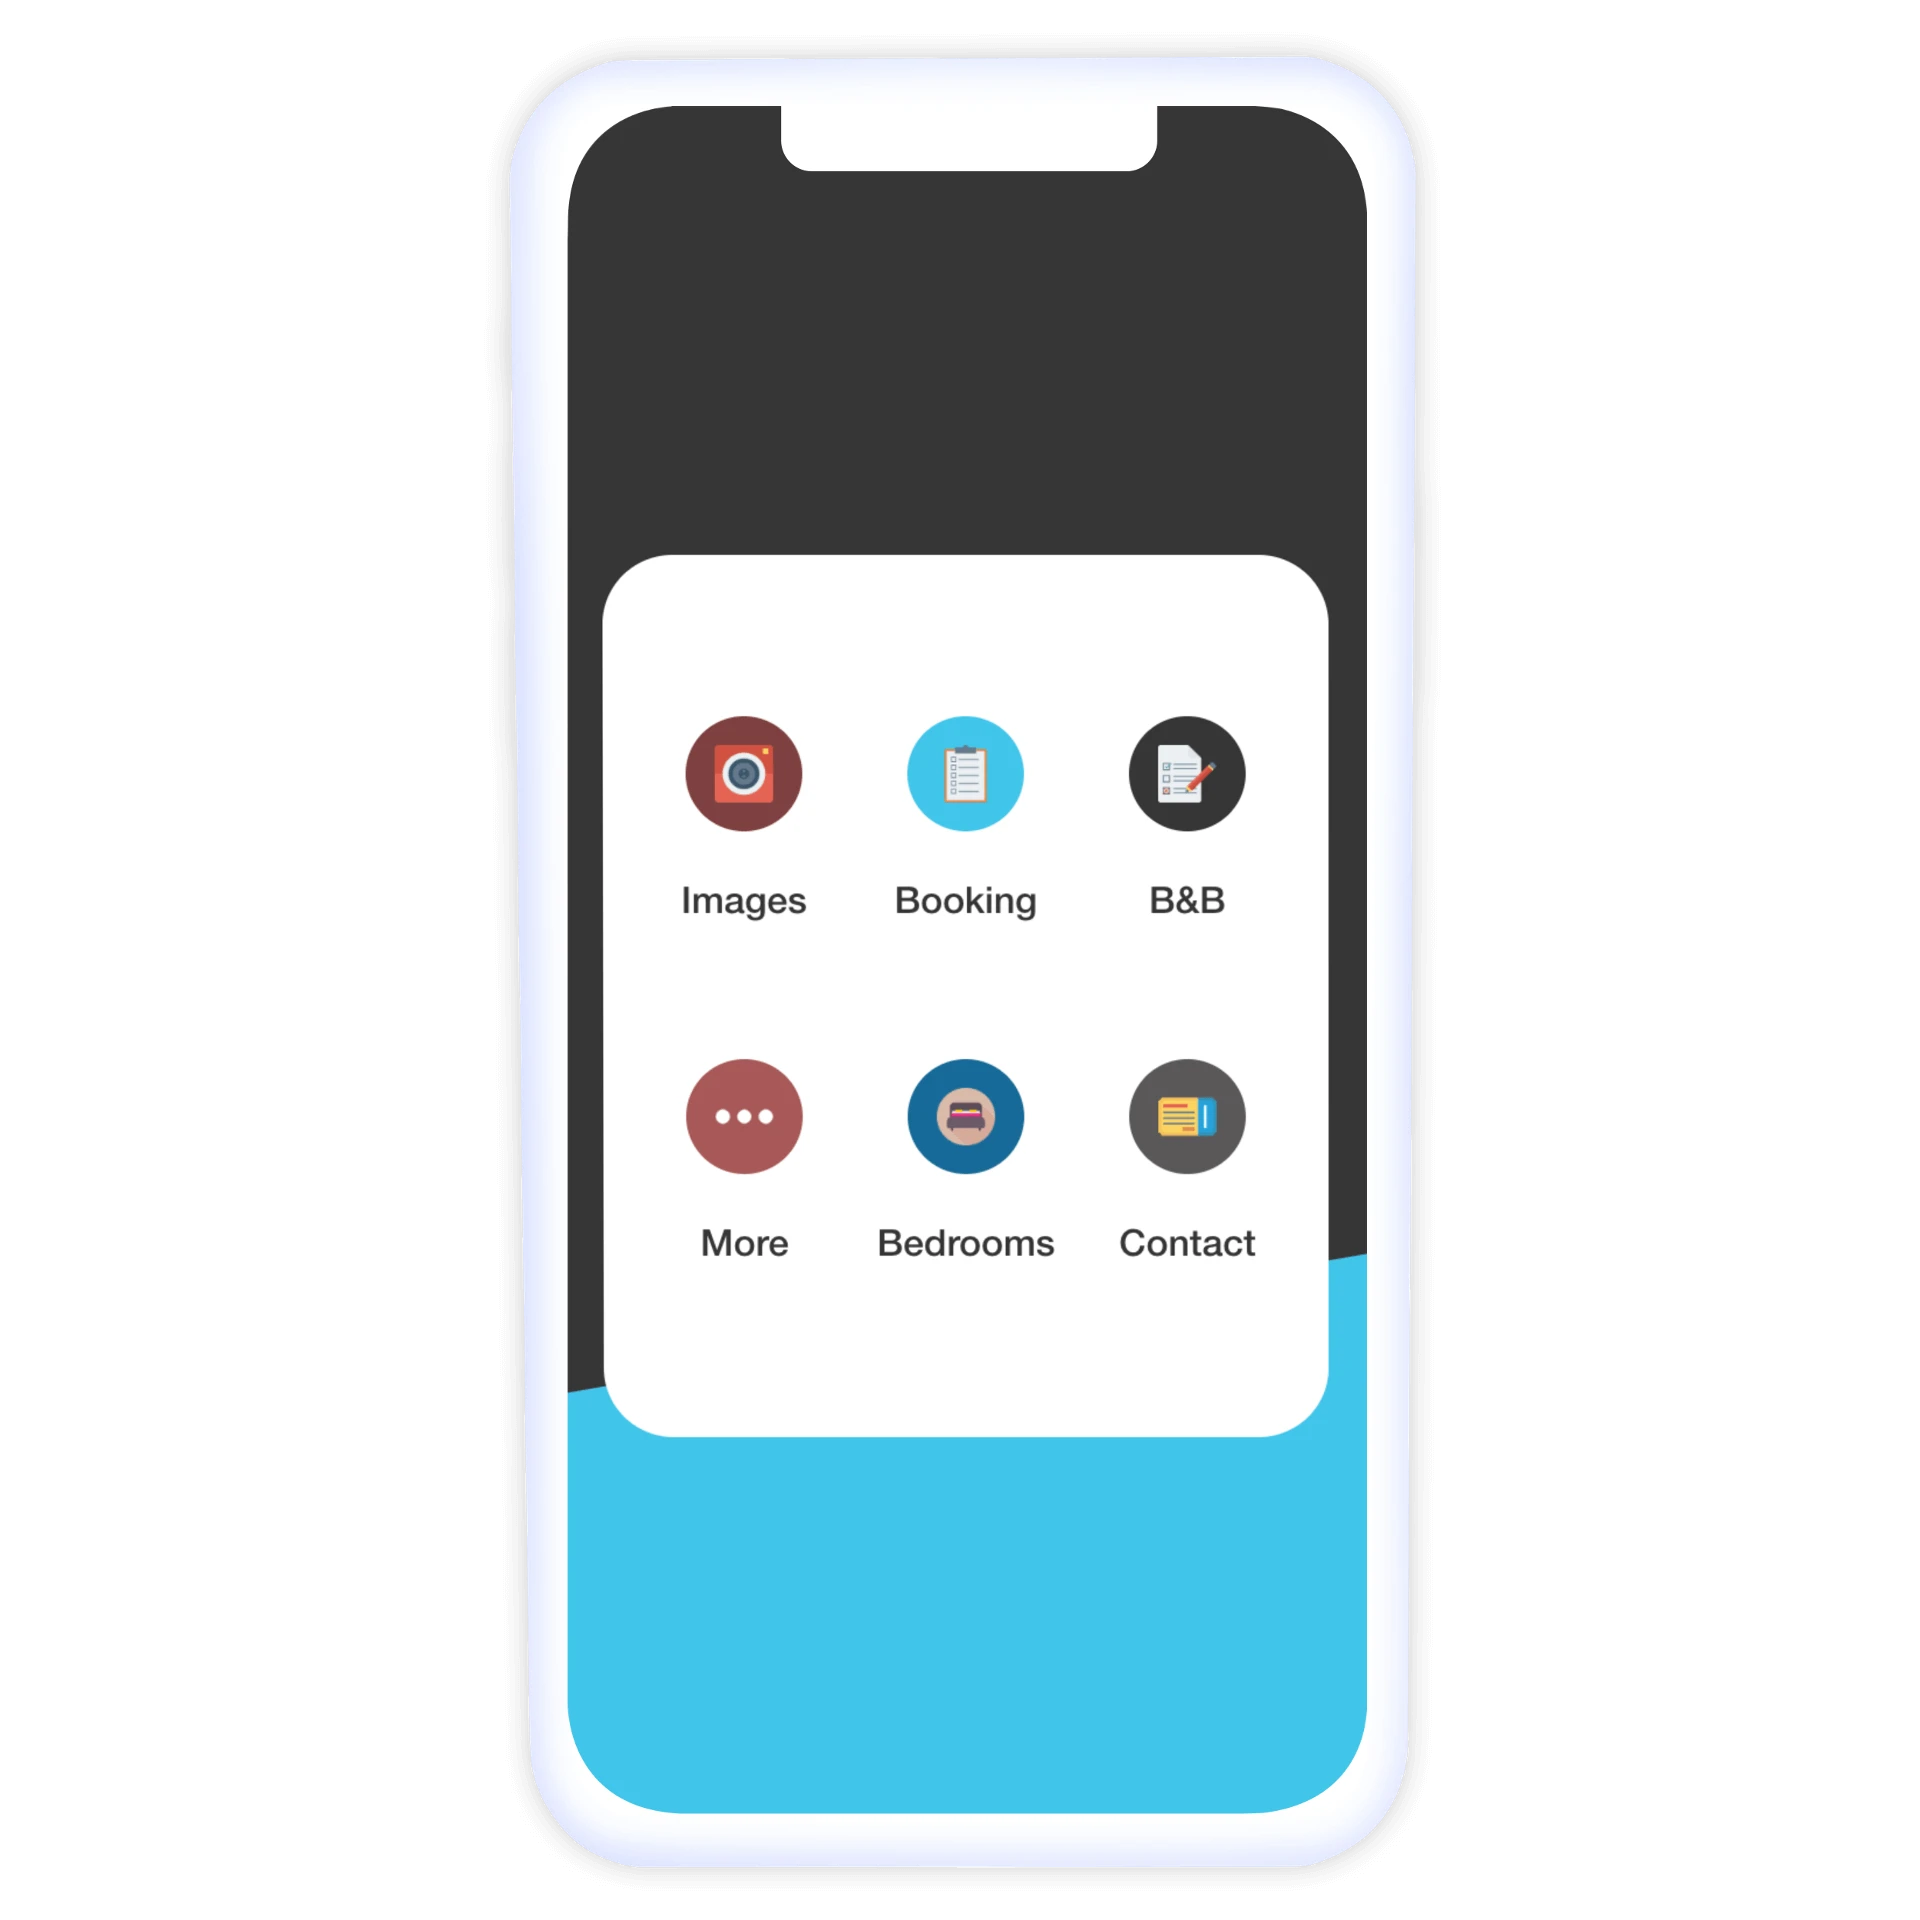
Creators looking to build an app use Swiftspeed app builder because it supports a wide range of app types, including business apps, e-commerce apps, content apps, education apps, games apps, and other custom app development experiences. This makes Swiftspeed a flexible app builder for teams that need more than a single-purpose app maker.
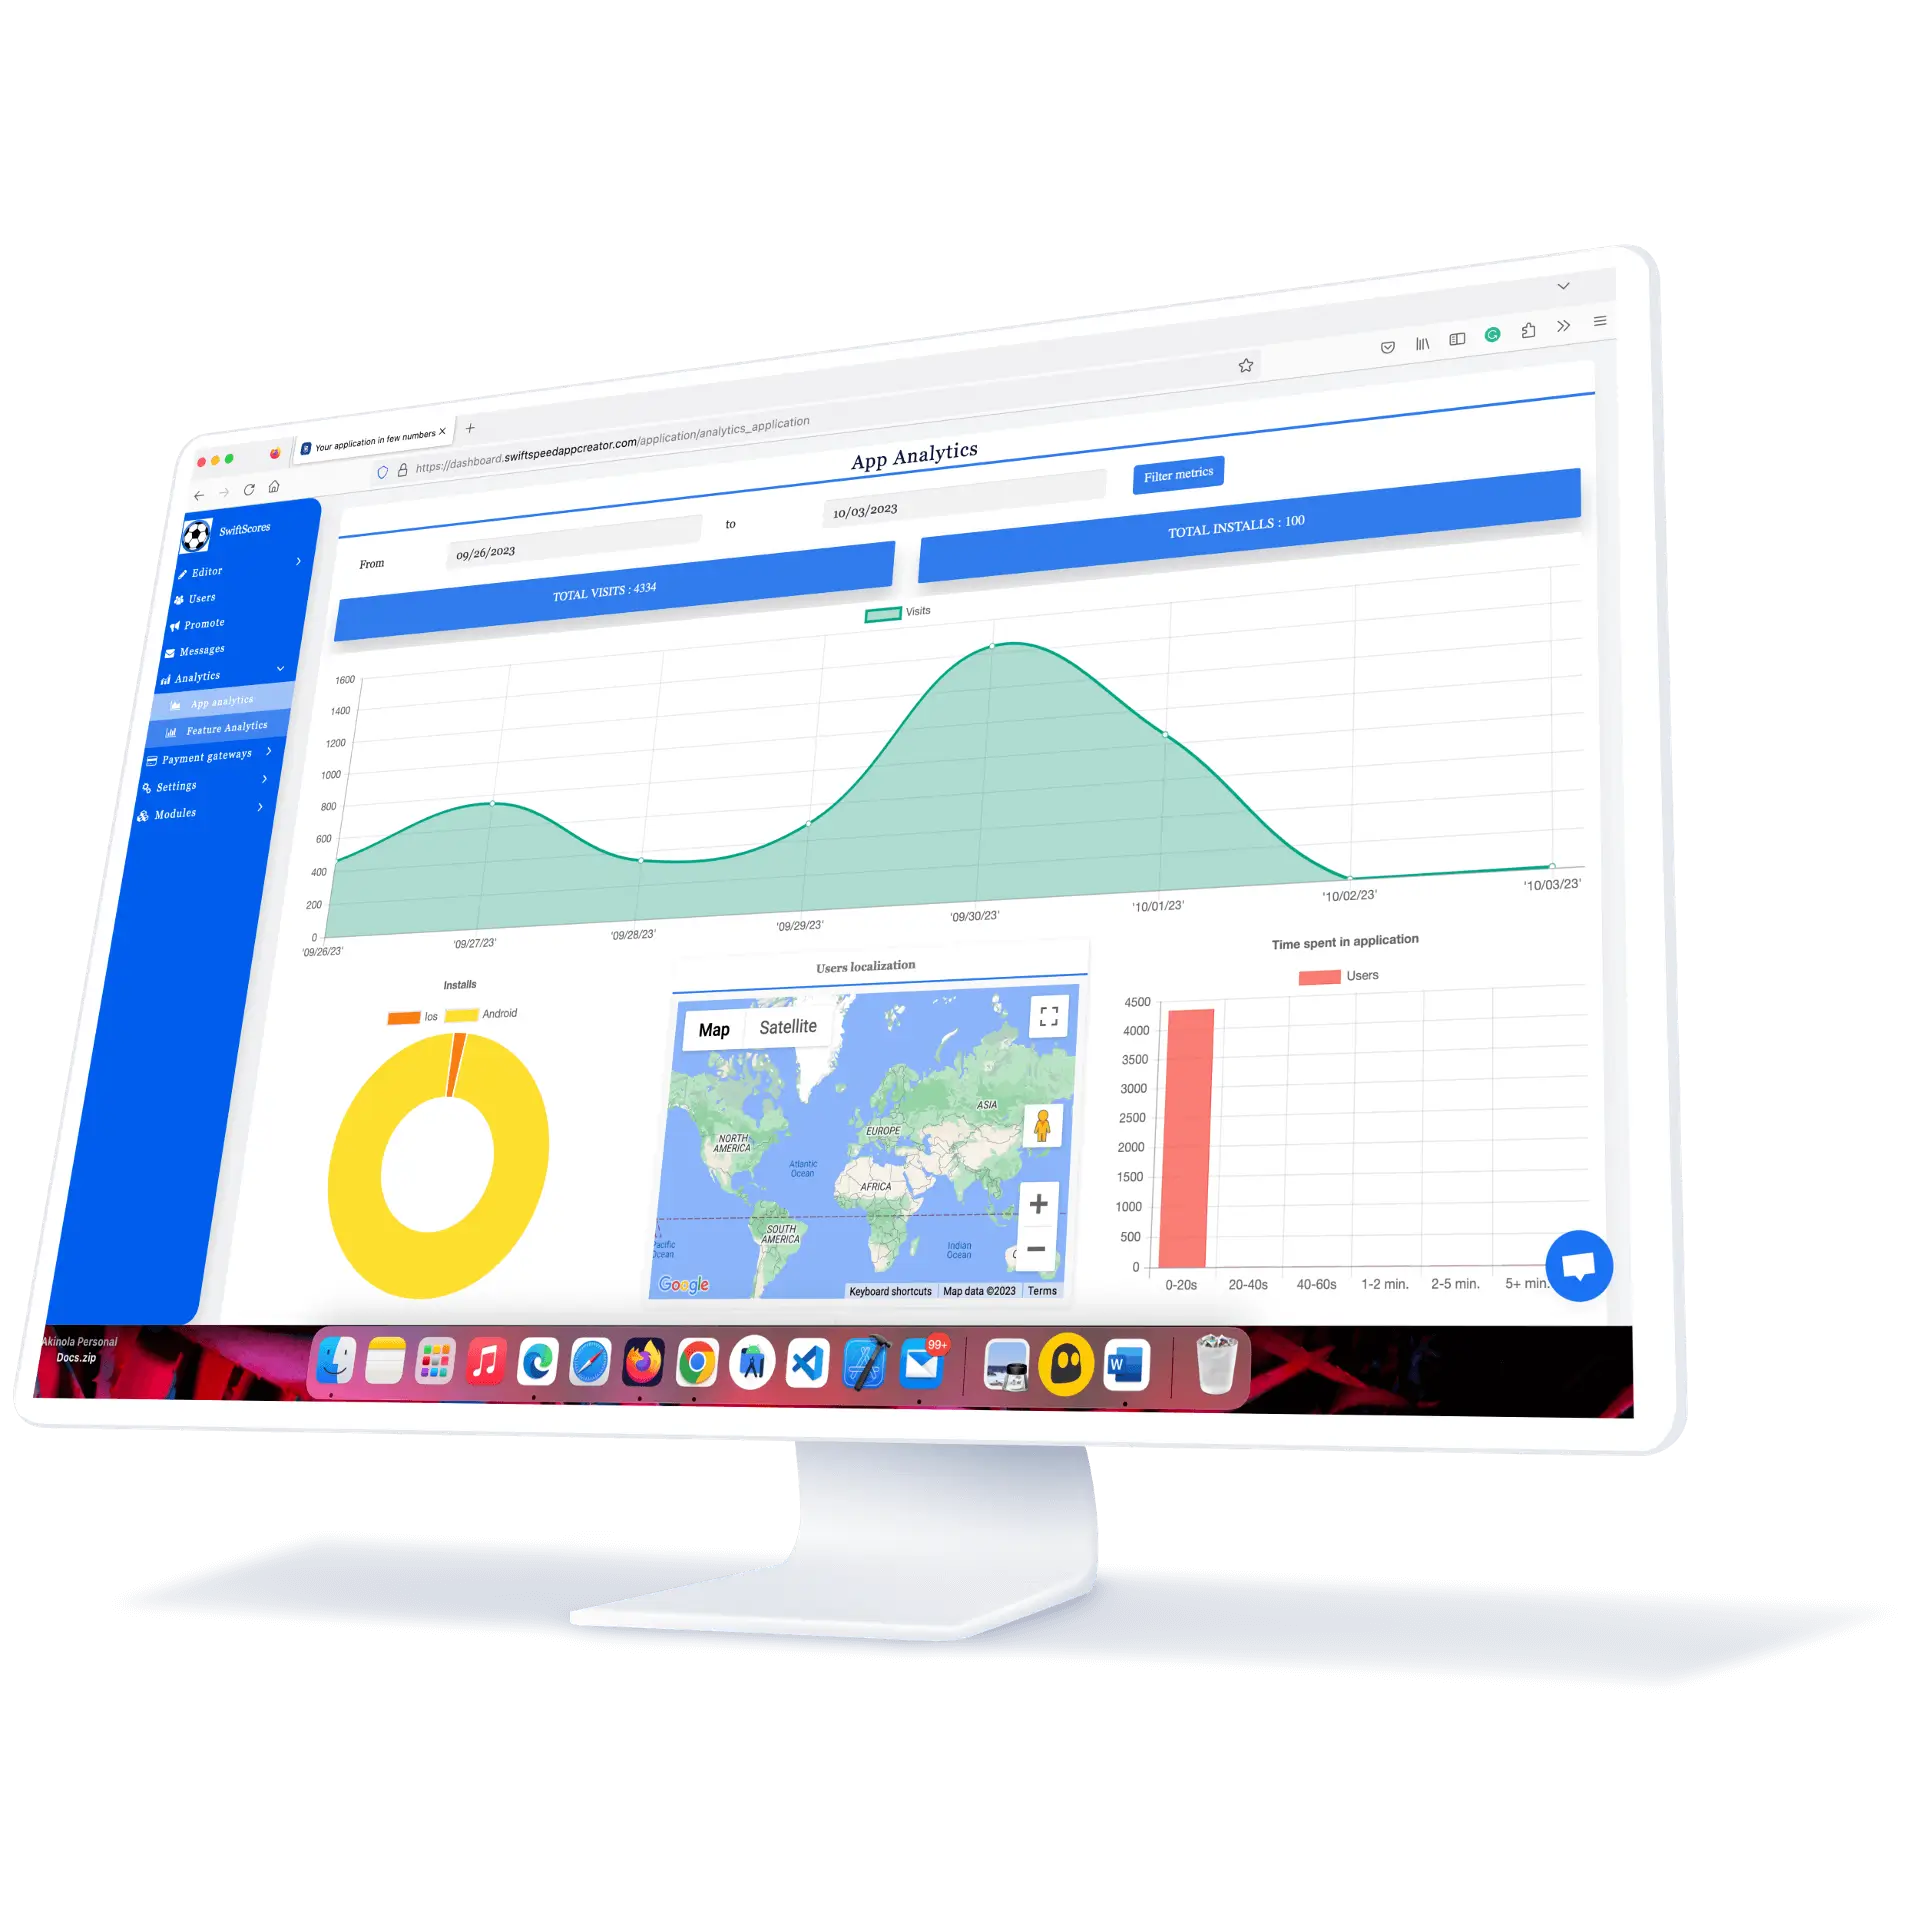
Track your app performance
Comprehensive Analytics Dashboard
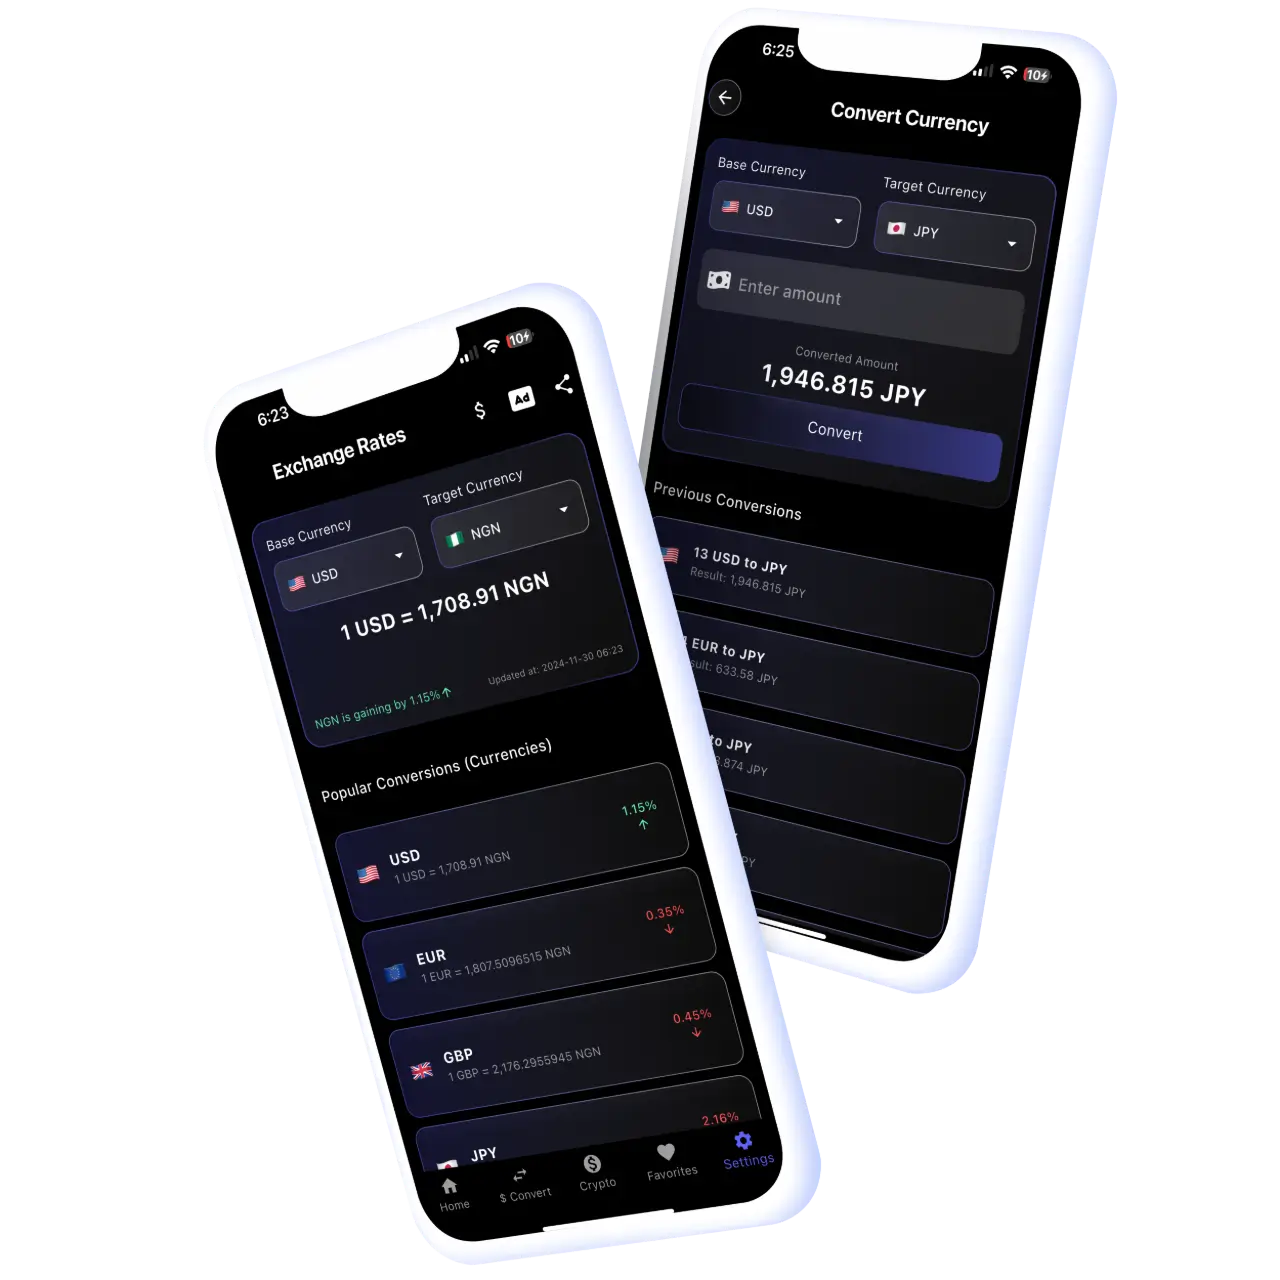
Monitor your app’s performance with Swiftspeed’s built-in analytics dashboard. Track installs, user behavior, and in-app purchases, with full integration into Google Analytics to help you make informed decisions.
Web to App Conversion
Turn Your Website Into an App in Minutes
Convert your existing website into an Android or iOS app without rebuilding it from scratch. Swiftspeed’s web-to-app technology helps businesses launch mobile apps quickly and efficiently.

Integrate with Swiftspeed
Start building your app by connecting your website to Swiftspeed. Use the editor to link your content and generate a mobile app version without coding.
Edit and Personalize
Customize your app’s layout, colors, and structure to match your brand. Swiftspeed allows you to adjust how your website content appears in the mobile app before publishing.
Go Live with Our AI App Builder in No time
Generate your Android and iOS app builds and publish them to the Google Play Store and Apple App Store. Swiftspeed app creator guide will help you through the publishing process from start to launch.
Swiftspeed app Maker in Action
1M+
Mobile App Installed on Android and iOS
$12M+
Saved in development cost. Complete app building faster
500k+
Mobile apps invented by Swiftspeed App creators
Built for Agencies
Swiftspeed app creator is designed for agencies that build and manage mobile apps for clients. Create Android and iOS apps without coding, manage multiple app projects, and deliver faster from a single self-hosted platform.
White-Label App Builder
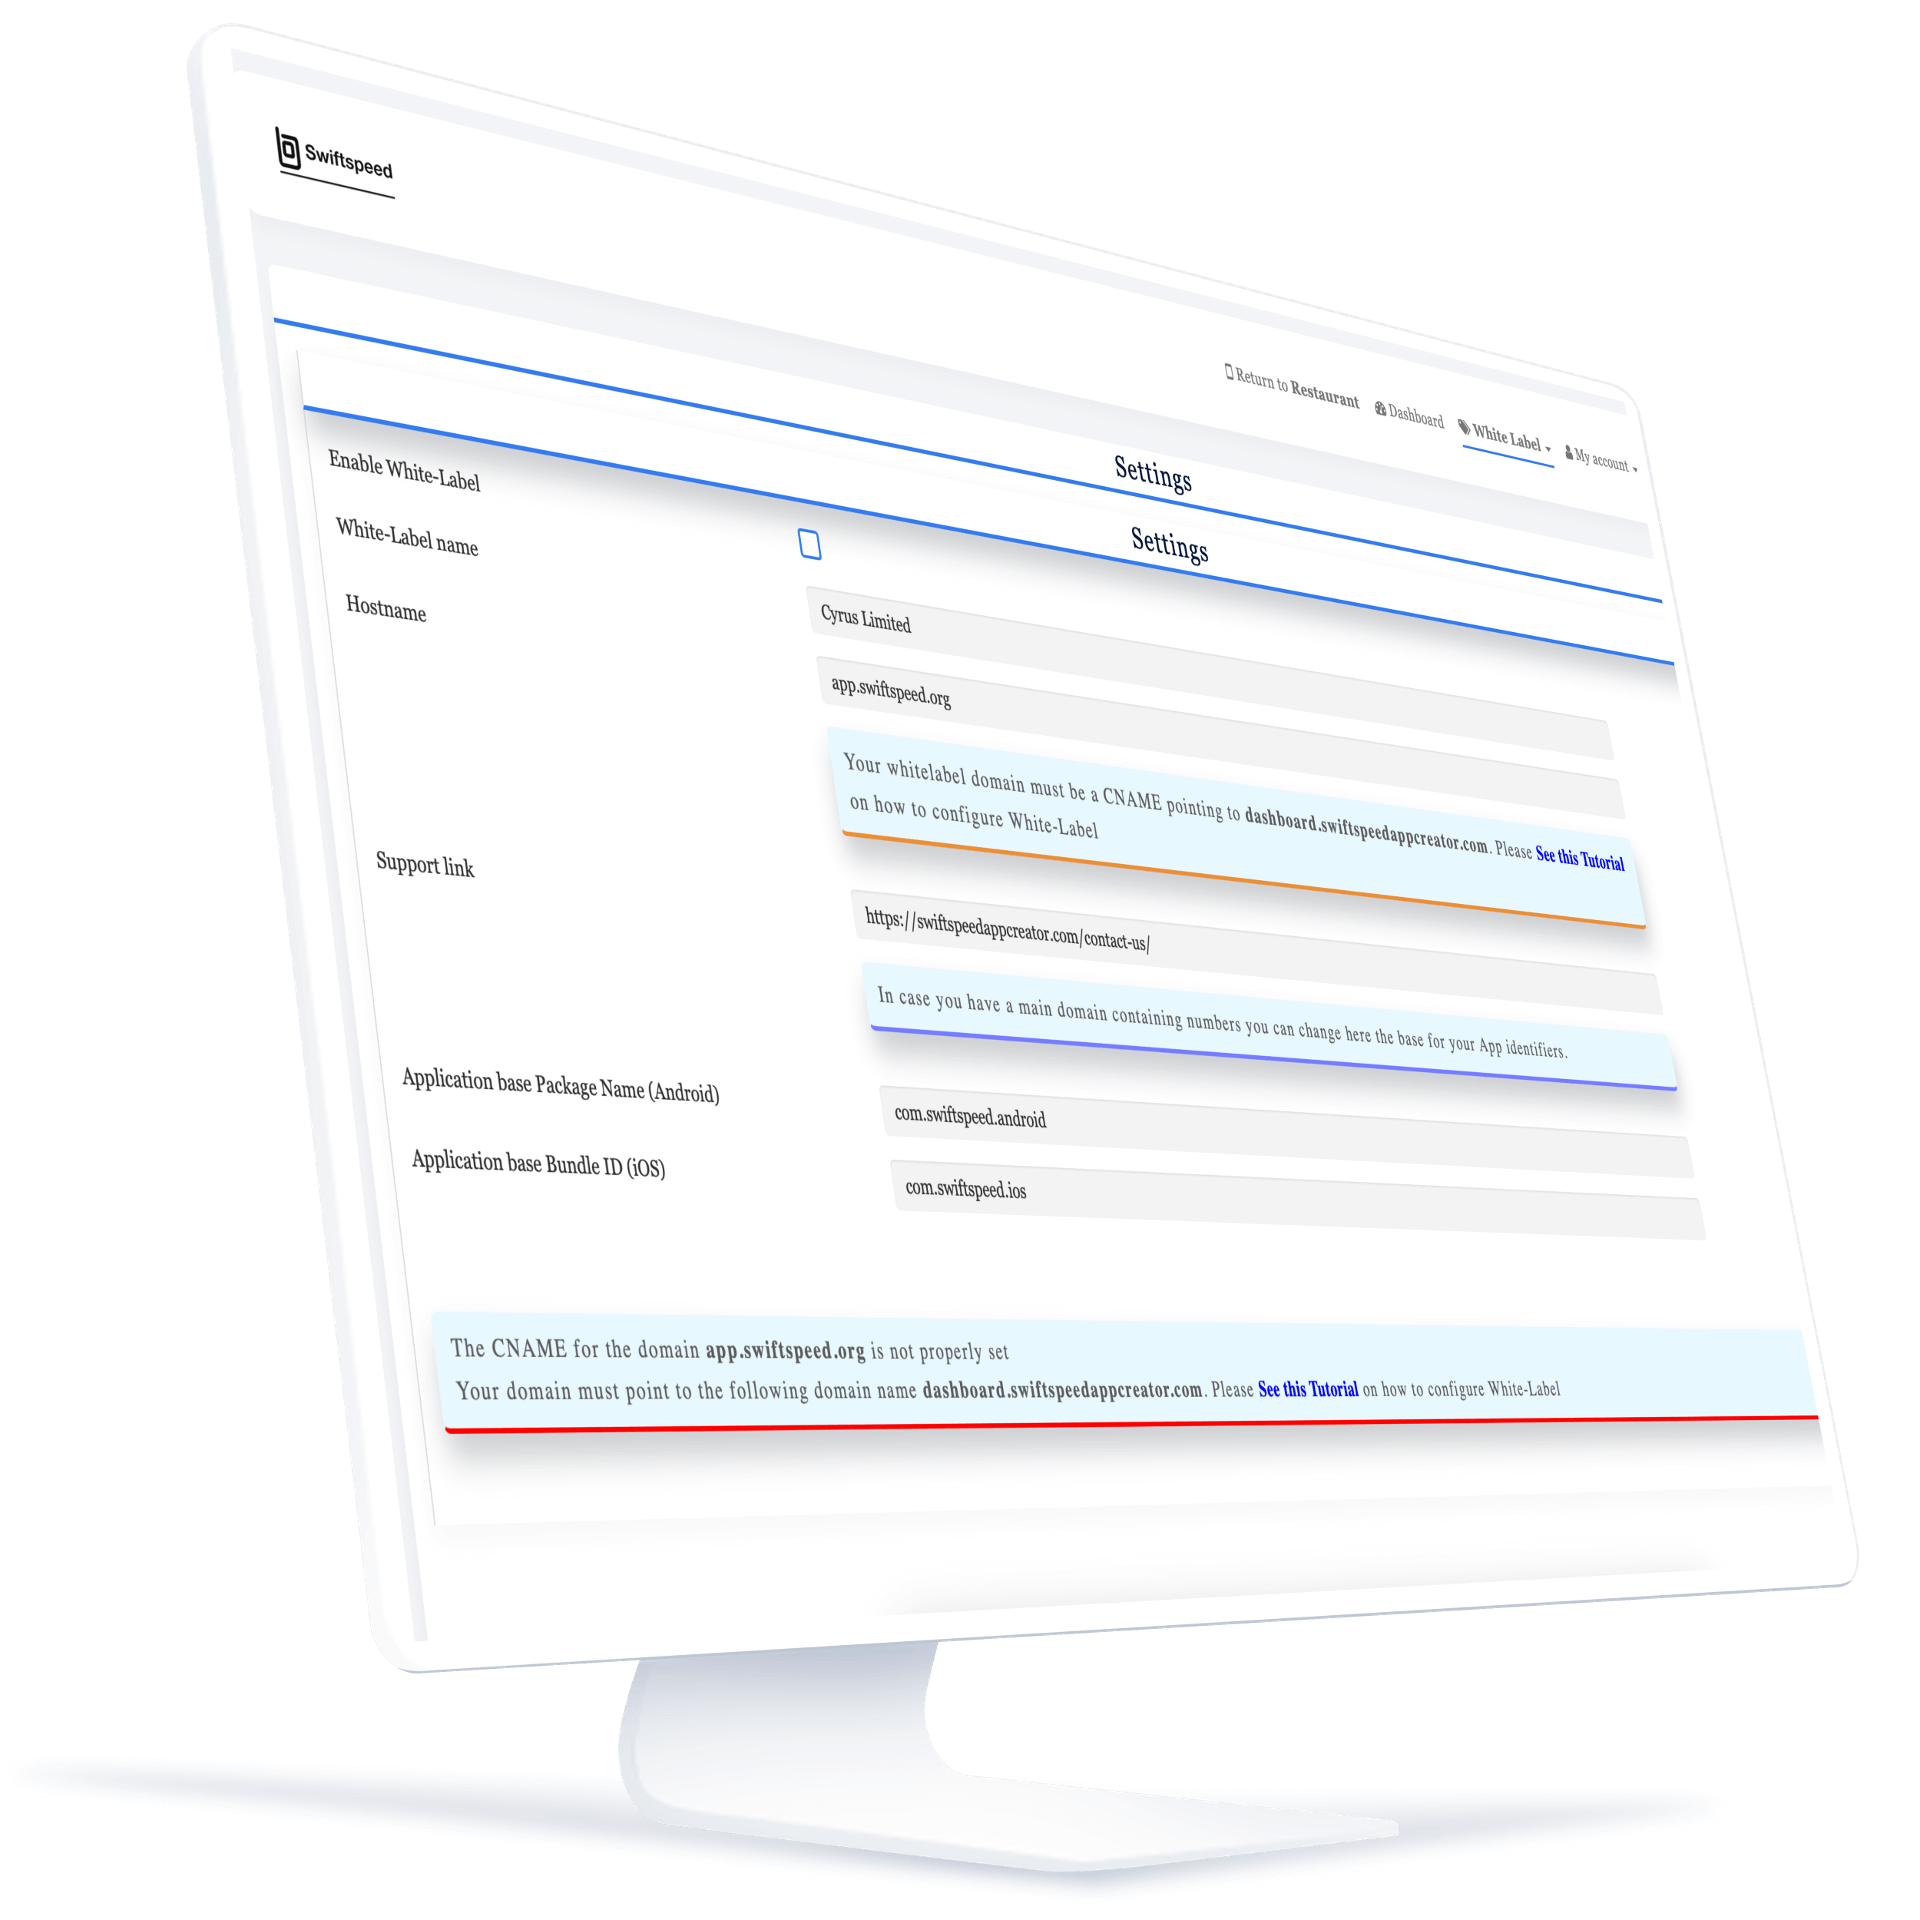
Present apps to your clients under your own brand. Swiftspeed’s white-label capabilities let you remove platform branding and customize the dashboard with your business name, domain, logo, and style.
Generate Android and iOS App Builds
Generate Android and iOS app builds from your project and prepare them for publishing on the Google Play Store and Apple App Store.
Android App Builds
Generate APK and AAB builds that meet Google Play Store requirements. Use our Android app builder to create your app, generate production-ready builds, and prepare them for publishing.
iOS App Builds
Create iOS app builds that comply with Apple App Store guidelines. Use our iPhone app builder to generate production-ready files and prepare updates for submission.
What Users Say About Swiftspeed App builder
Small Business Owner (SME)
Startup Founder
Why Choose Swiftspeed AI App Buider?
Swiftspeed is an app builder designed for teams and individuals who want to create real Android and iOS applications for production use. Unlike basic app makers, Swiftspeed focuses on scalable builds, app store publishing, analytics, and long-term business app management.
Build Android and iOS Apps
Create android and iOS apps without writing a single line of code with Swiftspeed user-friendly AI app maker.

